
💡 At a Glance
- The Dessert: A creamy, layered parfait in a glass made with Lotus Biscoff cookies, tart raspberries, and a silky filling (no gelatin needed!).
- Time & Prep: Super fast to throw together, though it needs a little time to chill in the fridge before serving.
- How It’s Made: Your Thermomix® does all the heavy lifting—crushing the cookies, warming the raspberry sauce, and whipping up the cream.
We’ve all been there: you’re hosting family or friends and need an easy, show-stopping dessert that you can completely make ahead of time.
That is exactly why these individual Lotus Biscoff Raspberry Parfaits are a total lifesaver. The combination of luscious cream, bright tart raspberries, and warm-spiced caramel cookies is always a massive hit.
Plus, your Thermomix® takes care of almost all the work, so you can prep these in a snap and let them chill in the fridge until you’re ready to serve!
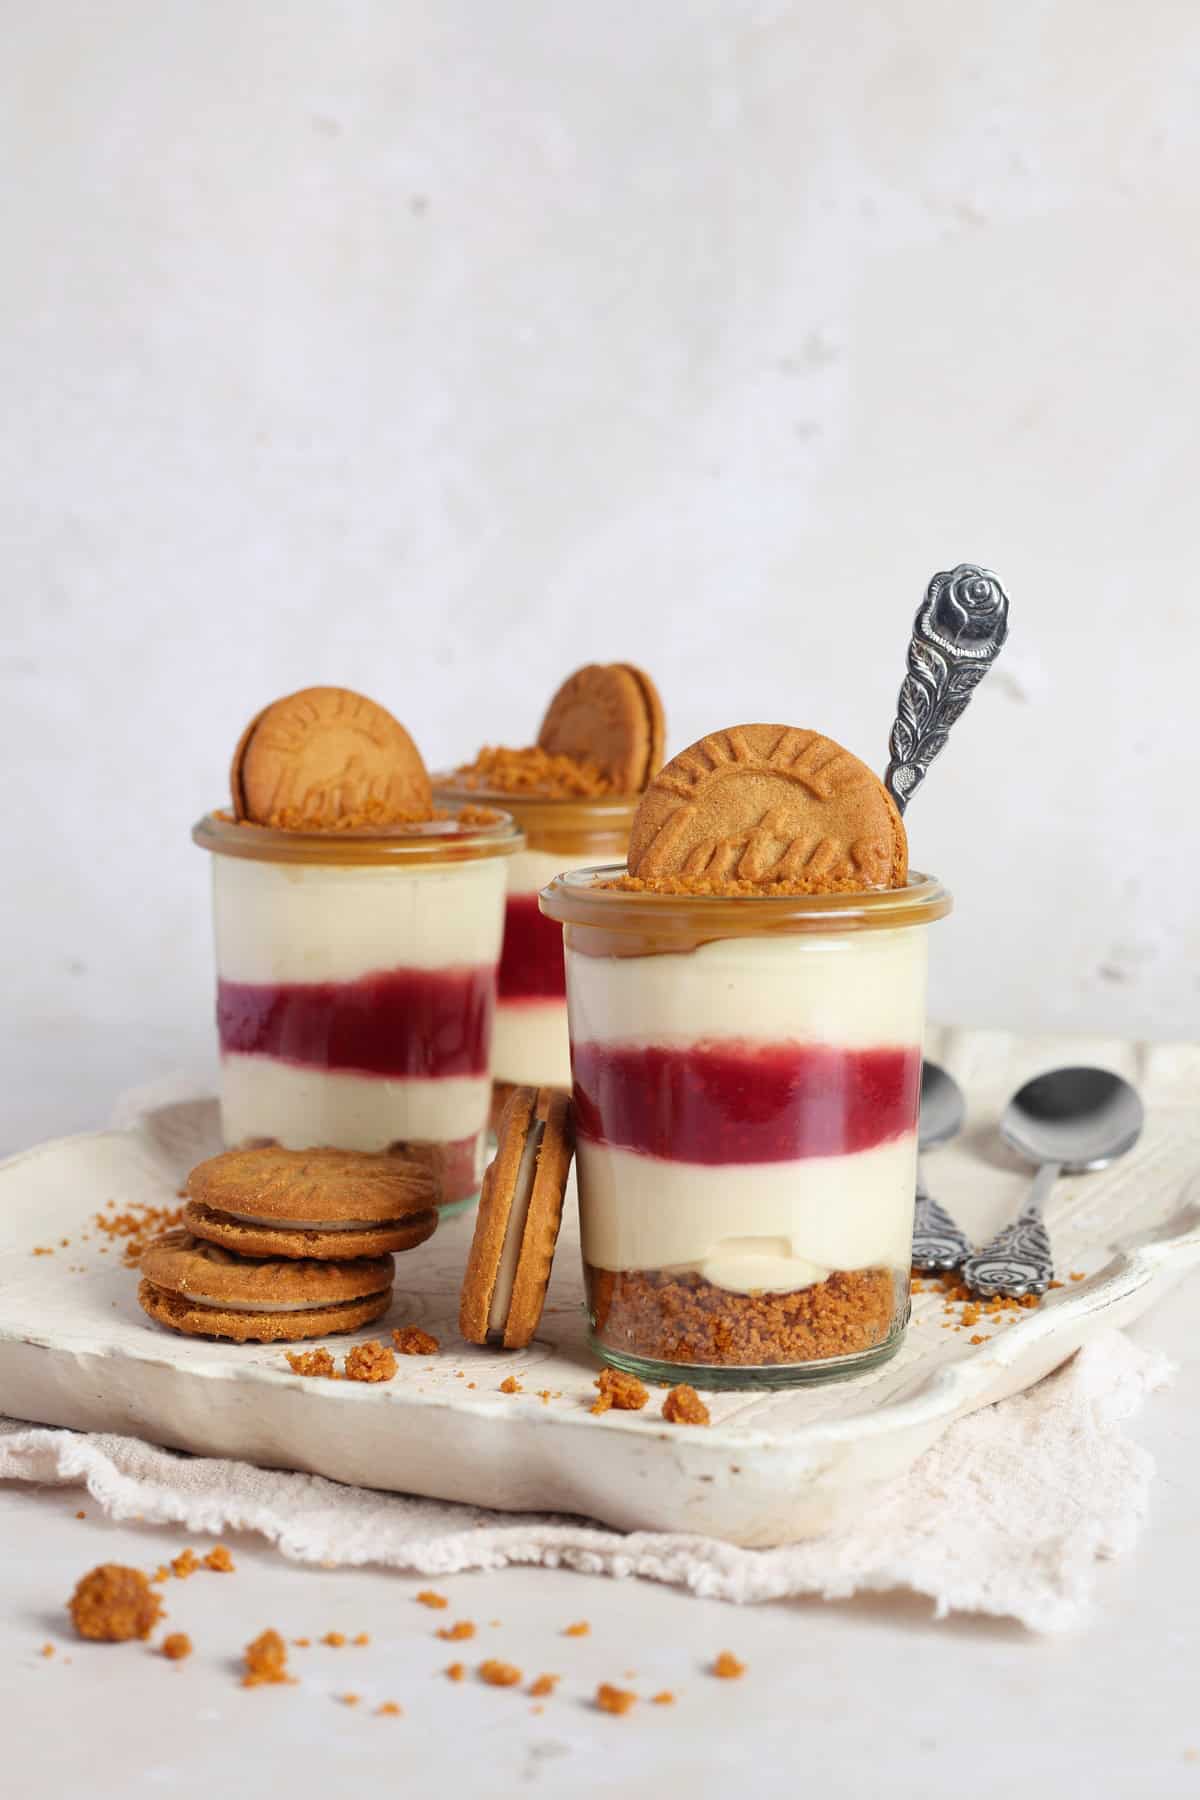
Why You’ll Love This Dessert:
- Super easy to make ahead
- Perfect for entertaining and dinner parties
- The ultimate sweet-and-tart combo
- Whips up in minutes thanks to the Thermomix®
- Wonderfully creamy with a delightful crunch
- A total showstopper in individual dessert glasses
- Completely gelatin-free
- Ideal for prepping the day before
My Best Tips for Success
Give the warm raspberry mixture a stir every now and then while it cools down—it really speeds up the process!
When whipping your heavy cream, make sure it’s ice-cold straight from the fridge. That’s the key to getting a nice, stable whip. Keep a close eye on it so you hit that perfect fluffy texture without accidentally turning it into butter.
Don’t have a piping bag on hand? No problem at all! Just spoon the cream mixture into a Ziploc bag and snip off one corner, or simply layer it into your glasses using a spoon.
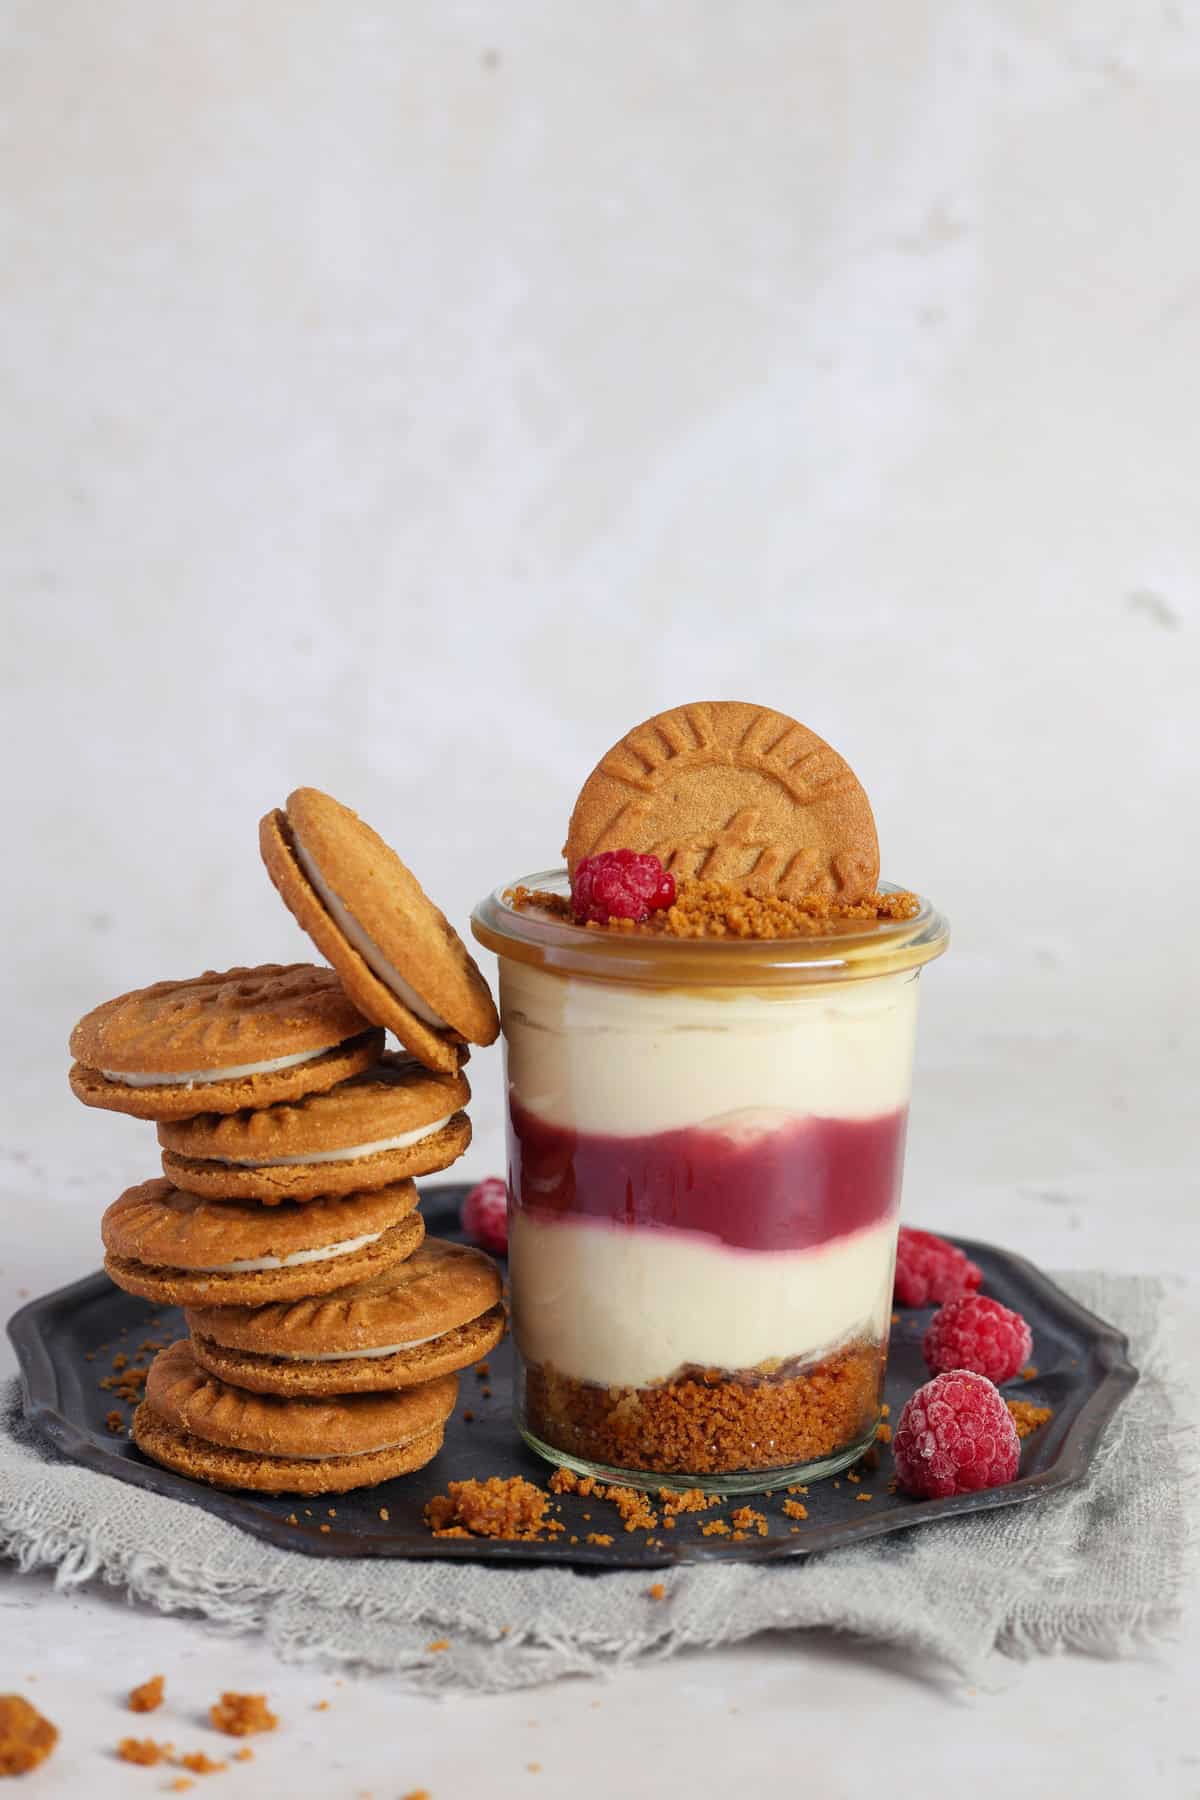
When garnishing with the final cookie, press it into the cream at a slight angle. That way it stays put and gives you that gorgeous, bakery-worthy look!
Can You Make This Dessert Ahead of Time?
Yes, absolutely! This dessert actually needs to chill in the fridge for at least 2 hours before serving anyway so all the layers get nice and cold and the flavors have time to meld together perfectly.
You can also super easily make it the day before and keep it covered in the fridge until dessert time. It’s such a great way to save yourself some stress when company comes over!
Delicious Recipe Variations
Switch up the cookies: Feel free to get creative with your toppings! Just use whatever variety of Lotus Biscoff cookies you love most.
Spoon the layers: Don’t have a piping bag on hand? No worries! Just gently spoon the cream into your glasses. It might take a minute longer, but it works just as well.
Smaller portions: If a full 5.5 oz (160 ml (approx. 5.5 fl oz)) glass feels a bit too rich after a big meal, just divide the dessert into smaller mini jars or glasses instead. You’ll easily get more than 8 individual servings that way!
Ingredients You’ll Need for Raspberry Biscoff Dessert Cups
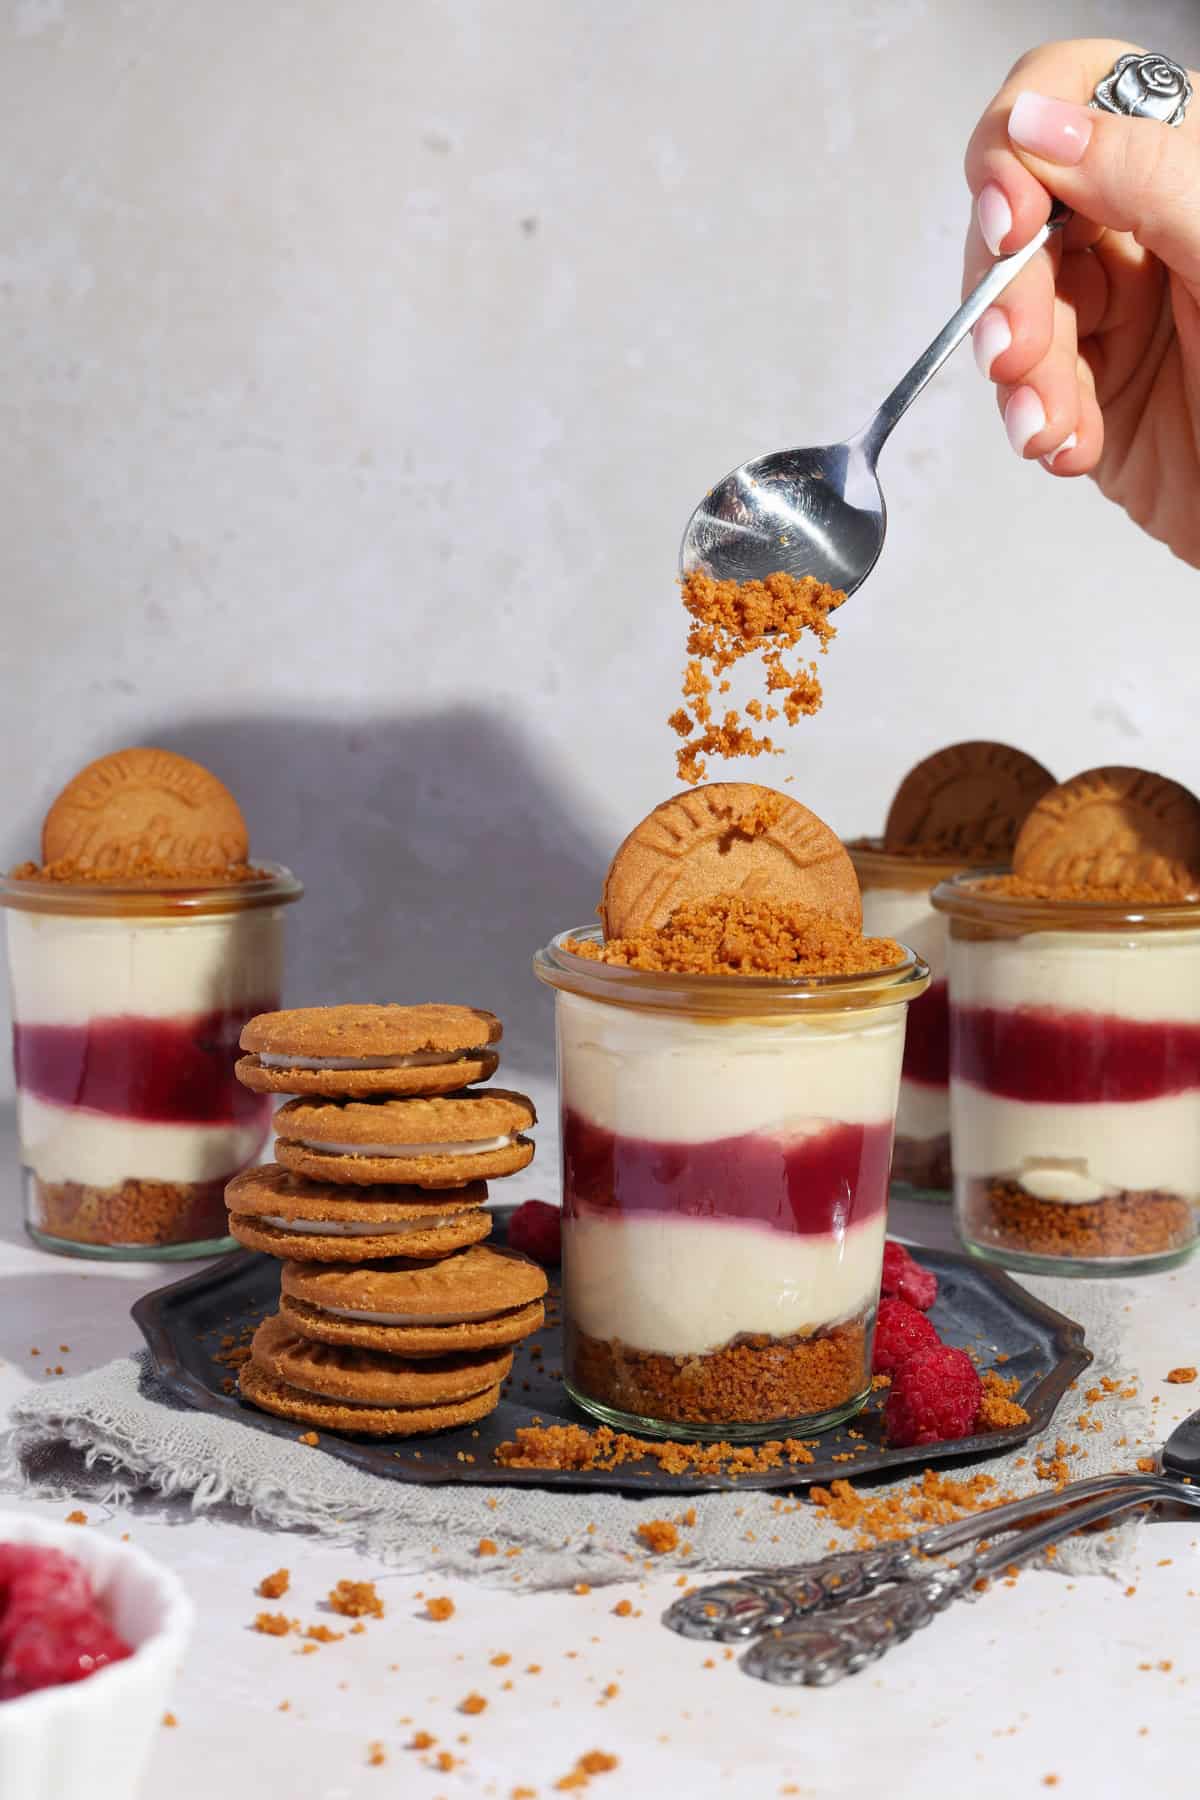
- 100 g (approx. 3.5 oz) Lotus Biscoff cookies
- 15 g (approx. 0.5 oz) butter
- 250 g (approx. 9 oz) heavy cream
- 25 g (approx. 1 oz) sugar
- 250 g (approx. 9 oz) Quark (or full-fat Greek yogurt)
- 150 g (approx. 5.5 oz) whole milk yogurt
- 100 g (approx. 3.5 oz) crème fraîche
- 80 g (approx. 3 oz) Creamy Lotus Biscoff Cookie Butter
- 150 g (approx. 5.5 oz) frozen raspberries
- 20 g (approx. 0.5 oz) sugar
- A splash of fresh lemon juice
You’ll also need:
- 8 Lotus Biscoff cookies of your choice
- Lotus Biscoff cookie butter spread
How to Make Lotus Biscoff Raspberry Dessert Cups
Instructions:
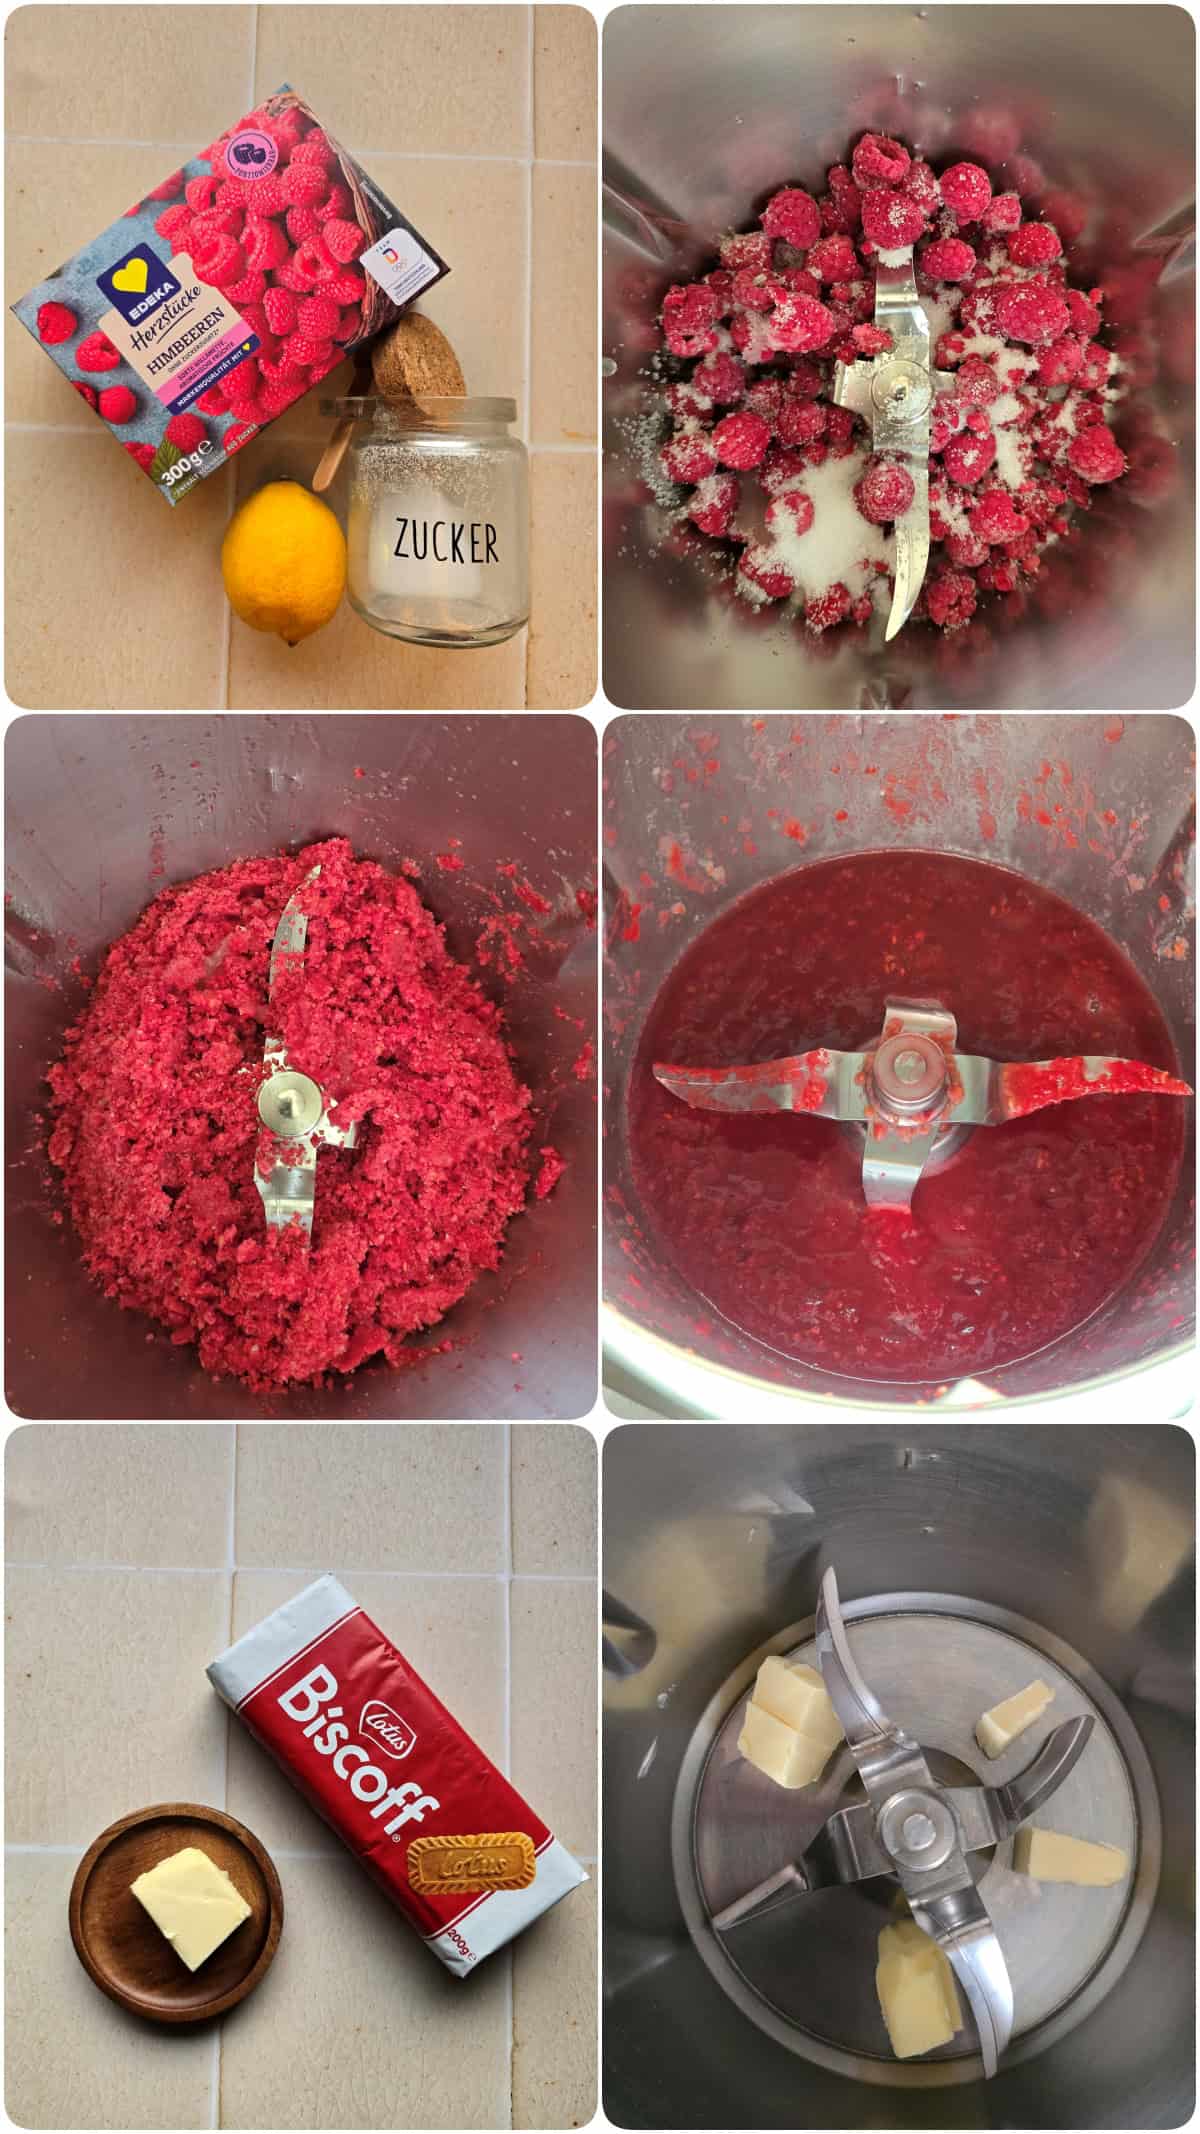
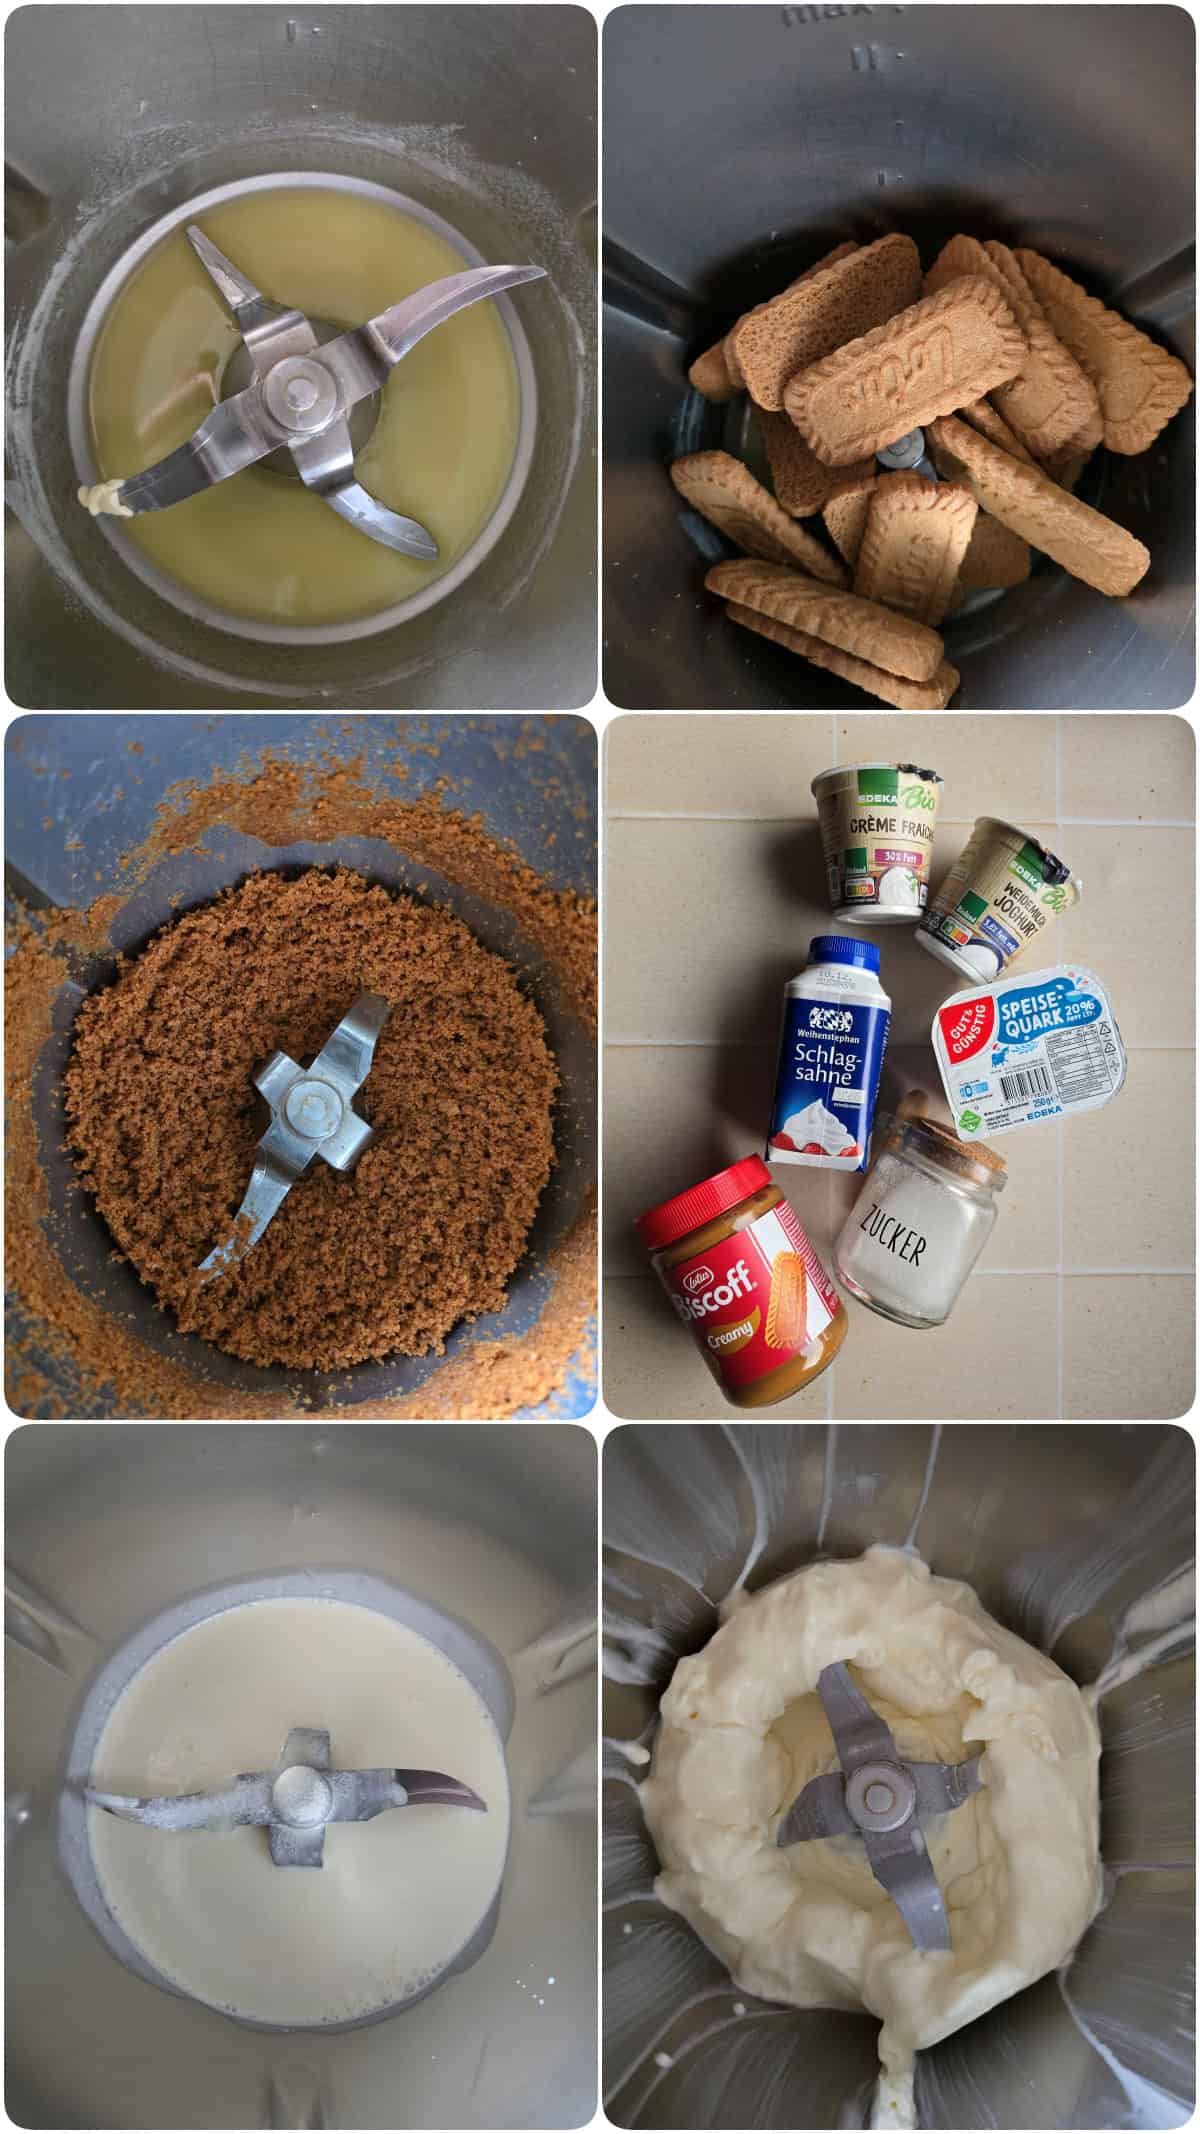
Start with the raspberry layer since it needs time to cool down. Place the frozen raspberries, sugar, and lemon juice into the mixing bowl and blend for 10 sec / speed 10.
Scrape down the sides of the bowl with your spatula, then heat for 6 min / 100°C (210°F) / speed 1. Transfer the mixture to a bowl and set aside to cool.
Rinse and dry your mixing bowl. Add the butter to the bowl and melt for 2 min. / 50°C (120°F) / Speed 2.
Next up, toss in the cookies. Crush for 5 sec. / Speed 5. Divide the cookie crumbs evenly among the bottoms of your dessert glasses, saving a small handful for garnish later.
Give the mixing bowl another quick rinse and dry it thoroughly. Add the cold heavy cream and sugar to the bowl, then whip until stiff peaks form, watching closely through the lid, about 20 sec. / Speed 10.
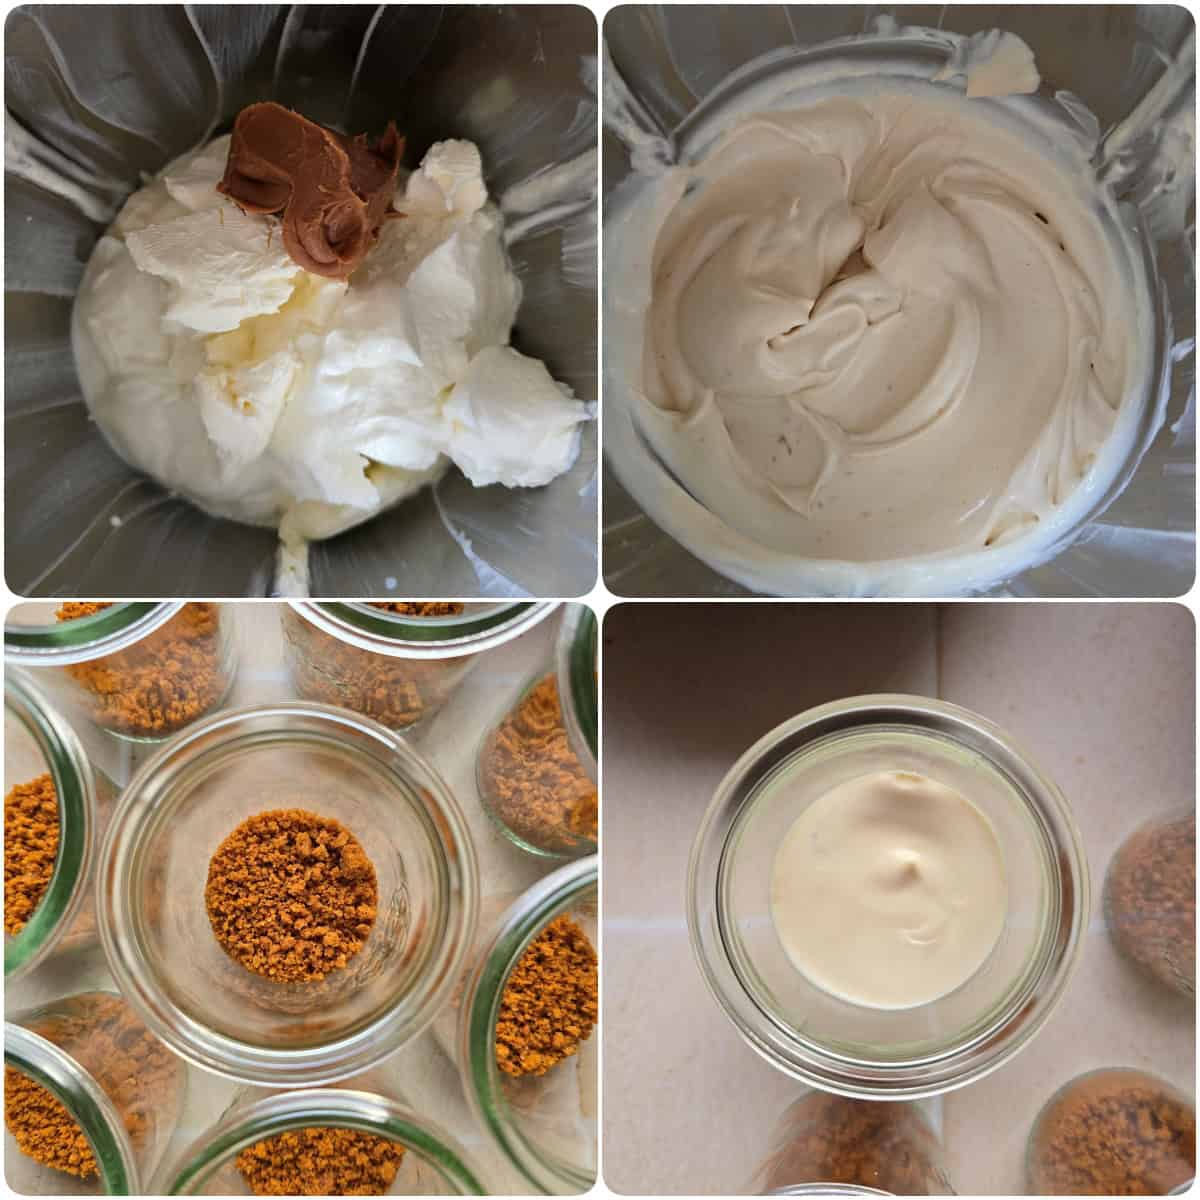
Add the quark, yogurt, crème fraîche, and Lotus Biscoff spread, then mix for 15 sec. / Speed 3.5 until completely smooth and creamy.
Now, set the jar of Lotus Biscoff spread into a bowl of hot water so it melts down and gets nicely drizzly for the topping.
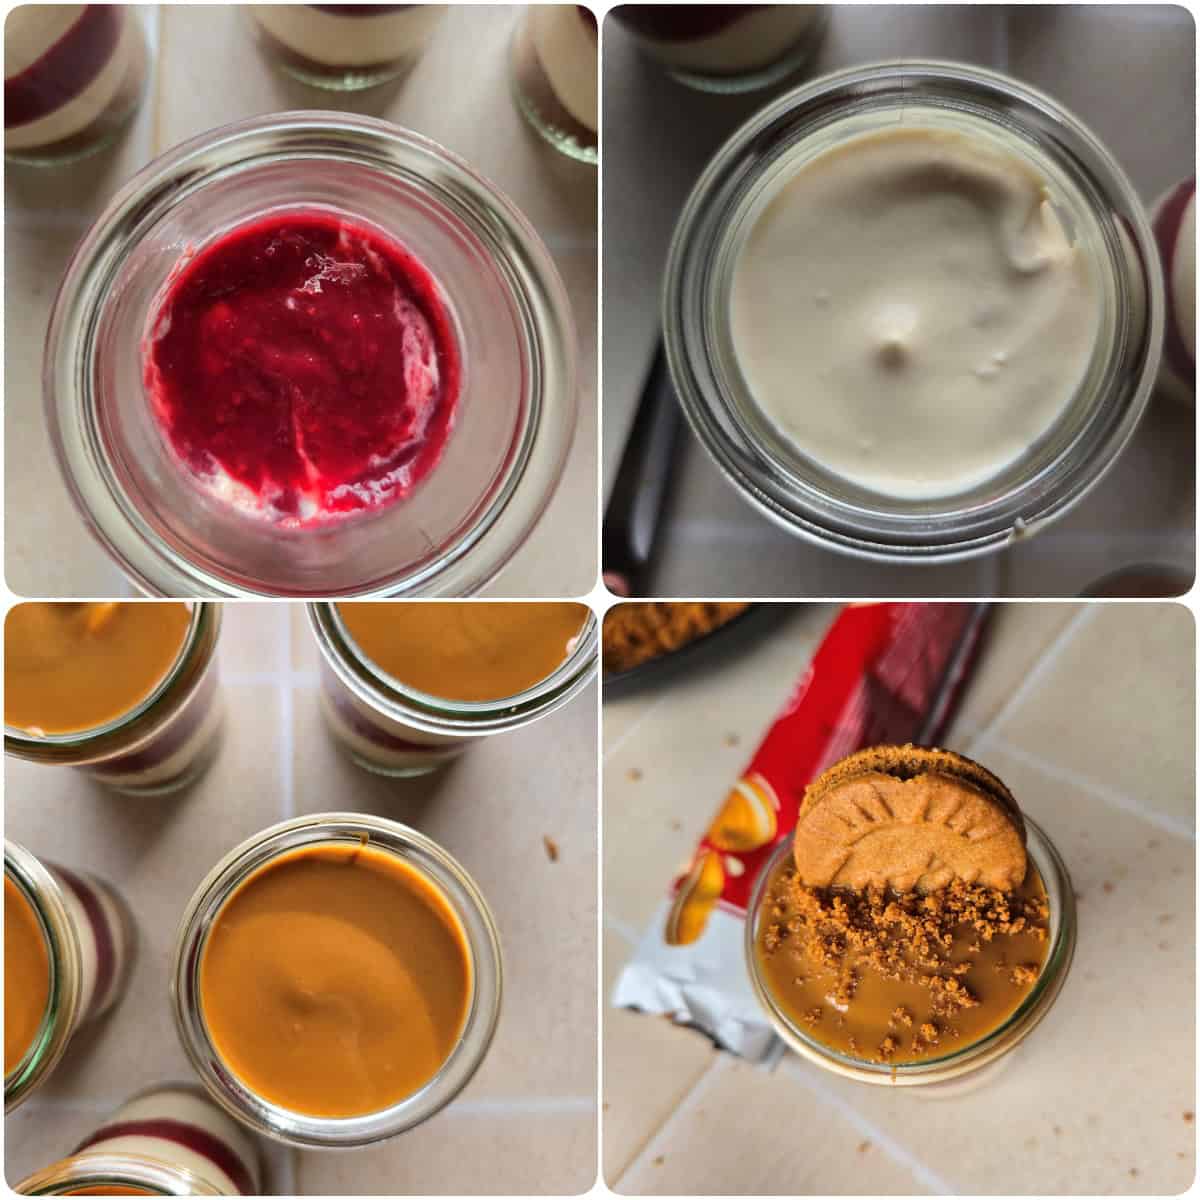
Transfer the cream mixture from the mixing bowl into a piping bag (or a Ziploc bag with the corner cut off). Layer the cream over the cookies until each glass is about halfway full. Next, spoon the cooled raspberry mixture over the cream layer, then top with the remaining cream, filling almost to the rim.
To finish, drizzle the melted Biscoff spread over the top with a spoon and garnish each glass right away with a cookie and your reserved crumbs.
Pop the desserts in the fridge for at least 2 hours before serving. This lets all those delicious layers set and gives the flavors time to meld together perfectly.
Enjoy!
Alright, I hope you have so much fun making this—enjoy every single bite!
If you’re craving another delicious idea, definitely check out this awesome recipe for a Solero Dessert in a Glass. You’re going to love it just as much!
– Christoph

If you enjoyed my recipe for Lotus Biscoff Dessert Cups with Raspberries, be sure to check out my Kinder Bueno Dessert too!
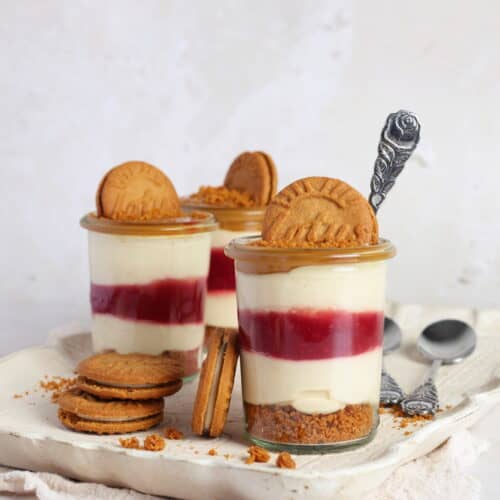
Lotus Biscoff and Raspberry Dessert Cups
Click the stars to leave a rating & comment
Print Pin recipe Start cookingIngredients
For the cookie crust
- 100 g Lotus Biscoff cookies (approx. 3.5 oz)
- 15 g Butter (approx. 0.5 oz)
For the cream layer
- 250 g Heavy cream (approx. 9 oz)
- 25 g Sugar (approx. 1 oz)
- 250 g Quark (20% fat) (approx. 9 oz)
- 150 g Whole milk yogurt (3.8% fat) (approx. 5.5 oz)
- 100 g Crème fraîche (approx. 3.5 oz)
- 80 g Creamy Lotus Biscoff cookie butter (approx. 3 oz)
For the raspberry layer
- 150 g Frozen raspberries (approx. 5.5 oz)
- 20 g Sugar (approx. 0.5 oz)
- Spritzer Lemon
For the topping
- 8 Lotus Biscoff cookies of your choice
- Lotus Biscoff cookie butter
Instructions
- 150 g (approx. 5.5 oz) Frozen raspberries, 20 g (approx. 0.5 oz) Sugar, Spritzer LemonStart with the raspberry layer, since it needs some time to cool down.Add the frozen raspberries, sugar, and lemon juice to the mixing bowl and blend for 10 sec. / speed 10.Scrape down the sides of the bowl with a spatula and heat the mixture for 6 min. / 100°C (210°F) / speed 1. Transfer it to a bowl to cool. Tip: Give it a stir every now and then so it cools down faster!
- 100 g (approx. 3.5 oz) Lotus Biscoff cookies, 15 g (approx. 0.5 oz) ButterRinse and dry the mixing bowl.Add the butter to the mixing bowl and melt it for 2 min. / 50°C (120°F) / speed 2.Next, add the cookies. Crush them for 5 sec. / speed 5.Divide the cookie crumbs evenly among the bottoms of your dessert glasses. Make sure to save a little bit of the crumb mixture to garnish the desserts later!
- 250 g (approx. 9 oz) Heavy cream, 25 g (approx. 1 oz) Sugar, 250 g (approx. 9 oz) Quark (20% fat), 150 g (approx. 5.5 oz) Whole milk yogurt (3.8% fat), 100 g (approx. 3.5 oz) Crème fraîche, 80 g (approx. 3 oz) Creamy Lotus Biscoff cookie butterRinse the mixing bowl and dry it thoroughly.Add the cold heavy cream and sugar to the mixing bowl and whip the cream, keeping a close eye on it, for approx. 20 sec. / speed 10 until stiff peaks form.
- Add the quark, yogurt, crème fraîche, and Lotus cookie butter, and mix everything for 15 sec. / speed 3.5 until you have a beautifully smooth and creamy filling.
- Lotus Biscoff cookie butterNow, place the jar of Lotus Biscoff cookie butter into a bowl of hot water so it melts and becomes pourable for the topping.
- 8 Lotus Biscoff cookies of your choiceTransfer the cream mixture from the mixing bowl into a piping bag (or a ziplock bag with the corner snipped off) and pipe it over the cookie crust until the glasses are about half full. Next, spoon the cooled raspberry mixture over the cream. Finally, pipe the remaining cream on top, filling the glasses to just below the rim.
- To finish, spoon the melted Biscoff cookie butter over the top of the desserts and immediately garnish the little glasses with a whole cookie and those reserved cookie crumbs.
- Let the dessert chill in the fridge for at least 2 hours before serving. This gives all the layers time to set and allows those amazing flavors to really meld together!


