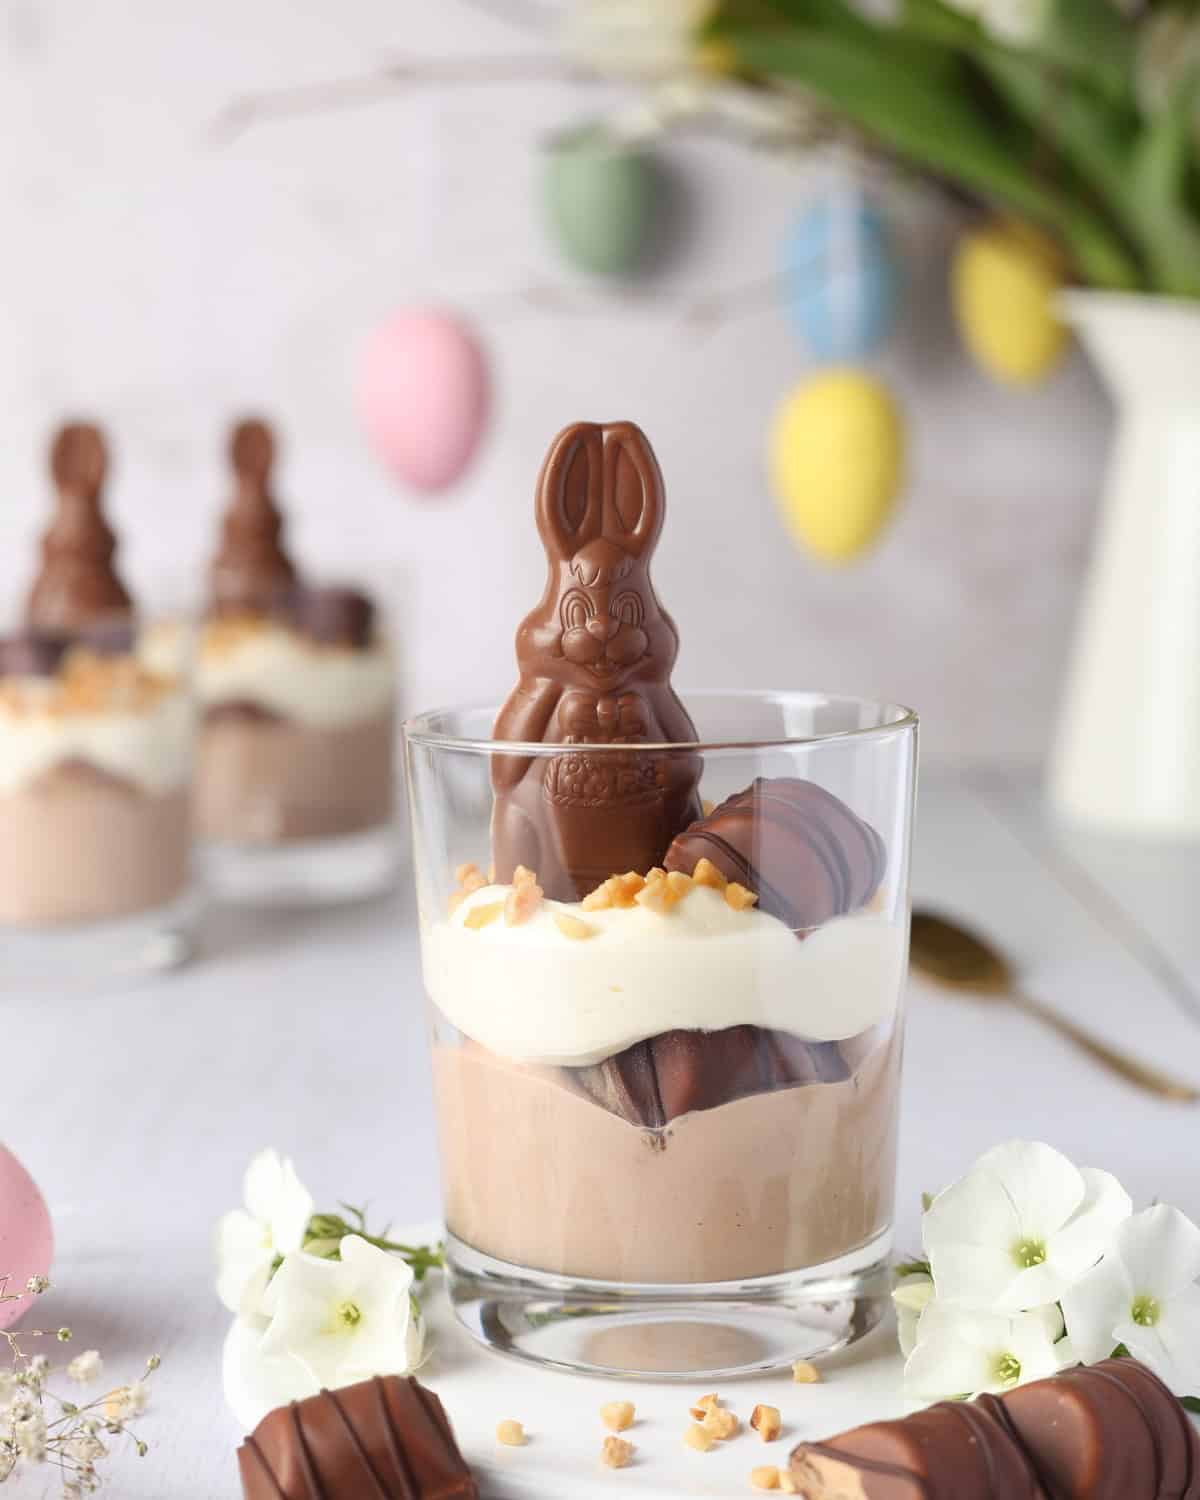
💡 At a Glance
- The Dessert: Creamy dessert cups layered with quark, mascarpone, Nutella, and crispy Bueno bars.
- Prep Time: Ready in just a few minutes, then it hangs out in the fridge to let those delicious flavors meld.
- Method: The Thermomix® does all the heavy lifting, whipping both the light and dark creams silky-smooth for layering.
You know the feeling, right? You’re hosting friends or just want to treat your family to a little something sweet after dinner, but you absolutely do not have the time for a fussy, complicated dessert.
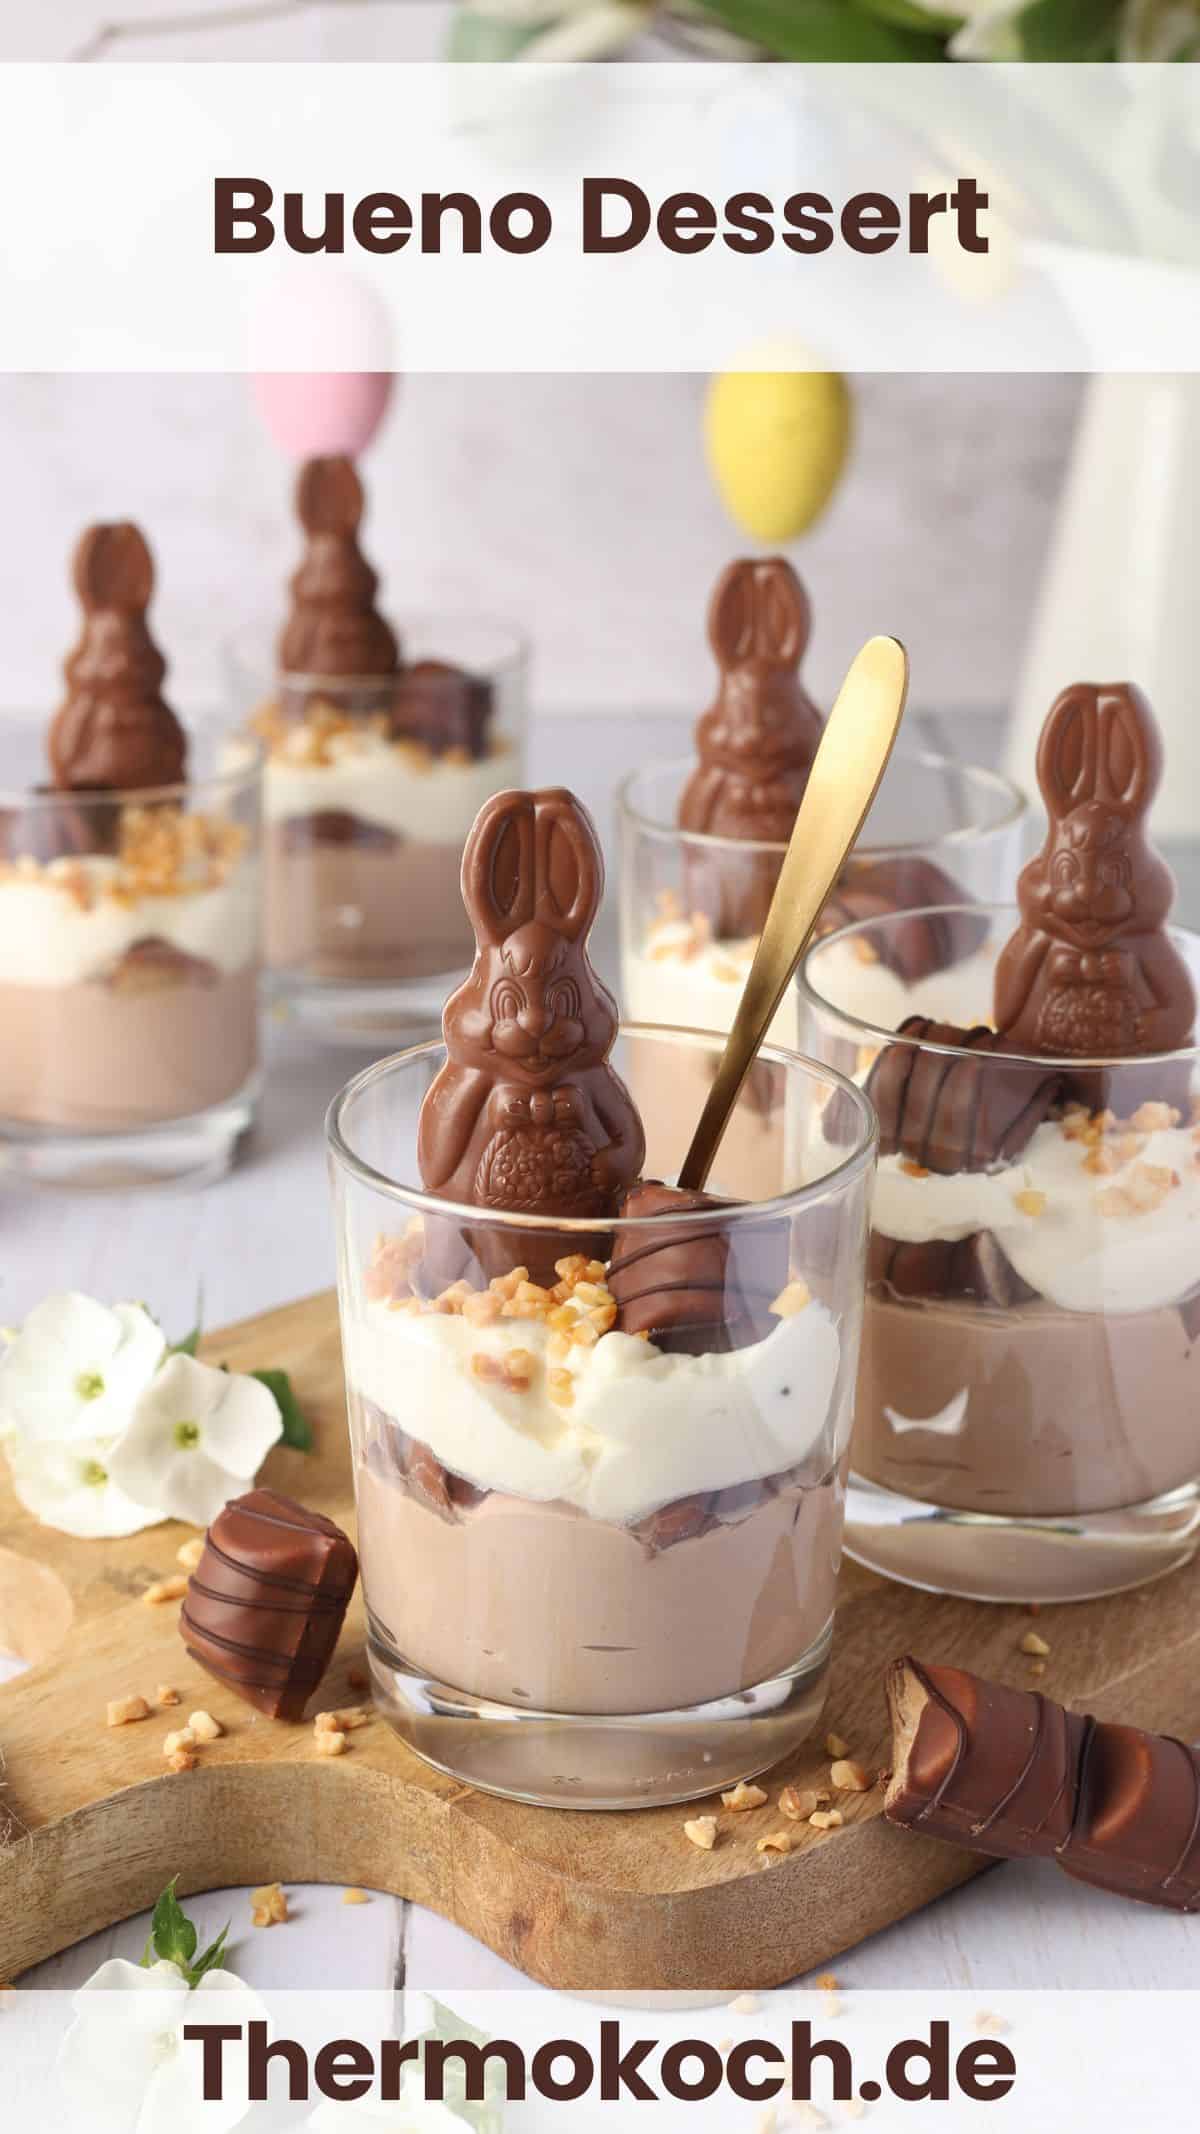
That is exactly where these Bueno Dessert cups come in. They are ridiculously quick to layer together, but they look so fancy and impressive on the table.
Your Thermomix® does all the work here, whipping both creams until they are beautifully smooth in just a matter of seconds.
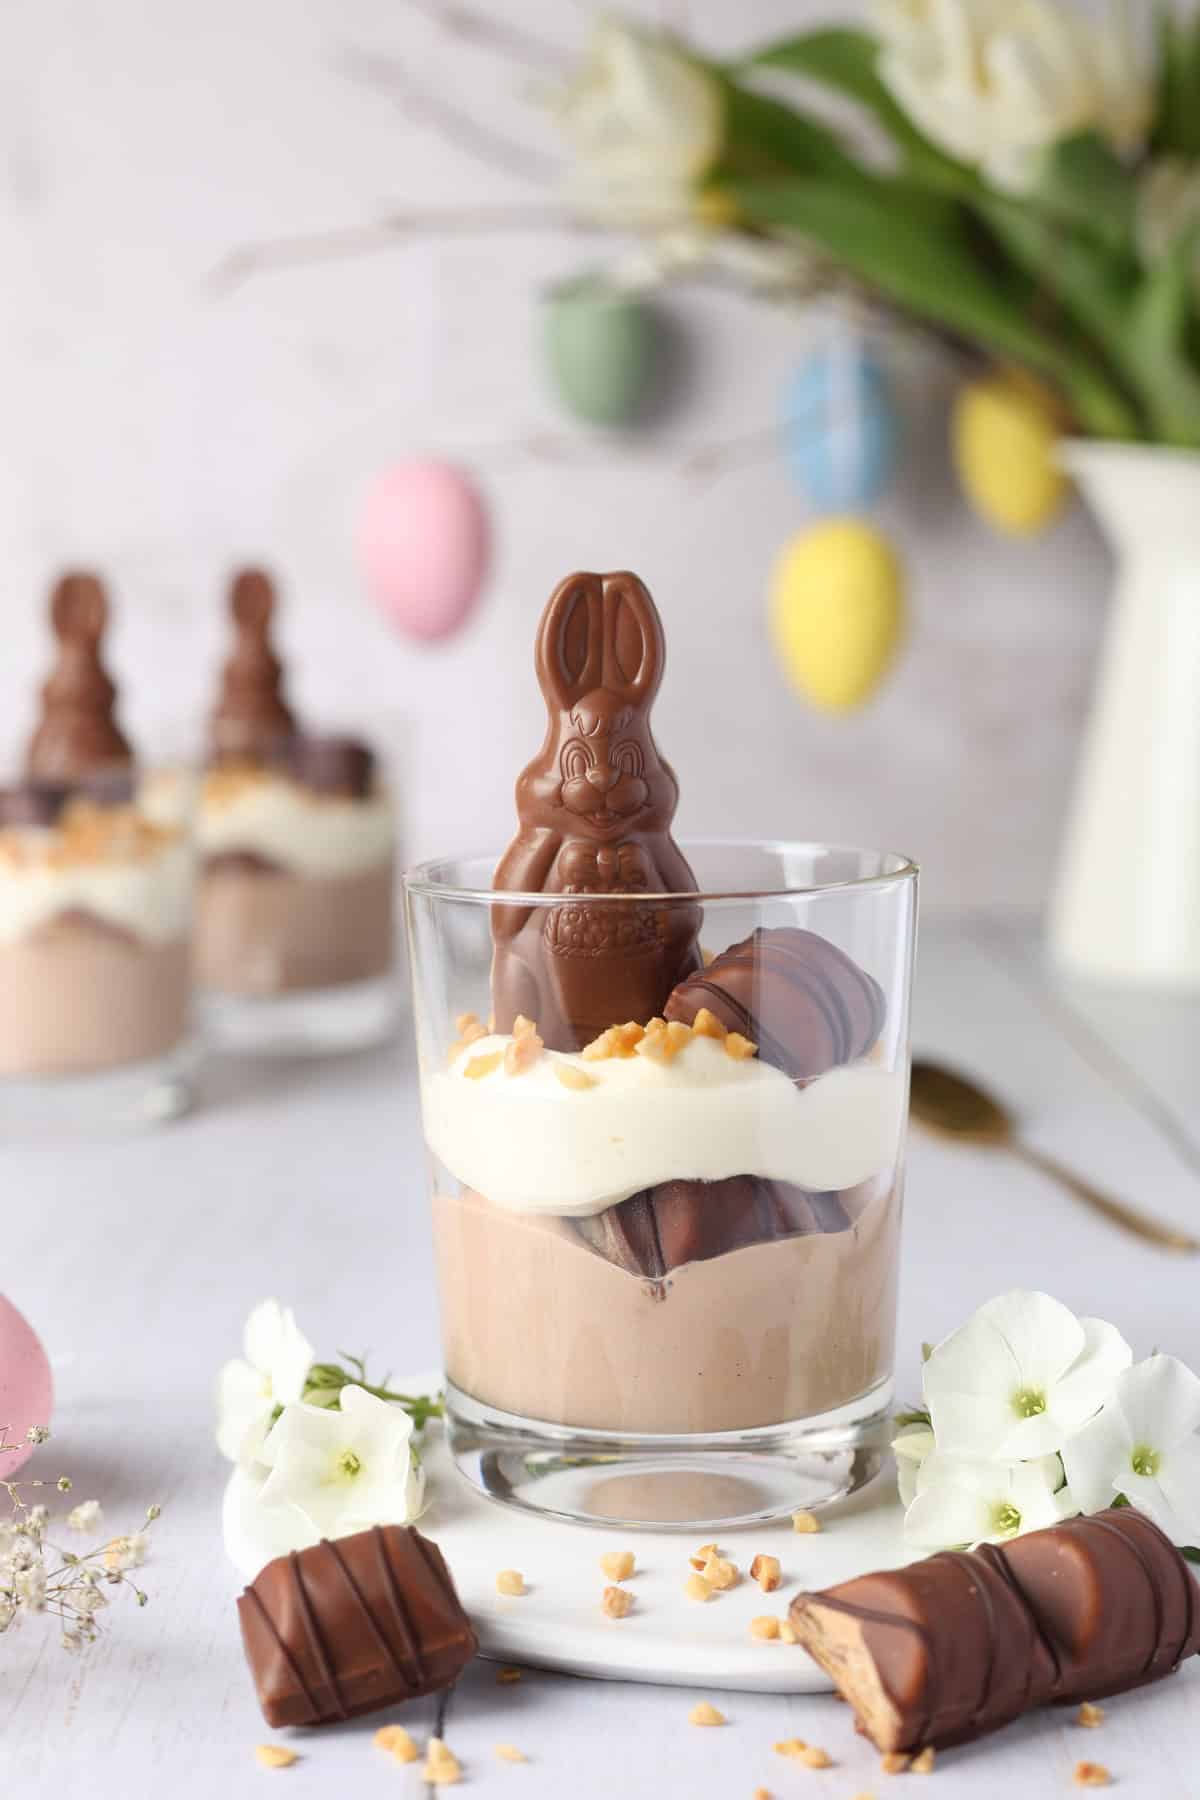
You’re going to love this dessert because it’s:
- ready to go in just a few quick minutes
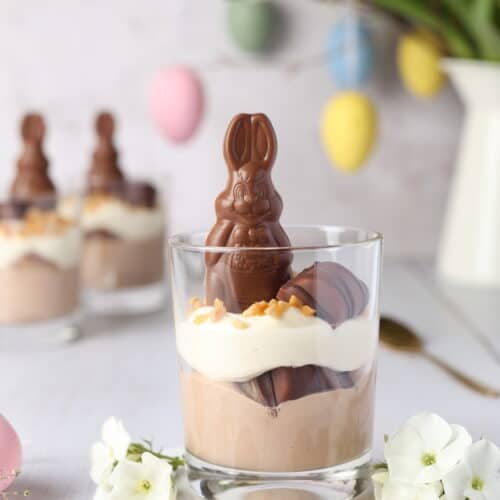
- a total showstopper served in cute little dessert glasses
- incredibly creamy and loaded with chocolate goodness
- super easy to whip up in your Thermomix®
- a massive hit with kids and adults alike
- the ultimate make-ahead treat for hosting
- packed with that perfect crunch from the hazelnuts
- so easy to tweak to your preferred sweetness
My Best Prep Tips
After the first blend, take a quick peek inside your mixing bowl. If your cream base isn’t completely silky-smooth yet, just give it another quick blitz so you don’t end up with any lumps.
If you want those gorgeous, clean layers in your glasses, I highly recommend using a piping bag to layer the cream. Don’t have one? No stress at all! A regular gallon Ziploc bag with a small corner snipped off works like a charm.
Feel free to adjust the amount of powdered sugar in the light cream layer. If you prefer your desserts a little less sweet, you can definitely cut back a bit, since the dark cream layer gets plenty of sweetness from the Nutella and Bueno bars.
Wait to pop the mini Bueno on top for garnish until right before serving. That way, it stays perfectly crispy and crunchy for when you dig in!
Can I make this dessert ahead of time?
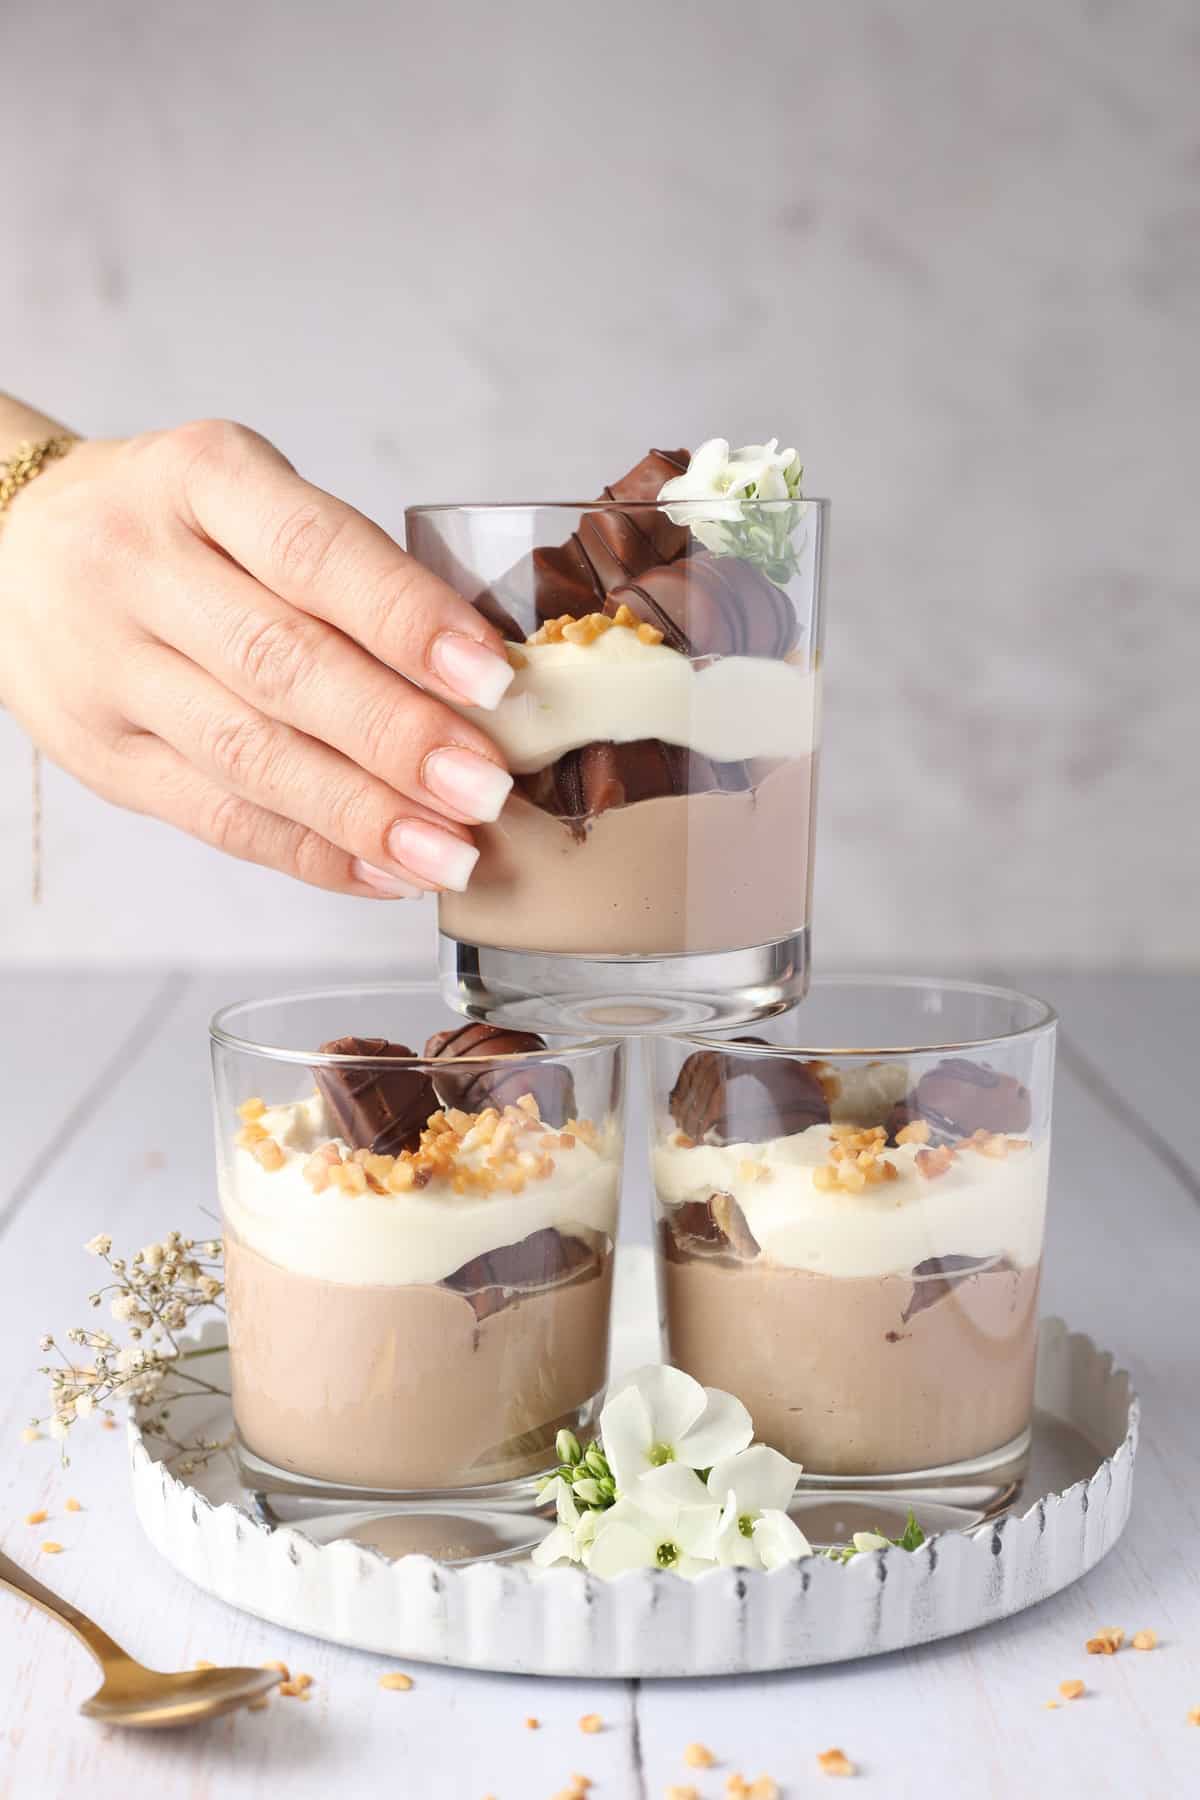
This Bueno dessert is the ultimate make-ahead treat! You can totally take your time layering the glasses, then just pop them in the fridge for an hour or two to chill.
The chopped Bueno pieces tucked between the creamy layers get perfectly soft and cake-like as they chill. It tastes absolutely incredible and brings the whole dessert together. If you happen to have any leftovers (which is a big if!), just cover the glasses and keep them in the fridge for up to a day.
Fun Variations & Tweaks
Adjust the sweetness: You’re totally in control here! If you prefer the light cream layer a little sweeter (or less sweet), just add more or less powdered sugar when you fold it into that half of the cheesecake base.
No piping bag? No problem: If you don’t have a pastry bag or a Ziploc handy, don’t sweat it. You can easily just spoon the dark and light creams into your glasses using a couple of small teaspoons.
Zutaten für das Bueno Dessert
- Quark (20 % Fett) – Sorgt für eine frische, leicht säuerliche Basis, die das Dessert nicht zu schwer macht.
- Mascarpone – Bringt die nötige Cremigkeit und den vollmundigen Schmelz in die Masse.
- Sahne – Macht die Creme luftiger und verbindet die Zutaten optimal.
- Vanillezucker – Unterstreicht die feine Süße der hellen Creme.
- Puderzucker – Löst sich im Thermomix® sofort auf und verhindert knirschende Zuckerkristalle.
- Nutella – Verleiht der dunklen Schicht den intensiven Haselnuss-Schoko-Geschmack.
- Kinder Bueno Riegel – Sorgen für den unverzichtbaren Crunch zwischen den Cremeschichten.
- Kinder Bueno Minis – Perfekt als optisches Highlight für die Dekoration.
- Kleine Schokohasen – Machen das Dessert zu einem echten Hingucker.
- Gehackte Haselnüsse – Verstärken das nussige Aroma und geben extra Textur.
Hinweis: Die genauen Mengenangaben und eine Schritt-für-Schritt-Anleitung findest du weiter unten in der Rezept-Karte.
Zubereitung: So machst du das Bueno Dessert
Die genauen Zeiten und Einstellungen findest du unten in der Rezeptkarte. Hier zeige ich dir den Ablauf und erkläre, warum ich den Thermomix® für dieses Rezept so einsetze:
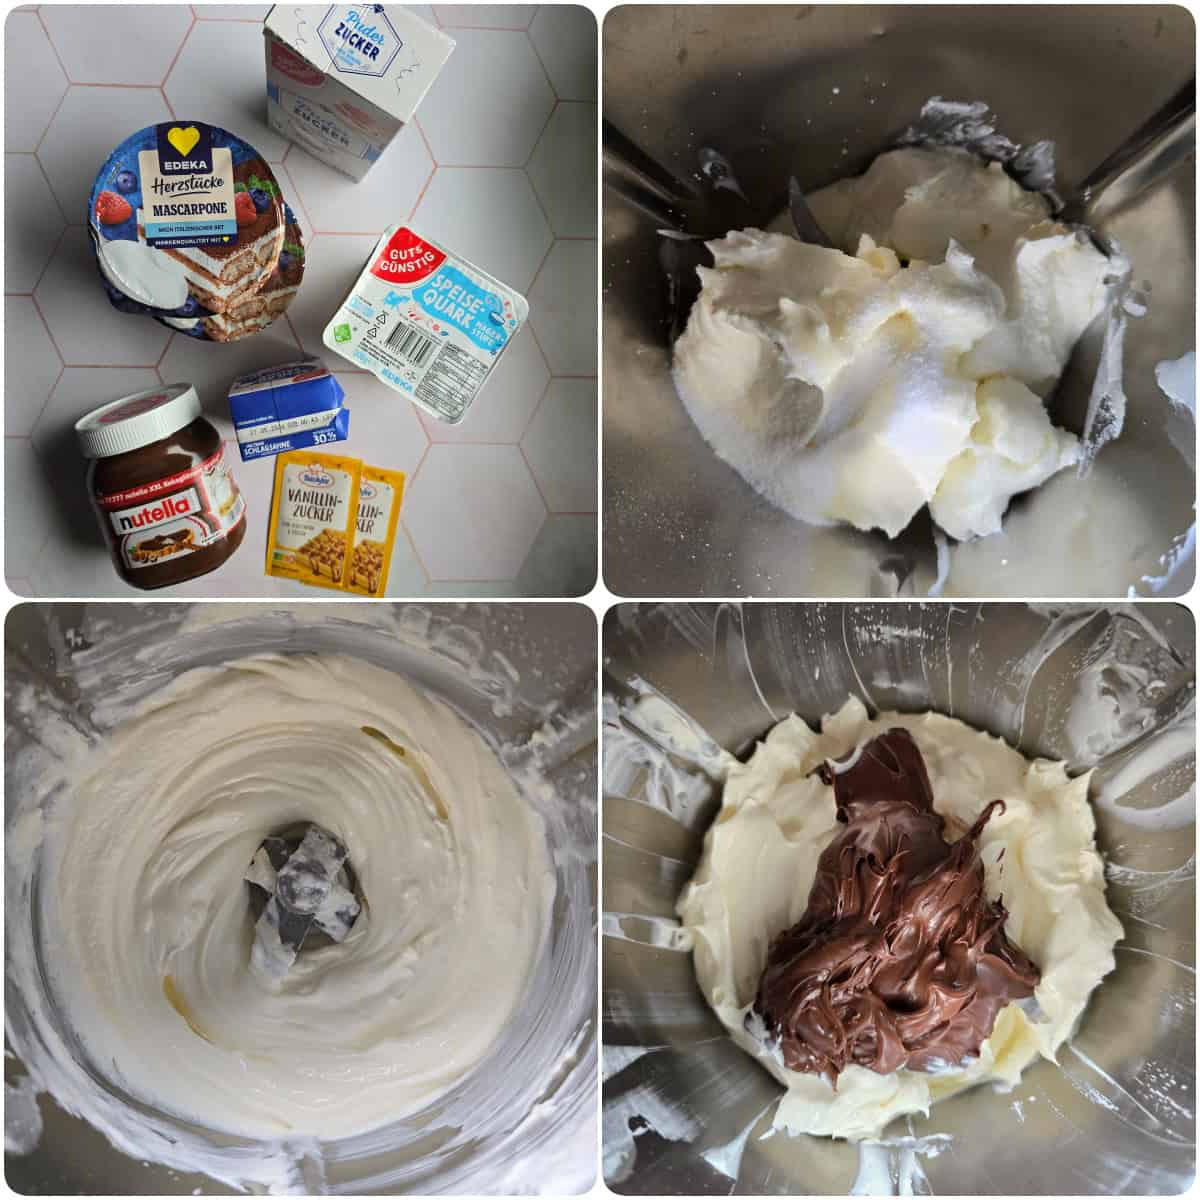
Gib Quark, Mascarpone, Sahne, Vanillezucker und Puderzucker in den Mixtopf. Der Thermomix® vermengt die Zutaten durch die konstante Rotation in Sekundenschnelle zu einer absolut homogenen Masse, ohne dass die Sahne überschlägt.
Prüfe die Konsistenz. Falls nötig, lass das Messer noch einmal kurz rotieren, bis die Creme seidenglatt ist.
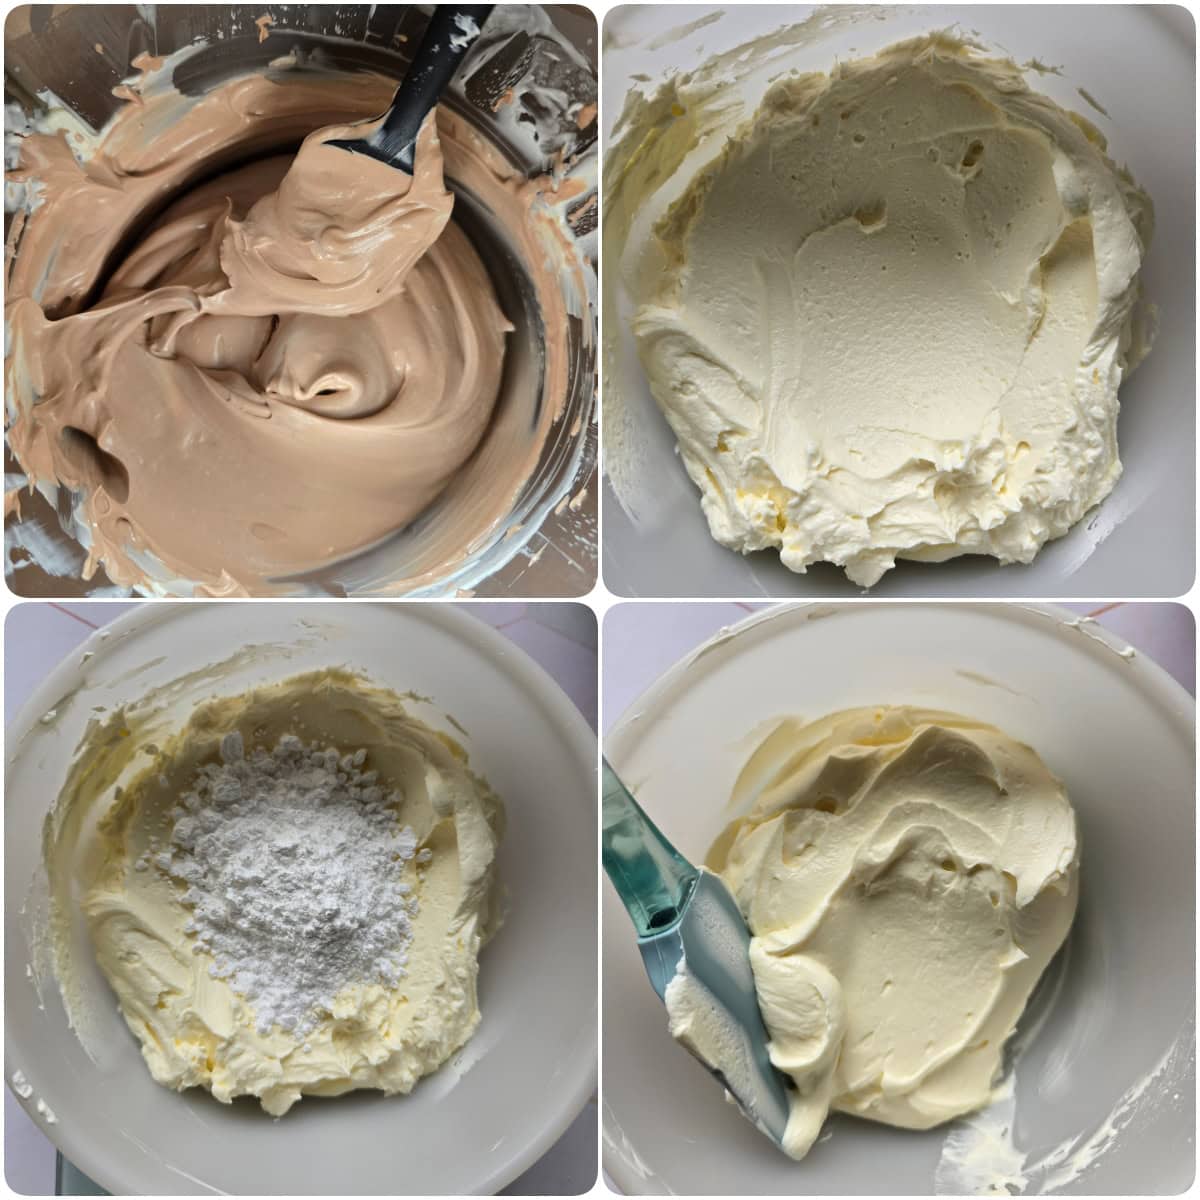
Fülle die Hälfte der Masse um und hebe den restlichen Puderzucker unter. Das ist deine helle Cremeschicht.
Gib nun das Nutella zur verbleibenden Masse im Mixtopf. Durch das erneute Mixen verbindet sich die Schokocreme perfekt und wird wunderbar luftig.
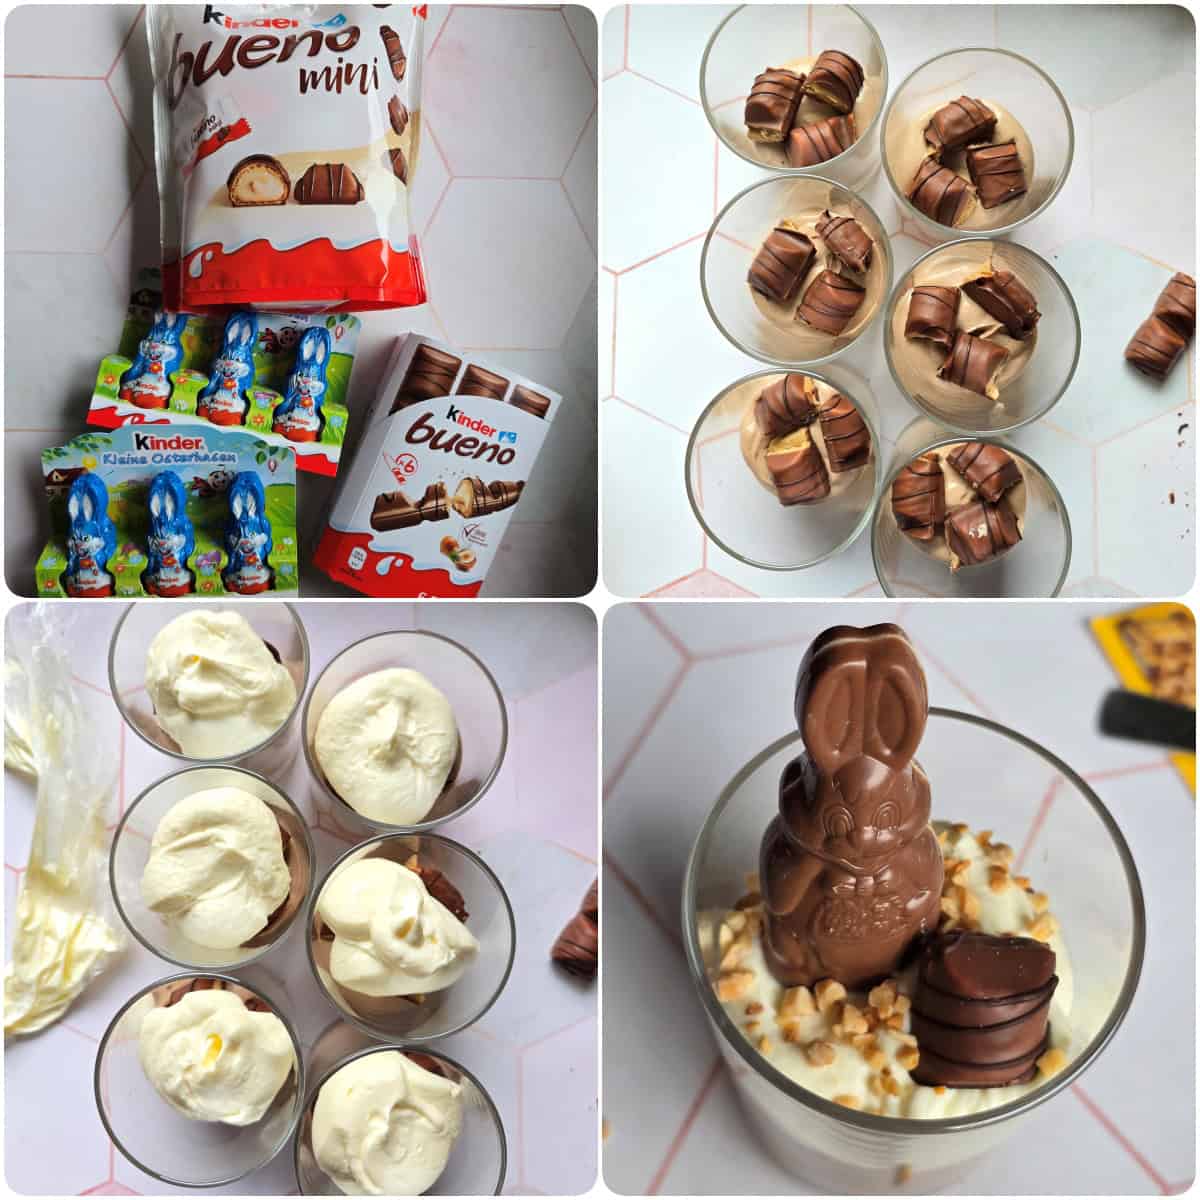
Fülle die dunkle Nutella-Creme als erste Schicht in deine Gläser. Nutze dafür am besten einen Spritzbeutel für saubere Ränder.
Brich die Bueno-Riegel in Stücke und verteile sie auf der dunklen Creme. Sie sorgen für den perfekten Crunch.
Gib anschließend die helle Creme als nächste Schicht darüber.
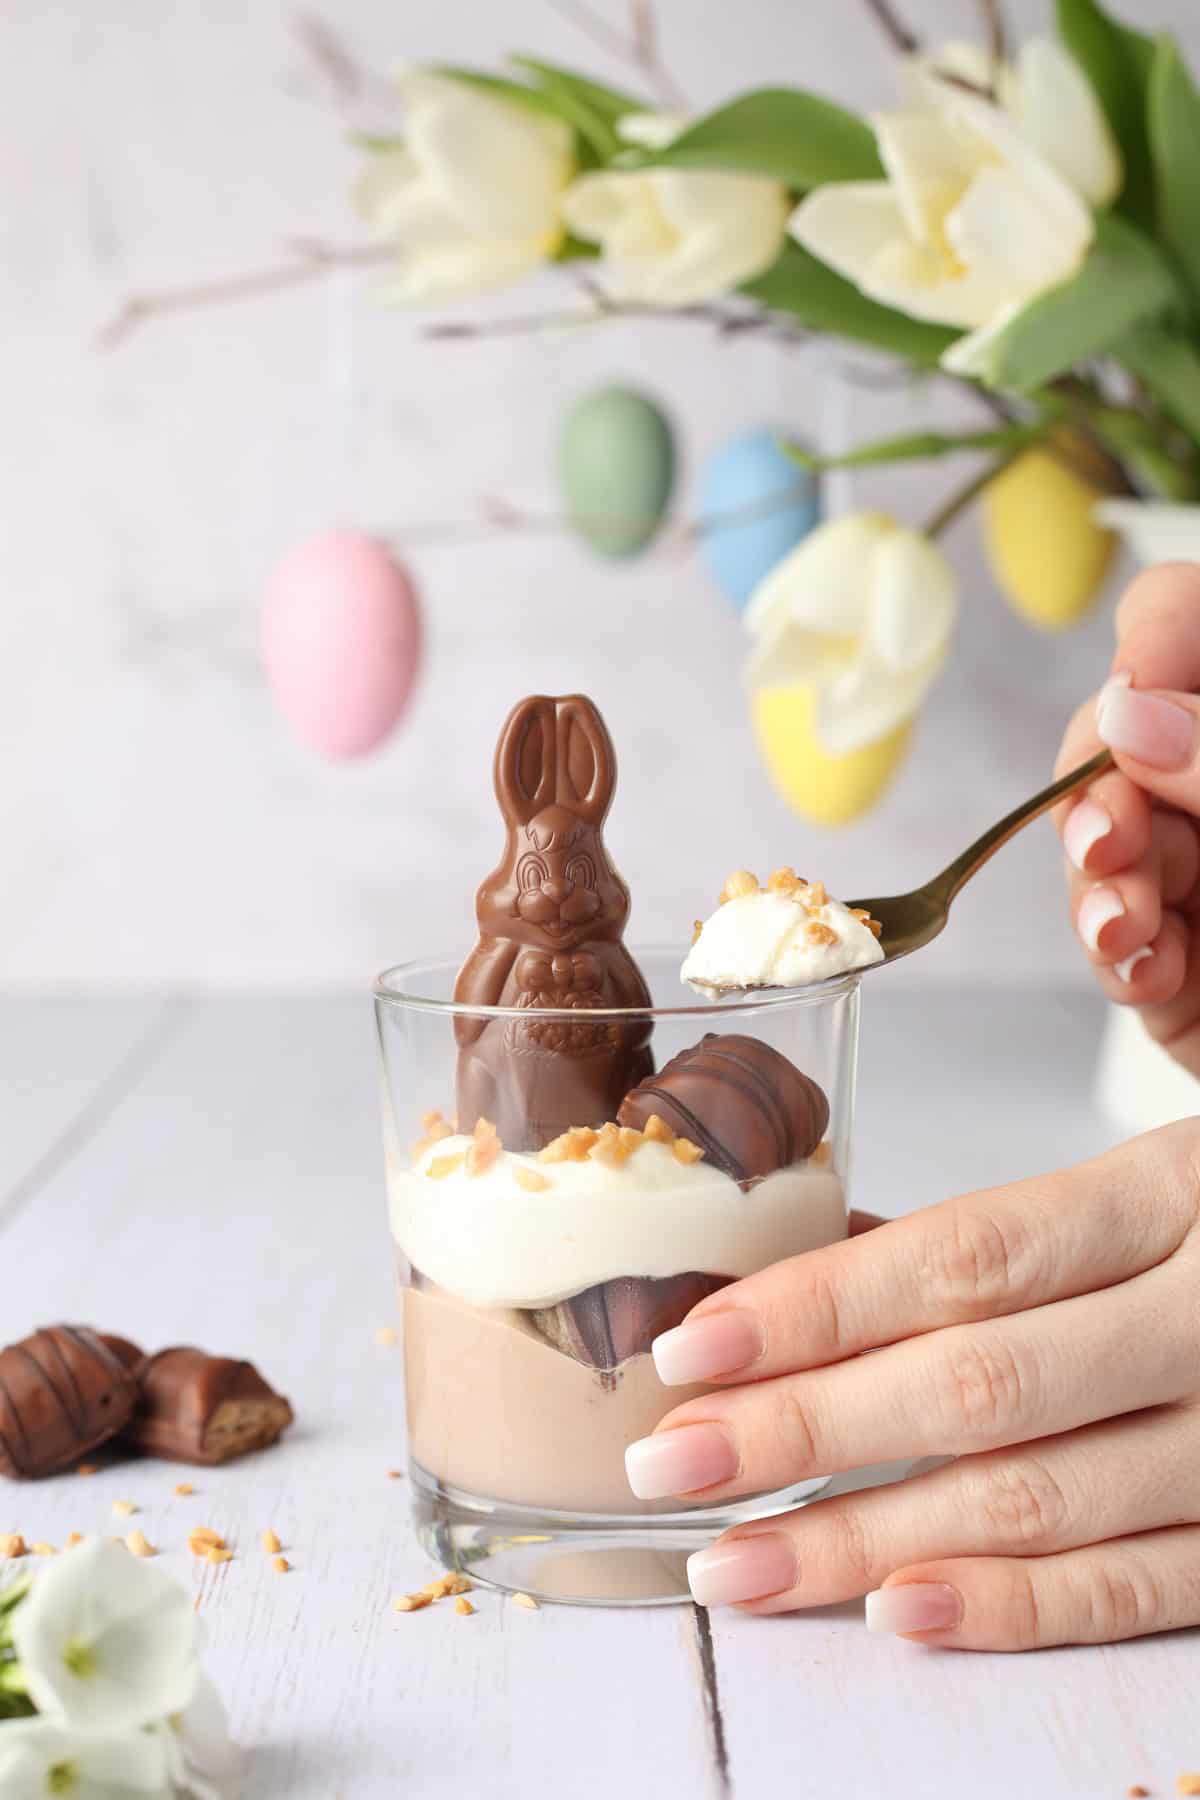
Dekoriere jedes Glas mit einem Schokohasen, einem Mini-Bueno und etwas gehackten Haselnüssen.
Stell die Gläser vor dem Servieren in den Kühlschrank, damit die Cremes perfekt durchziehen können.
I hope you have so much fun making this!
Enjoy every bite, and if you love this, you definitely need to try my delicious Apple Cheesecake Dessert Cups with Streusel!
If you enjoyed my recipe for Kinder Bueno Dessert, be sure to check out my Blackberry Mascarpone Trifle in a Jar too!
Cheers, Christoph
Bueno Dessert
Click the stars to leave a rating & comment
Print Pin recipe Start cookingIngredients
Cheesecake Base:
- 300 g Quark 20 % (approx. 10.5 oz)
- 300 g Mascarpone (approx. 10.5 oz)
- 50 g Heavy cream (approx. 2 oz)
- 2 Pck. Vanilla sugar
- 40 g Powdered sugar (approx. 1.5 oz)
Dark Cream:
- Cheesecake base about half
- 100 g Nutella (approx. 3.5 oz)
Light Cream:
- Cheesecake base about half
- 30 g Powdered sugar extra (approx. 1 oz)
Toppings & Extras:
- 5 Kinder Bueno bars
- 6 Mini Kinder Buenos
- 6 Small chocolate bunnies
- 1 TL Chopped hazelnuts
Instructions
The Cheesecake Base:
- 300 g (approx. 10.5 oz) Quark, 300 g (approx. 10.5 oz) Mascarpone, 50 g (approx. 2 oz) Heavy cream, 2 Pck. Vanilla sugar, 40 g (approx. 1.5 oz) Powdered sugarFirst, add the quark, mascarpone, heavy cream, vanilla sugar, and powdered sugar to your mixing bowl and blend everything for 30 sec. / speed 4 until nice and creamy. Check the bowl and, if needed, mix for another 10 sec. / speed 4—you want the cream to be beautifully smooth and completely lump-free at the end!
The Two Creams:
- Cheesecake base, 30 g (approx. 1 oz) Powdered sugarNow, take out about half of the mixture—that should be roughly 350 g (approx. 12.5 oz). Using a spatula, gently fold 30 g (approx. 1 oz) of powdered sugar into this portion until it’s perfectly combined. This is your light cream.
- Cheesecake base, 100 g (approx. 3.5 oz) NutellaTo the remaining mixture in your mixing bowl, add 100 g (approx. 3.5 oz) of Nutella and blend for 10 sec. / speed 5. This is your dark cream.
Assembling the Jars:
- 5 Kinder Bueno bars, 6 Mini Kinder Buenos, 6 Small chocolate bunnies, 1 TL Chopped hazelnutsStart by piping the dark Nutella cream into your glasses as the bottom layer. For the cleanest look, I highly recommend using a piping bag (or a ziplock bag with the corner snipped off!).Next, break the Bueno bars into bite-sized pieces and layer them right on top of the dark cream (about 3 pieces per glass, depending on the size).Top that off with a layer of the light cream. Finally, tuck a chocolate bunny into the top, place a mini Bueno right next to it, and sprinkle with some chopped hazelnuts.Pop the glasses into the fridge to chill for about 1–2 hours.