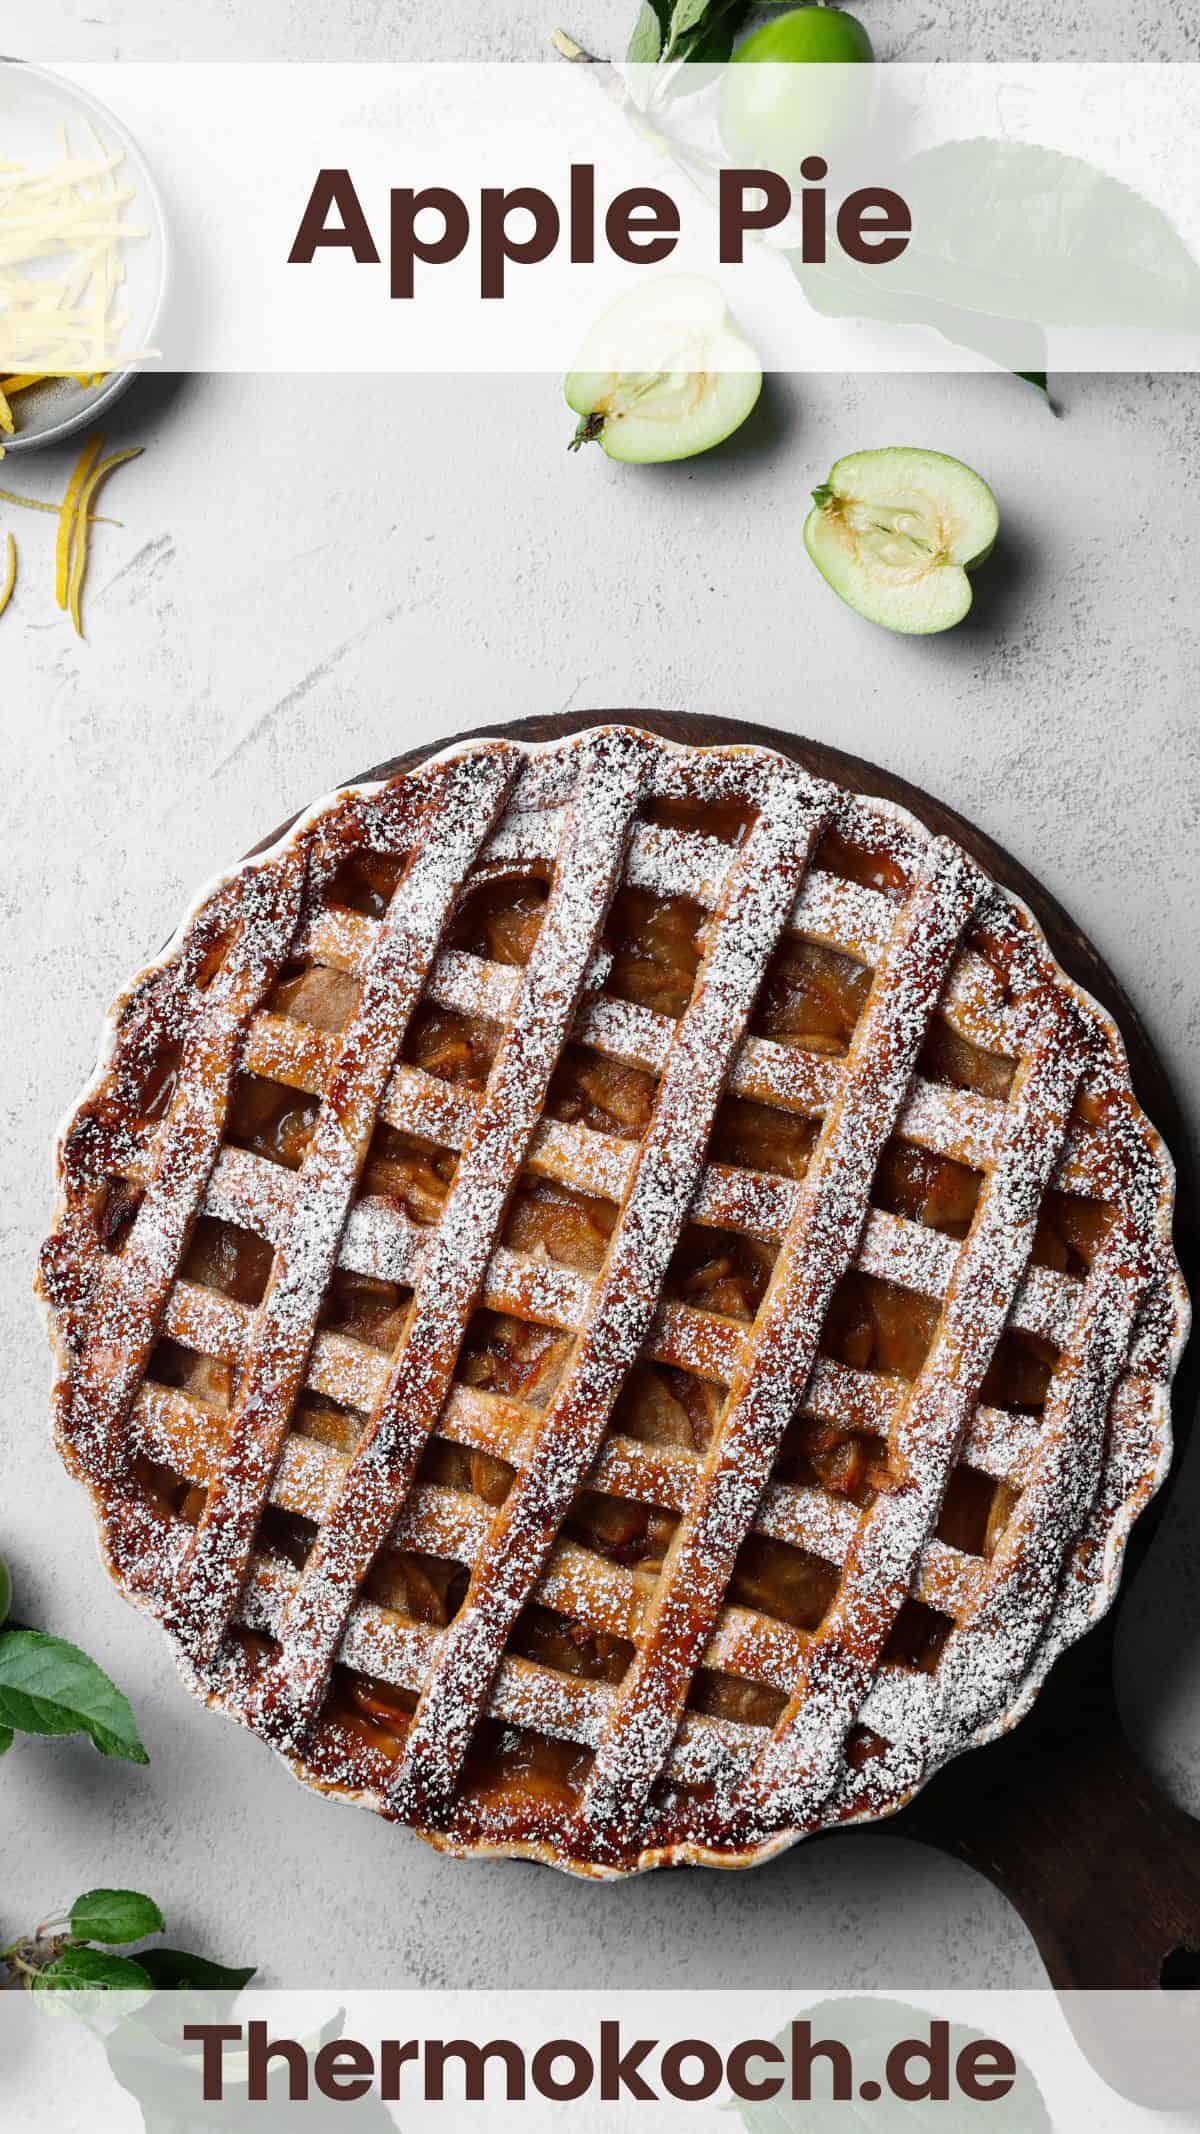
💡 At a Glance
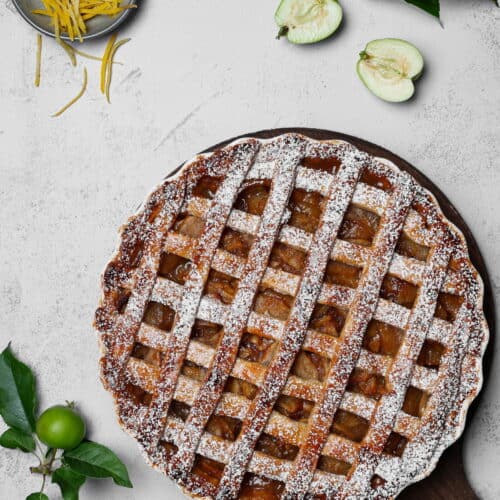
- The Pie: Classic American apple pie featuring a buttery, flaky crust and a tender, warm apple-cinnamon filling sweetened with a splash of maple syrup.
- Time Required: Super quick crust prep, though it needs some time to chill in the fridge and a few hours to cool completely after baking.
- Method: The Thermomix® brings the chilled pie dough together in seconds before it bakes up to golden perfection in the oven.
Is there anything better than a timeless baking classic fresh out of the oven that makes your whole house smell heavenly? If you’re craving pure comfort food that brings a smile to everyone’s face, this classic Apple Pie is calling your name.
With a little help from your Thermomix®, you’ll bring together the ultimate flaky pie crust in seconds—no messy, sticky hands required!
Paired with a juicy, perfectly spiced apple filling and a gorgeous golden crust, this recipe is practically foolproof and guaranteed to impress.
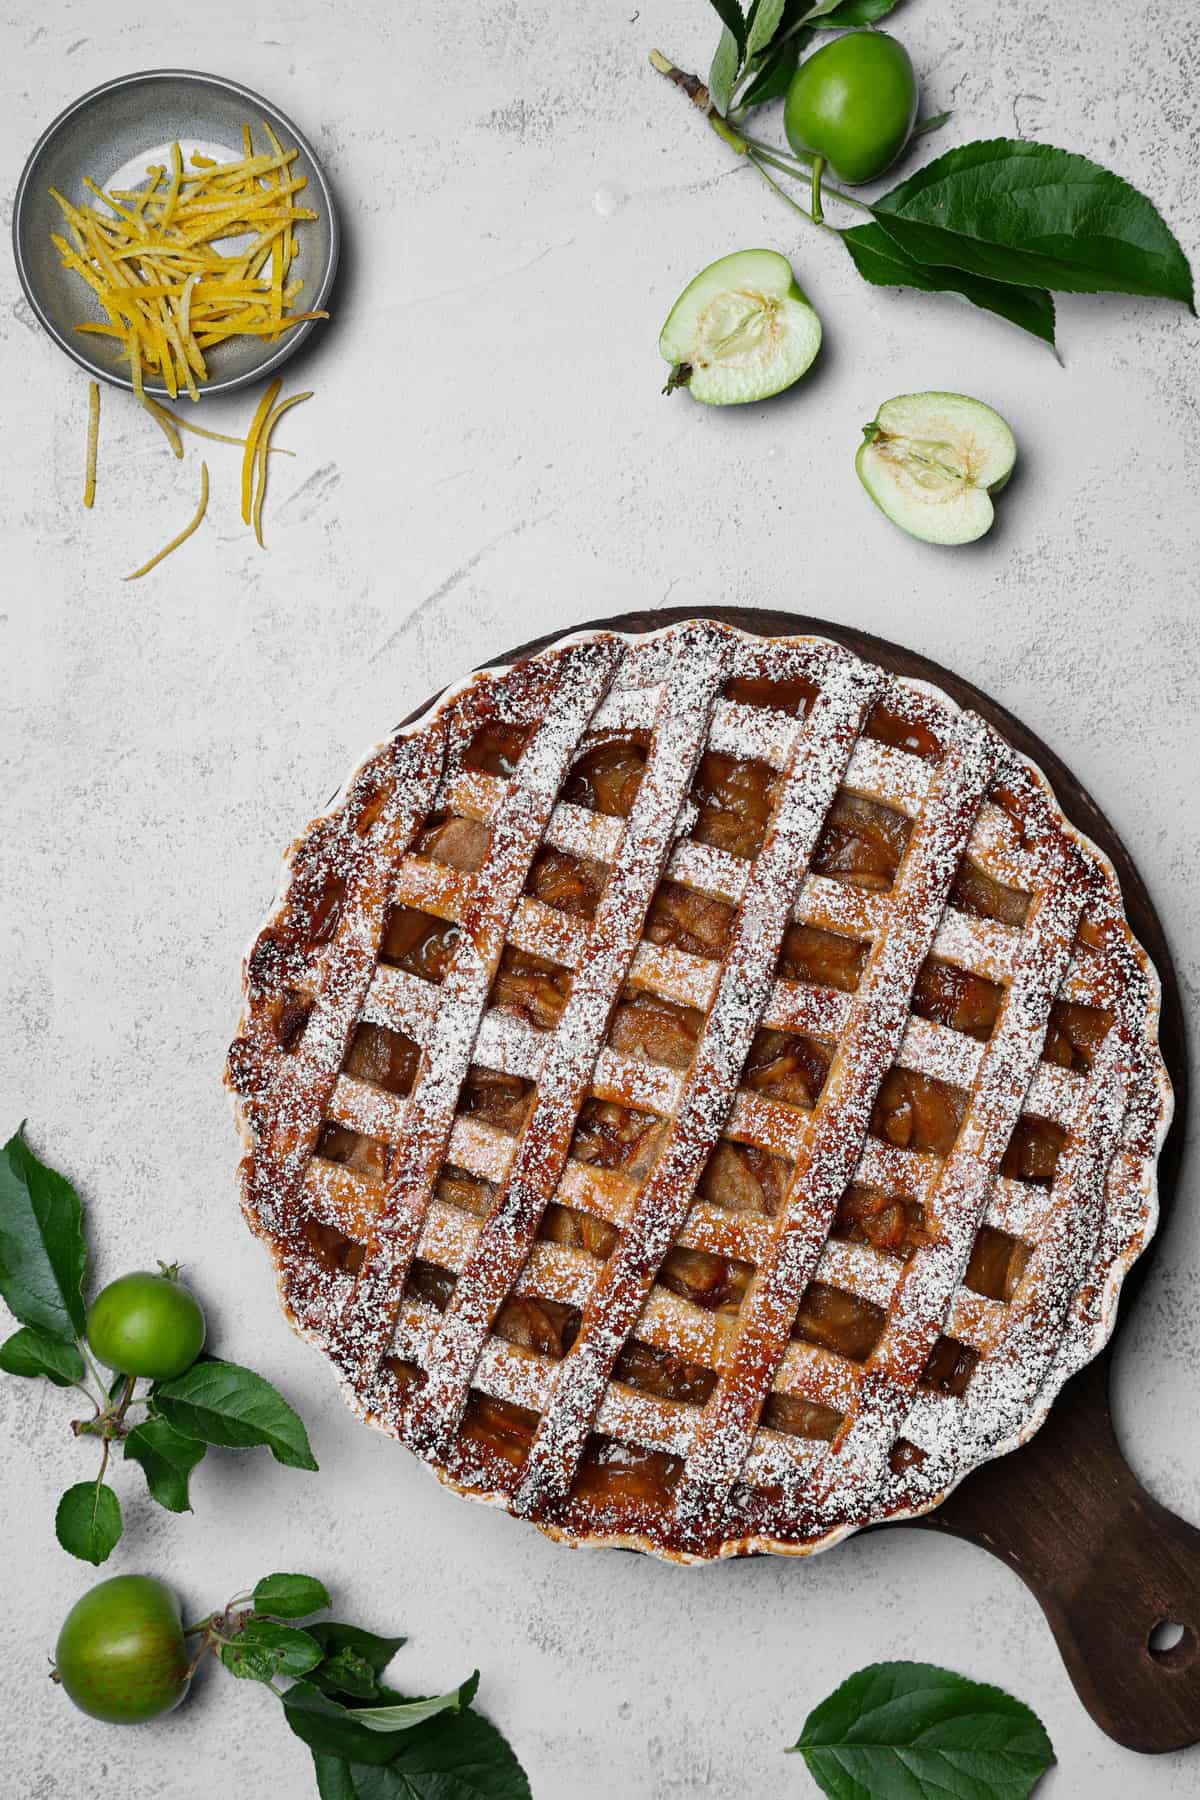
Why you’ll love this recipe:
- An absolute classic that is always a total crowd-pleaser
- Super quick and easy to whip up thanks to the Thermomix®
- Packed with a sweet, juicy, generous apple filling
- Bakes up with a delightfully tender, flaky, buttery crust
- Easy to customize with a beautiful lattice top
- Perfect for cozy weekend afternoons and family gatherings
- Super beginner-friendly—you can’t mess this up!
- Tastes incredible served warm or chilled
My Top Recipe Tips
Make sure your butter for the pie crust is ice-cold and cut into small cubes before blending. Cold butter is the secret to getting that insanely tender, flaky crust after baking!
Slice your peeled apples thinly—about 1/8-inch thick. Using a mandoline slicer makes quick work of this and guarantees that all the apples cook evenly to tender perfection in the oven.
Once you toss the apples with the spices, let the mixture sit for about 15 to 20 minutes to macerate. Just be sure to leave any excess juice behind in the bowl when filling your pie so the bottom crust stays nice and crisp instead of soggy.
Be sure to let your baked apple pie cool on a wire rack for 3 to 4 hours. I know it’s hard to resist, but this waiting time is crucial so the rich, juicy filling can set properly for clean, beautiful slices!
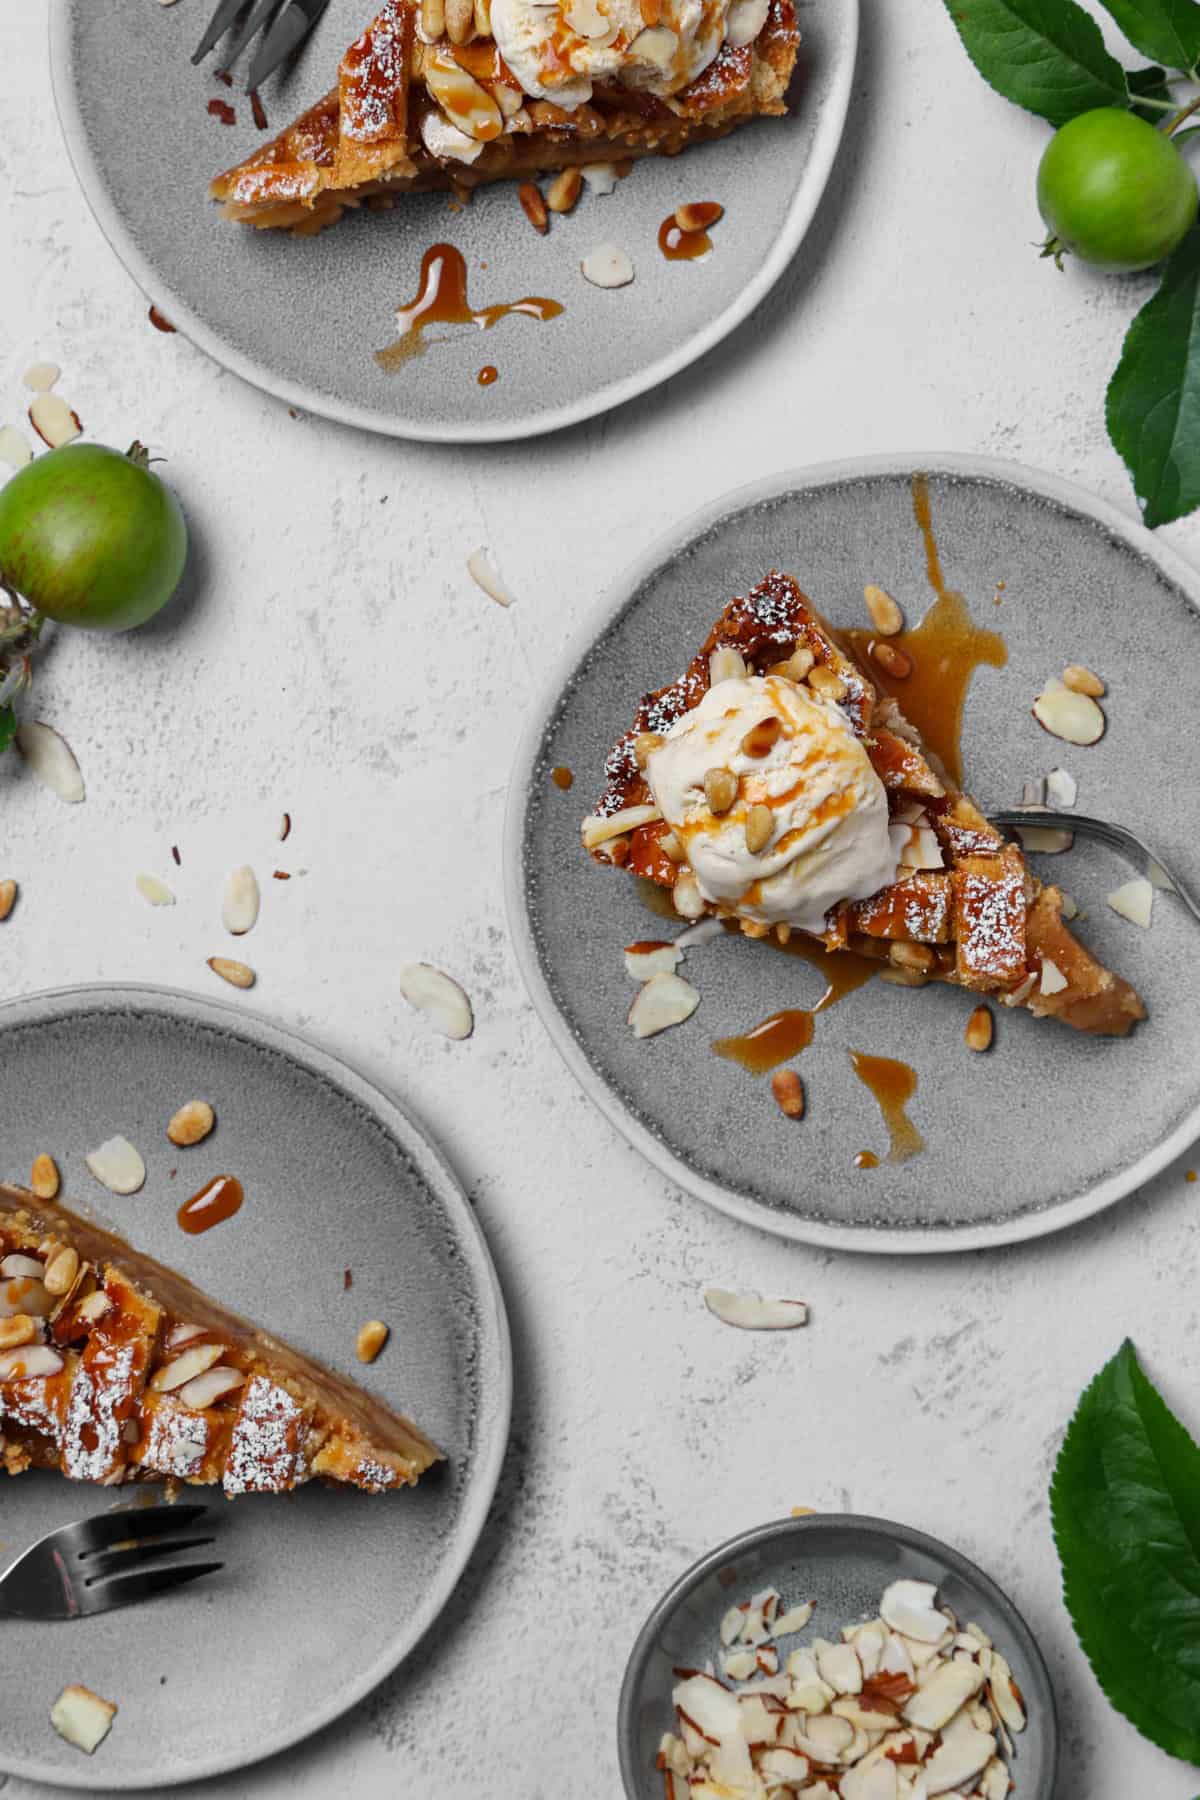
Make-Ahead & Storage Tips
Yes, you can totally make this apple pie ahead of time! The pie crust is super easy to prep in advance—just wrap it up and let it chill in the fridge until you’re ready to roll.
The apple filling actually gets better with a little extra time, too. Letting it sit gives those juicy apples a chance to release their flavor and combine perfectly with the cornstarch.
Once baked, the pie stays fresh covered at room temperature for a couple of days—and honestly, it tastes even better the next day!
Fun Variations & Easy Swaps
The Apples: Feel free to use your favorite firm, slightly tart baking apples. Braeburn, Honeycrisp, or Jonagold all work amazingly well here.
Top Crust Design: Get as creative as you like! You can roll out the dough to cover the pie completely (just remember to cut a few vent slits for steam!), or slice it into strips to weave a gorgeous classic lattice crust.
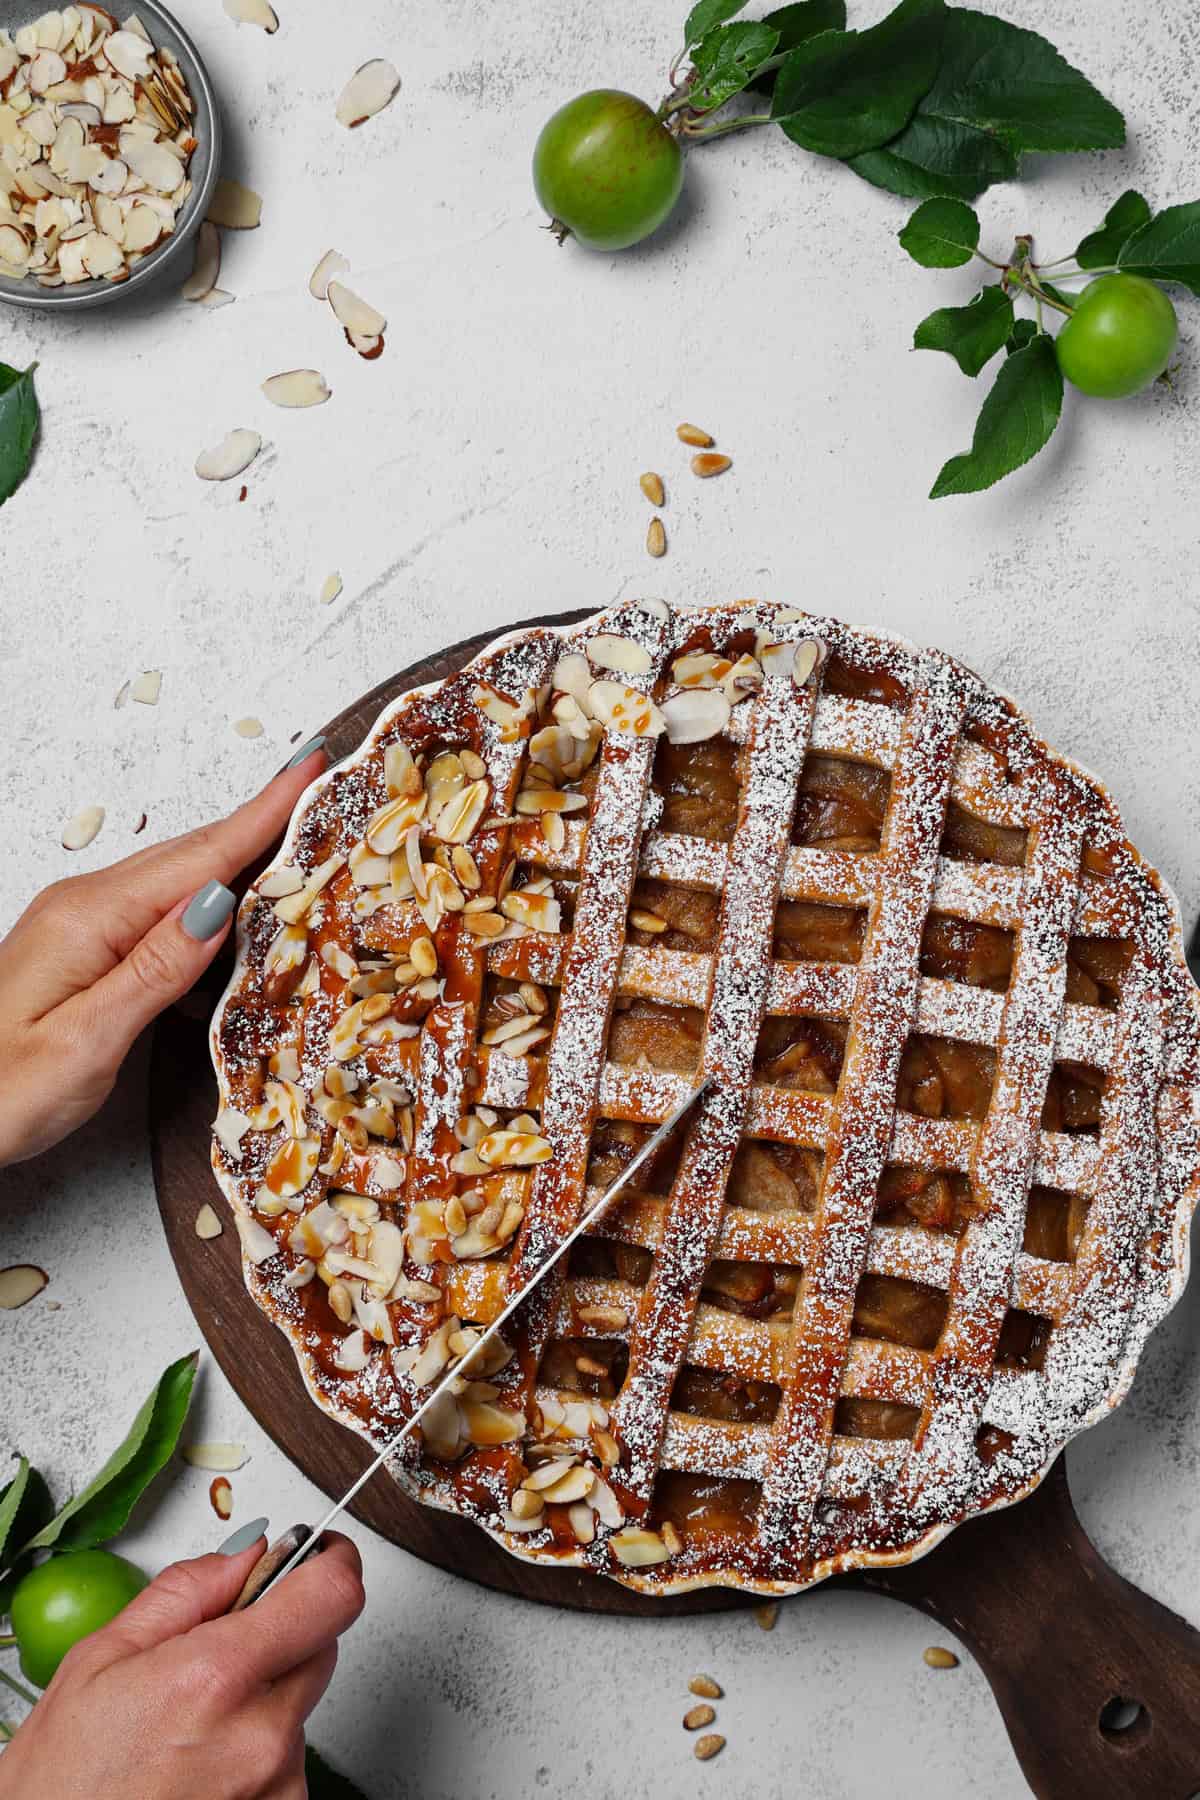
Ingredients You’ll Need for Apple Pie
For the Pie Crust:
- 350 g (approx. 12.5 oz) all-purpose flour
- 200 g (approx. 7 oz) cold unsalted butter, cubed
- 50 g (approx. 2 oz) brown sugar
- 40 g (approx. 1.5 oz) ice-cold water
- 1 pinch of salt
For the Apple Filling:
- 1.3 kg apples (about 3 lbs, e.g., Braeburn or Jonagold)
- Juice of 1 lemon
- 100 g (approx. 3.5 oz) brown sugar
- 50 g (approx. 2 oz) pure maple syrup
- 40 g (approx. 1.5 oz) cornstarch
- 1 tsp vanilla extract
- 1 ½ tsp ground cinnamon
Apple Pie
Click the stars to leave a rating & comment
Print Pin recipe Start cookingIngredients
For the Pie Crust
- 350 g All-purpose flour Type 405 (approx. 12.5 oz)
- 200 g Cold butter cut into small cubes (approx. 7 oz)
- 50 g Brown sugar (approx. 2 oz)
- 40 g Cold water (approx. 1.5 oz)
- 1 pinch Salt
For the Apple Filling
- 1.3 kg Apples approx. 6-8 medium, e.g., Braeburn or Jonagold
- 1 Lemon juiced
- 100 g Brown sugar (approx. 3.5 oz)
- 50 g Maple syrup (approx. 2 oz)
- 40 g Cornstarch (approx. 1.5 oz)
- 1 tsp Vanilla extract
- 1.5 tsp Ground cinnamon
- 0.25 tsp Salt
- 30 g Unsalted butter cut into small cubes (+ a little extra for greasing the pan) (approx. 1 oz)
For the Egg Wash
- 1 Egg yolk
- 1 tbsp Milk
Instructions
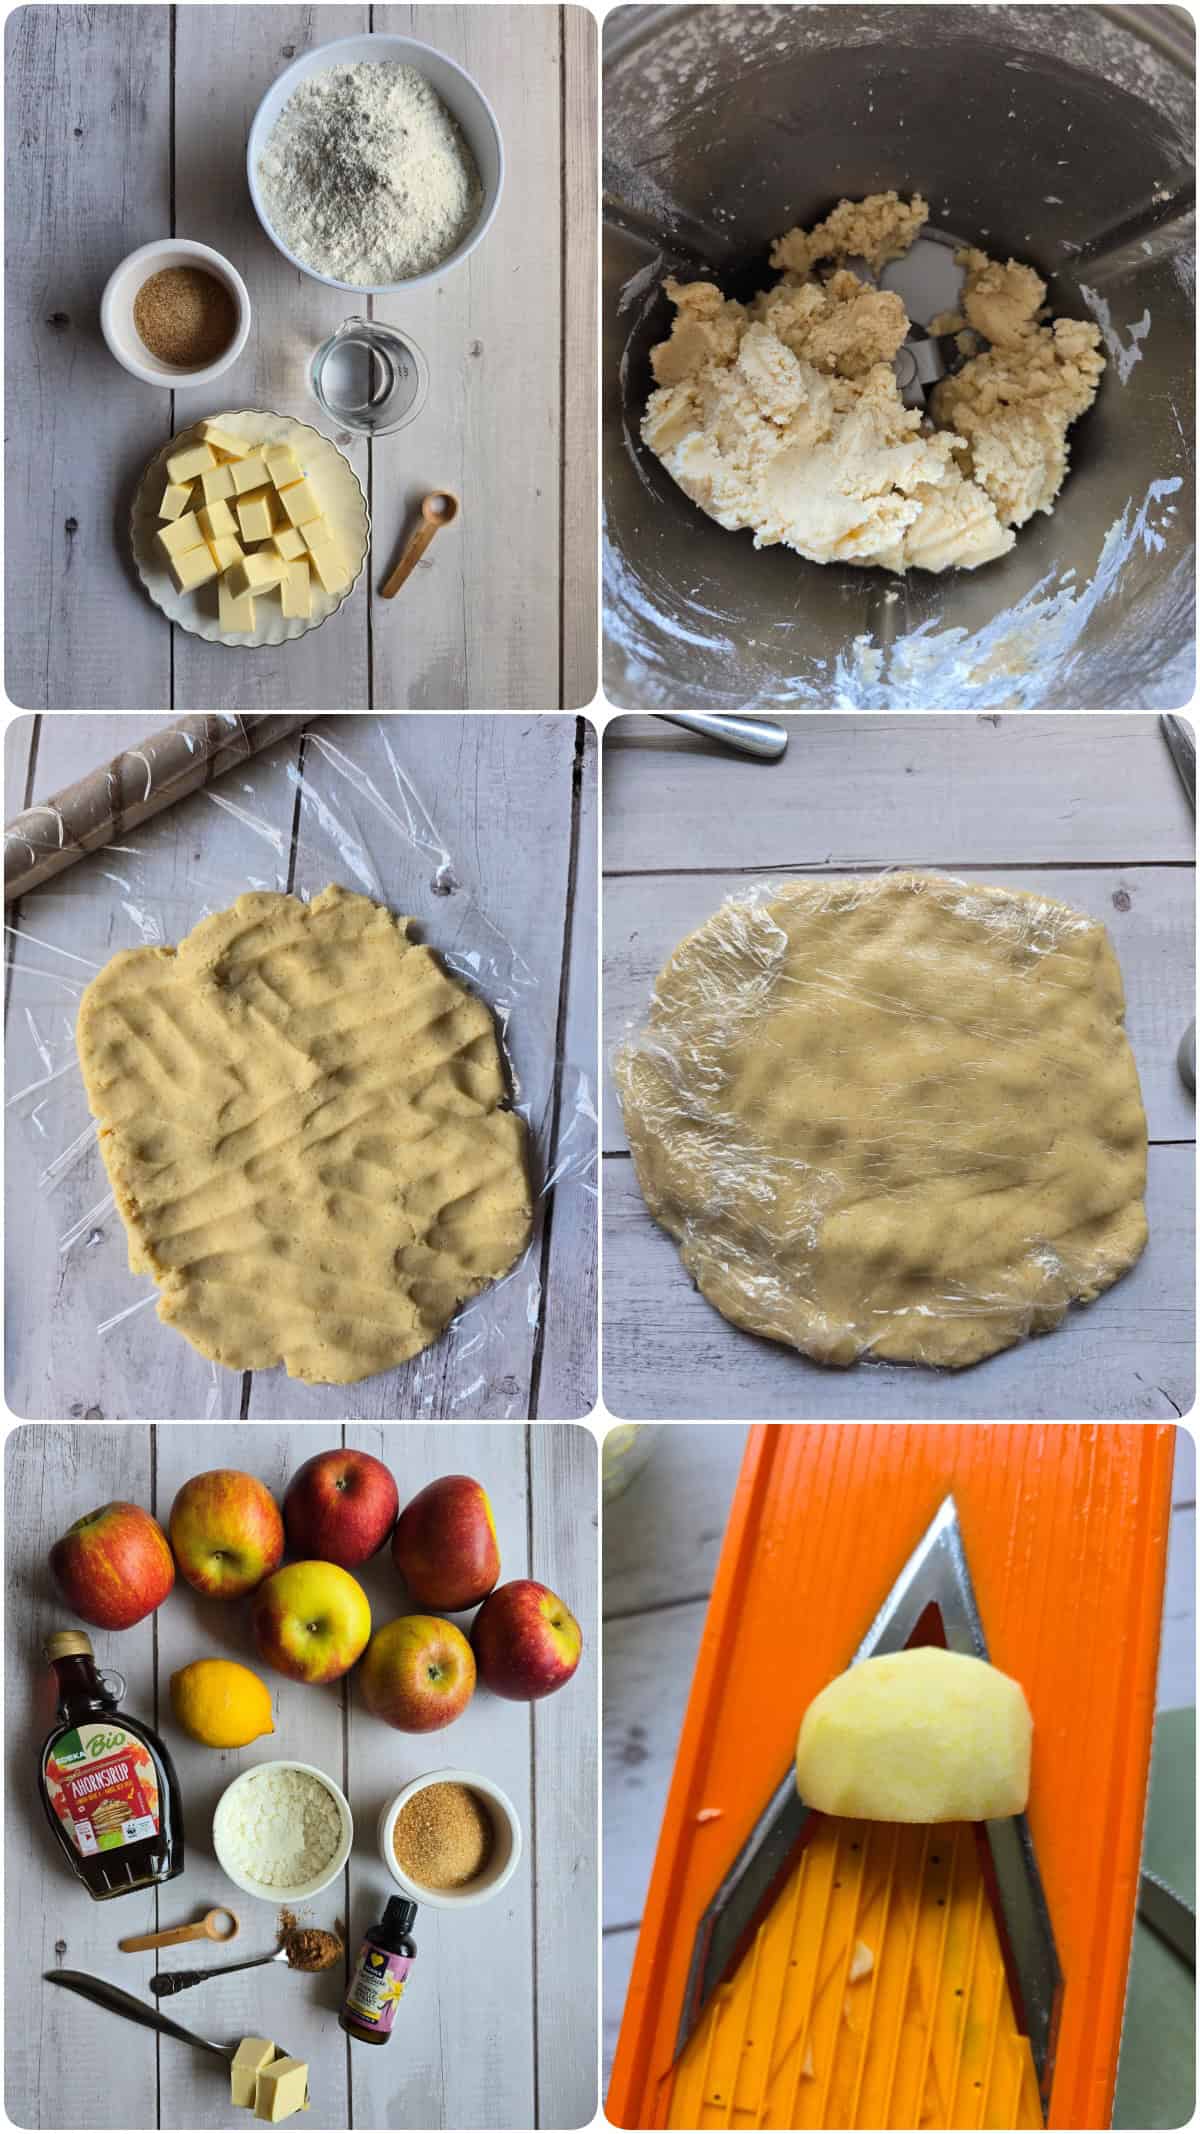
- 200 g (approx. 7 oz) Cold butterMake sure your butter is super cold and cut into small cubes.
- 350 g (approx. 12.5 oz) All-purpose flour, 200 g (approx. 7 oz) Cold butter, 50 g (approx. 2 oz) Brown sugar, 40 g (approx. 1.5 oz) Cold water, 1 pinch SaltAdd the flour, cold butter cubes, brown sugar, cold water, and salt to the mixing bowl and knead for 25 sec / Speed 5.
- Bring the dough together and press it into a flattened disc. Wrap tightly in plastic wrap and chill in the fridge for 1 hour. This is crucial for getting that perfectly flaky crust and making it easy to roll out later!
- 1.3 kg ApplesMeanwhile, give the apples a good wash. Peel, core, and slice them into thin slices (about 3–4 mm thick). Slicing them thin ensures they bake up perfectly tender in the oven.
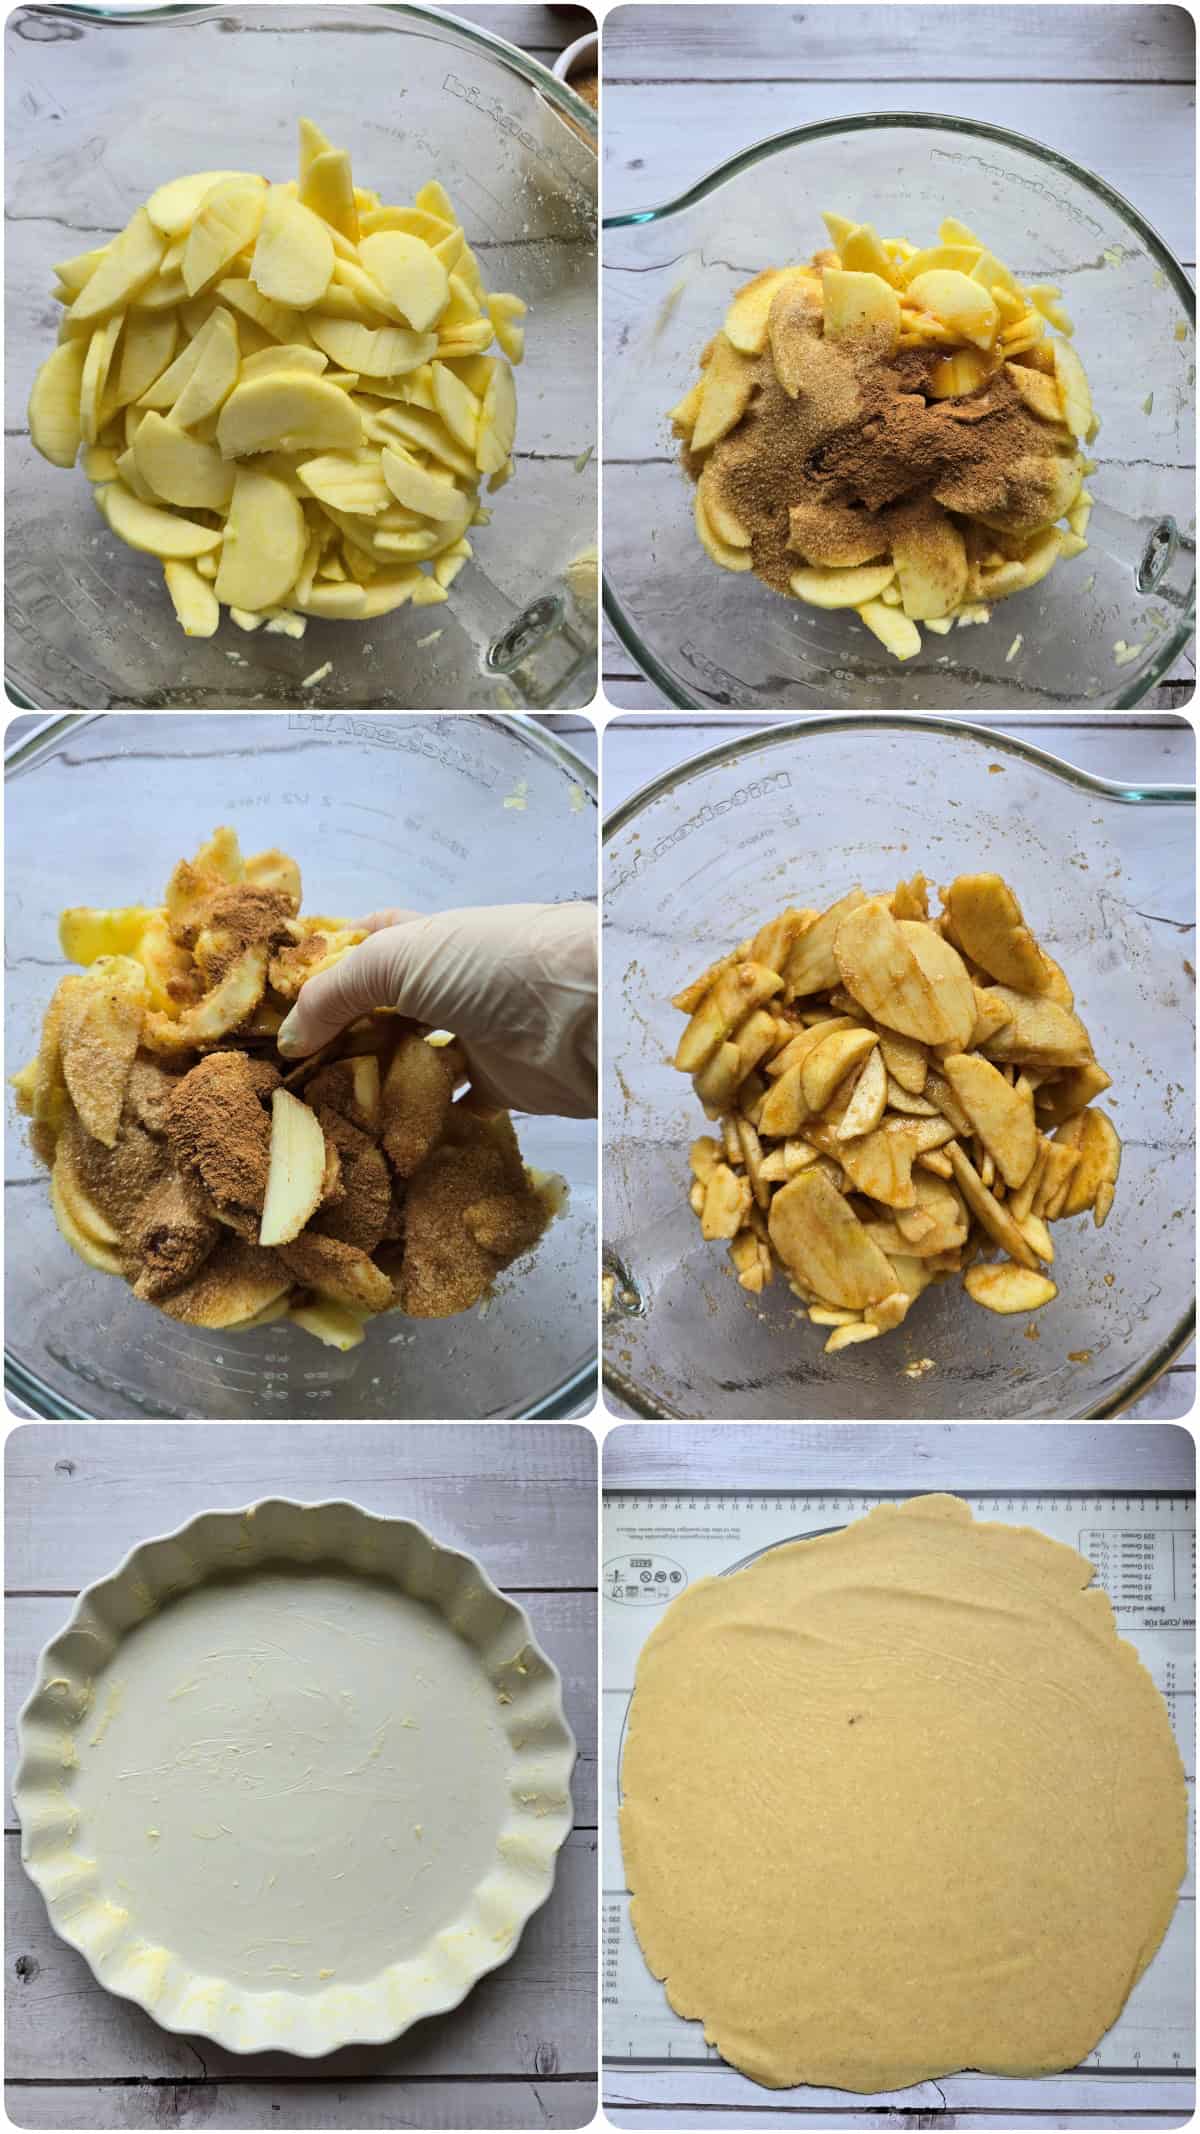
- 1.3 kg Apples, 1 LemonTransfer the sliced apples immediately to a very large mixing bowl and toss them directly with the freshly squeezed lemon juice. This keeps them from browning and adds a bright, fresh flavor contrast.
- 100 g (approx. 3.5 oz) Brown sugar, 50 g (approx. 2 oz) Maple syrup, 40 g (approx. 1.5 oz) Cornstarch, 1 tsp Vanilla extract, 1.5 tsp Ground cinnamon, 0.25 tsp SaltNow add the brown sugar, maple syrup, cornstarch, vanilla extract, cinnamon, and salt.
- Toss everything thoroughly—your hands or a large spoon work best here—so every single apple slice is coated in that heavenly, warm-spiced mixture.
- Let the spiced apples sit at room temperature for at least 15–20 minutes (idealerwise 30–60 minutes). As they sit, the apples release their juices, which mix with the cornstarch to create a luscious, glossy filling. Crucial tip: If you have a pool of excess liquid sitting at the bottom of the bowl that isn’t clinging to the apples, do NOT pour it into the pie! It will make your filling too watery.
- 30 g (approx. 1 oz) Unsalted butterPreheat your oven to 220°C (425°F) standard bake. Thoroughly grease a pie pan (approx. 24–26°C (80°F)m diameter) with butter.
- Take the chilled dough out of the fridge. Divide it into two portions: about ⅔ for the bottom crust and ⅓ for the top crust or lattice.
- On a lightly floured surface (or even better, a silicone baking mat), roll out the larger portion into a round roughly 30–32°C (90°F)m in diameter.
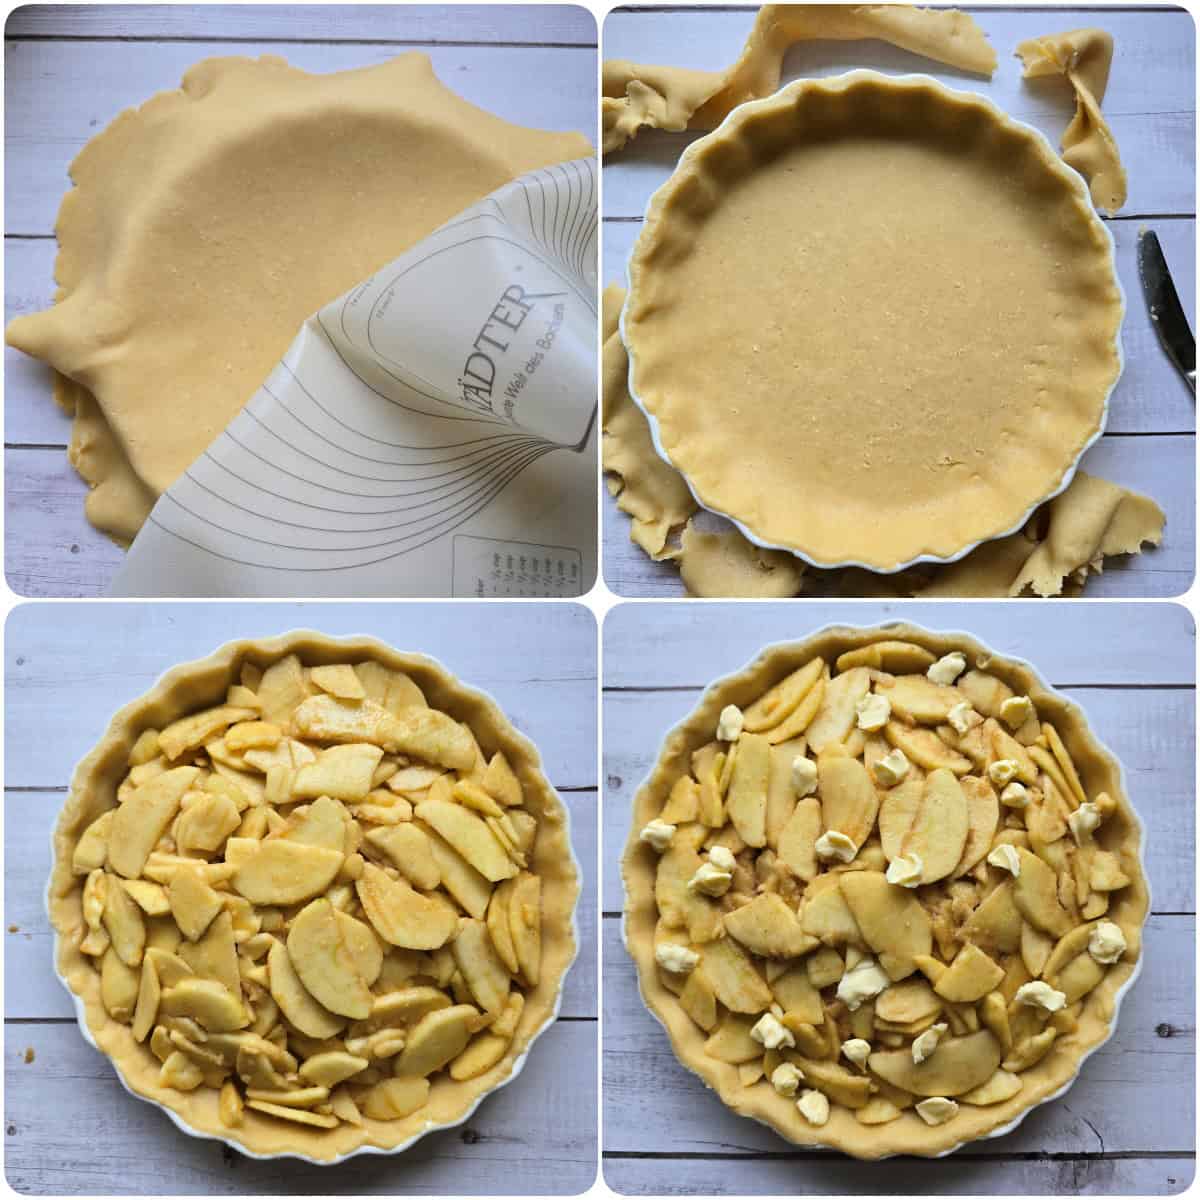
- Gently transfer the rolled-out dough into your prepared pie pan, pressing it lightly into the bottom and up the sides. Trim off any excess overhang.
- 1.3 kg Apples, 30 g (approx. 1 oz) Unsalted butterMound the prepared apple filling evenly into the pie shell, mounding them slightly higher in the center. Dot the top of the apples evenly with the small butter cubes (about 30 g (approx. 1 oz)).
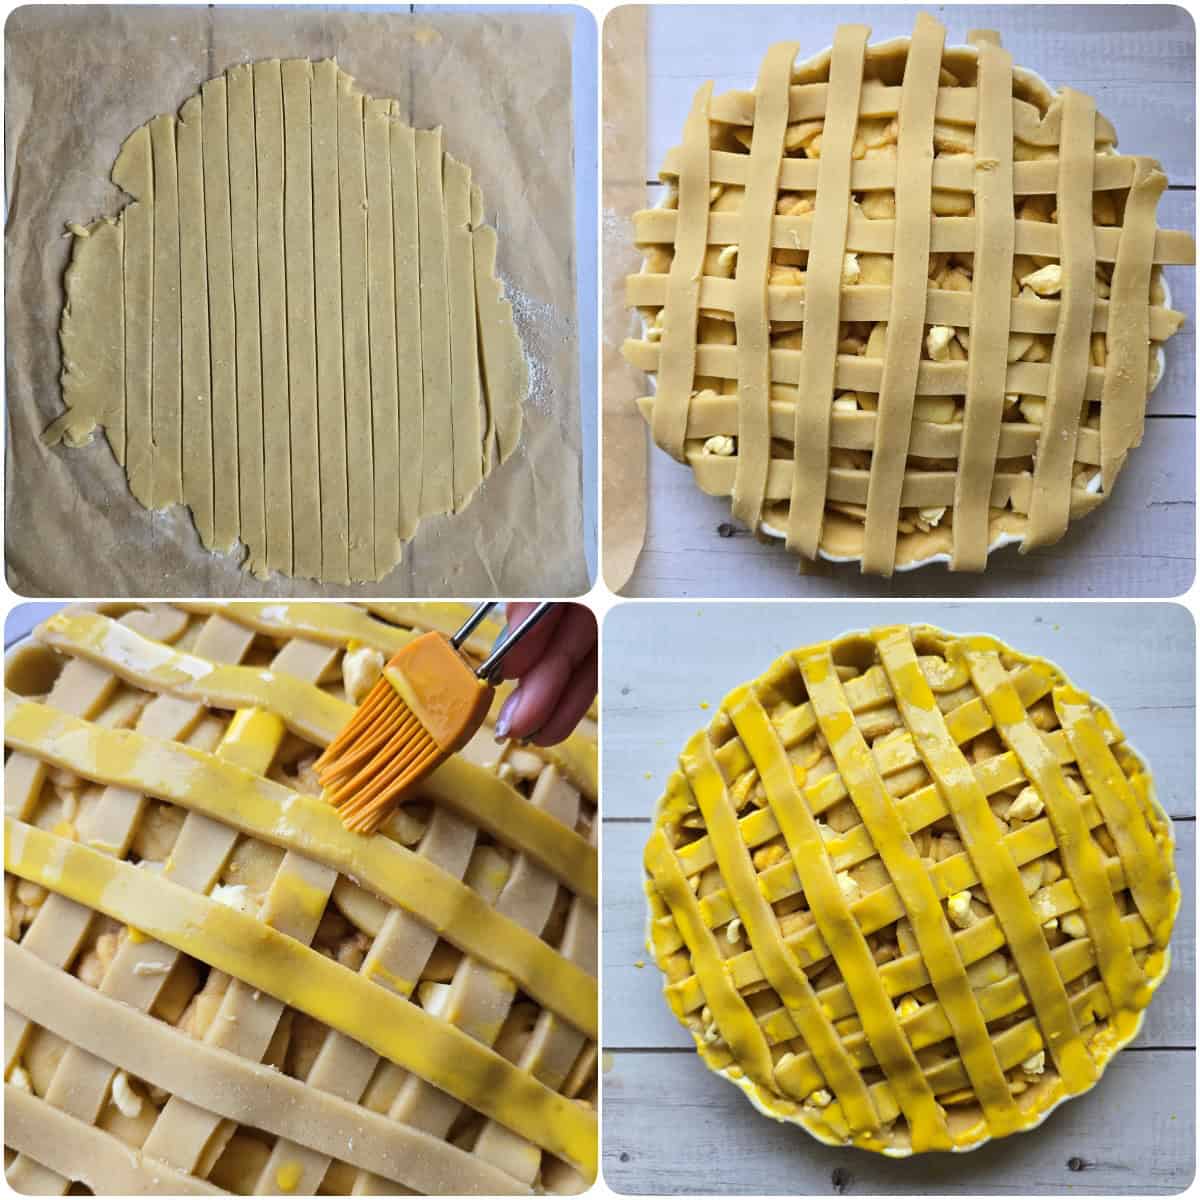
- Roll out the remaining dough. You can either place it over the filling as a solid top crust (make sure to cut a few steam vents!) or slice it into strips to weave a gorgeous lattice top.
- Trim off any excess dough around the edges and crimp the edges together to seal tightly.
- 1 Egg yolk, 1 tbsp MilkWhisk the egg yolk with 1 tbsp of milk to make an egg wash. Brush it evenly over the top crust or lattice. This gives the pie that stunning golden sheen as it bakes!
- Place the pie pan on a baking sheet (to catch any bubbly juices) and slide it into the preheated oven. Bake for 20 minutes at 220°C (425°F). That initial burst of high heat sets the crust quickly and makes it ultra flaky and crispy!
- Reduce the oven temperature to 190°C (375°F) and bake for another 45 minutes, until the crust is a deep golden brown and the fruit filling is visibly bubbling through the vents (this means the apples are tender and the cornstarch has thickened!). If the crust is browning too quickly, tent it loosely with aluminum foil for the last 30 minutes of baking.
- Remove the apple pie from the oven and let it cool on a wire rack for at least 3–4 hours (or until completely cool). This step is crucial—it allows the filling to set so you can slice clean, beautiful slices!
Notes
Nutrition
For the egg wash:
- 1 egg yolk
- 1 tbsp milk
How to Make Homemade Apple Pie
Instructions:
Make sure your butter is super cold and cubed! Add the flour, cold butter cubes, brown sugar, cold water, and salt to the mixing bowl and mix for 25 sec / speed 5.
Briefly bring the dough together with your hands, shape it into a flat disc, wrap it tightly in plastic wrap, and let it chill in the fridge for 1 hour.
In the meantime, wash, peel, and core the apples, then slice them thinly (about ⅛-inch thick). Toss them into a large mixing bowl and drizzle immediately with the freshly squeezed lemon juice.
Add the brown sugar, maple syrup, cornstarch, vanilla extract, cinnamon, and salt. Toss everything together well and let the filling sit for at least 15 to 20 minutes to let those juices release. Just make sure to leave any excess liquid behind in the bowl rather than pouring it into the pie crust.
Preheat your oven to 220°C (425°F) and generously grease a pie dish or tart pan (about 9.5 to 10 inches) with butter.
Divide your chilled dough: roughly ⅔ for the bottom crust and ⅓ for the top. On a lightly floured work surface, roll out the larger portion into a circle (about 12 to 13 inches in diameter). Transfer it to your pie pan, press it gently into the bottom and sides, and trim off any excess dough hanging over the edge.
Spread the apple filling evenly over the dough, mounding it slightly in the center. Dot the top with small cubes of unsalted butter.
Roll out the remaining dough. You can either place it over the filling as a full top crust (be sure to slice a few steam vents in the top!) or cut it into strips to weave a pretty lattice. Crimp and seal the edges tightly.
Whisk the egg yolk with the milk and brush it evenly over the top crust for that gorgeous golden shine.
Set the pie on a baking sheet and bake for 20 minutes at 220°C (425°F). Then, turn the oven temperature down to 190°C (375°F) and bake for another 45 minutes until done. Tent the pie loosely with foil if the crust starts browning too quickly.
Transfer the apple pie to a wire cooling rack and let it cool completely for at least 3 to 4 hours so the filling can set properly before slicing.
Enjoy!
Now, I hope you have so much fun baking this one up!
If you enjoyed my recipe for Apple Pie, be sure to check out my Moist Egg Liqueur Cake too!
Happy baking,
Christoph