💡 At a Glance
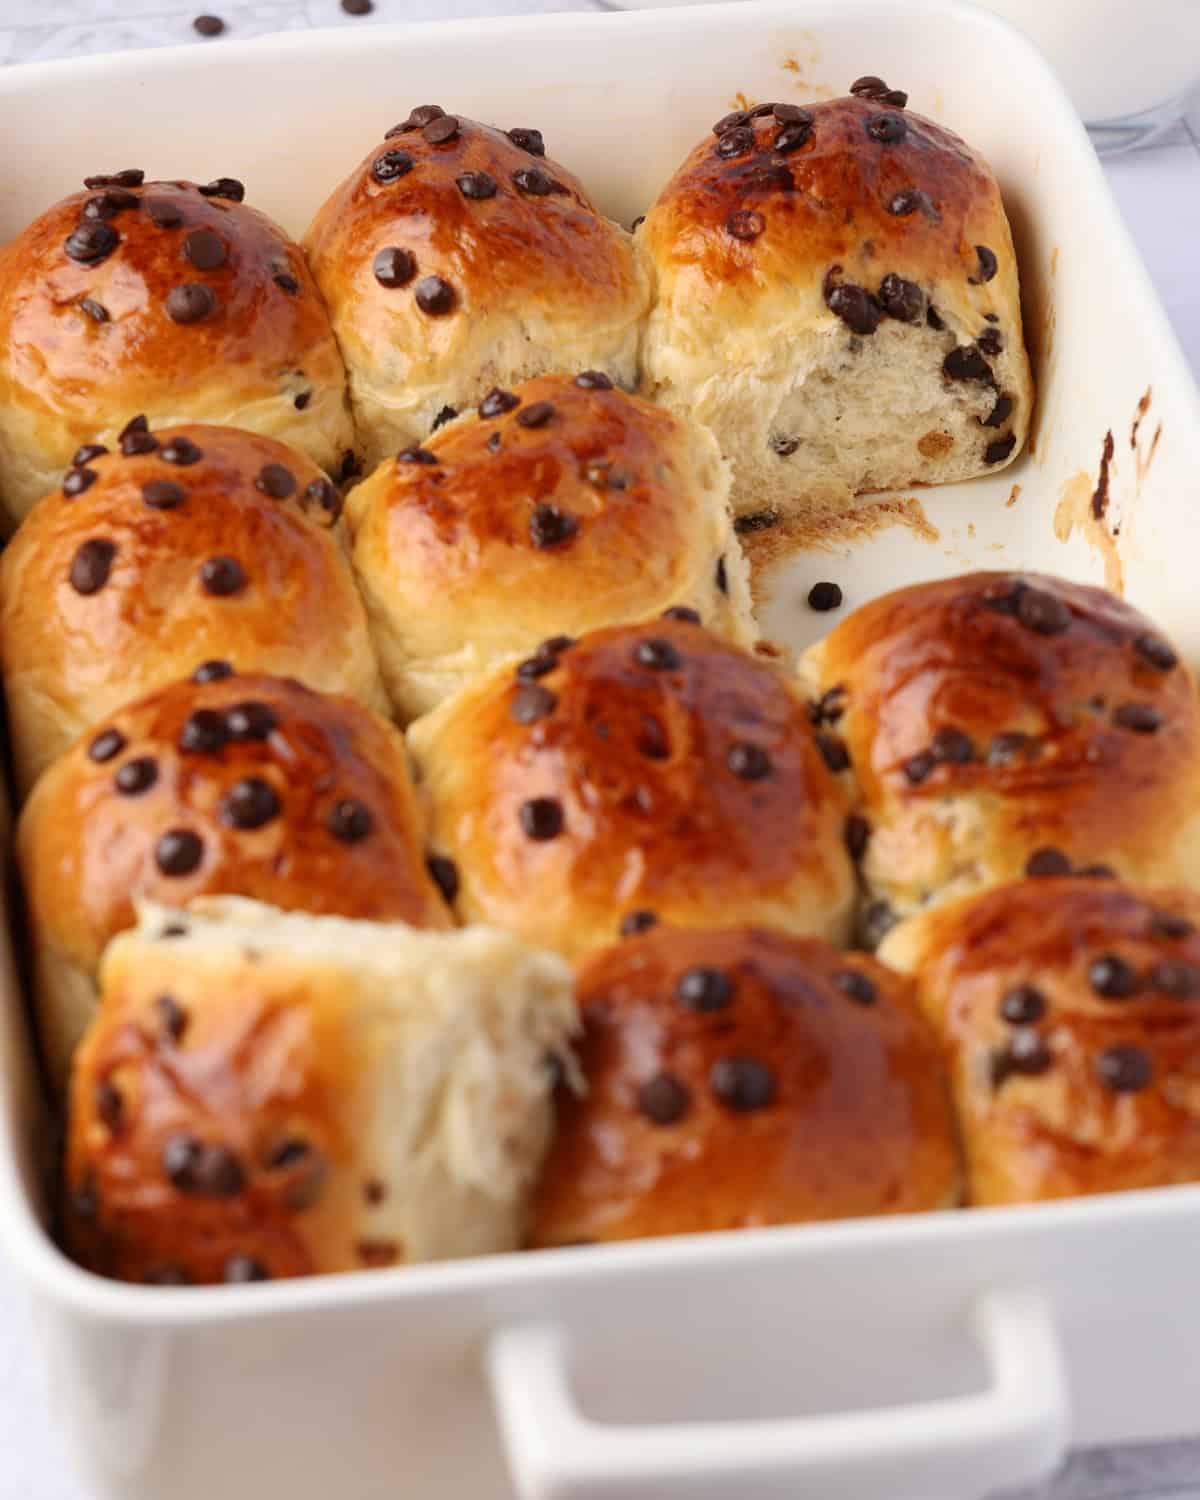
- The Sweet Treat: Pillowy-soft chocolate rolls made with a rich yeast dough, packed with dark chocolate chips and vanilla bean paste.
- Time Commit: Hands-on prep is super fast, but you’ll need to budget some time for the yeast dough to rise.
- How It’s Made: Your Thermomix® handles all the heavy kneading, then the rolls bake up snuggled side-by-side in a baking dish.
You know those weekend mornings when you wake up craving a sweet, cozy breakfast that the whole family will love?
These ultra-fluffy chocolate rolls are made for mornings just like that.
The yeast dough comes together totally stress-free thanks to your Thermomix®, which handles all the heavy kneading for you.
It’s the easiest way to fill your home with that incredible, bakery-fresh smell without leaving the house!
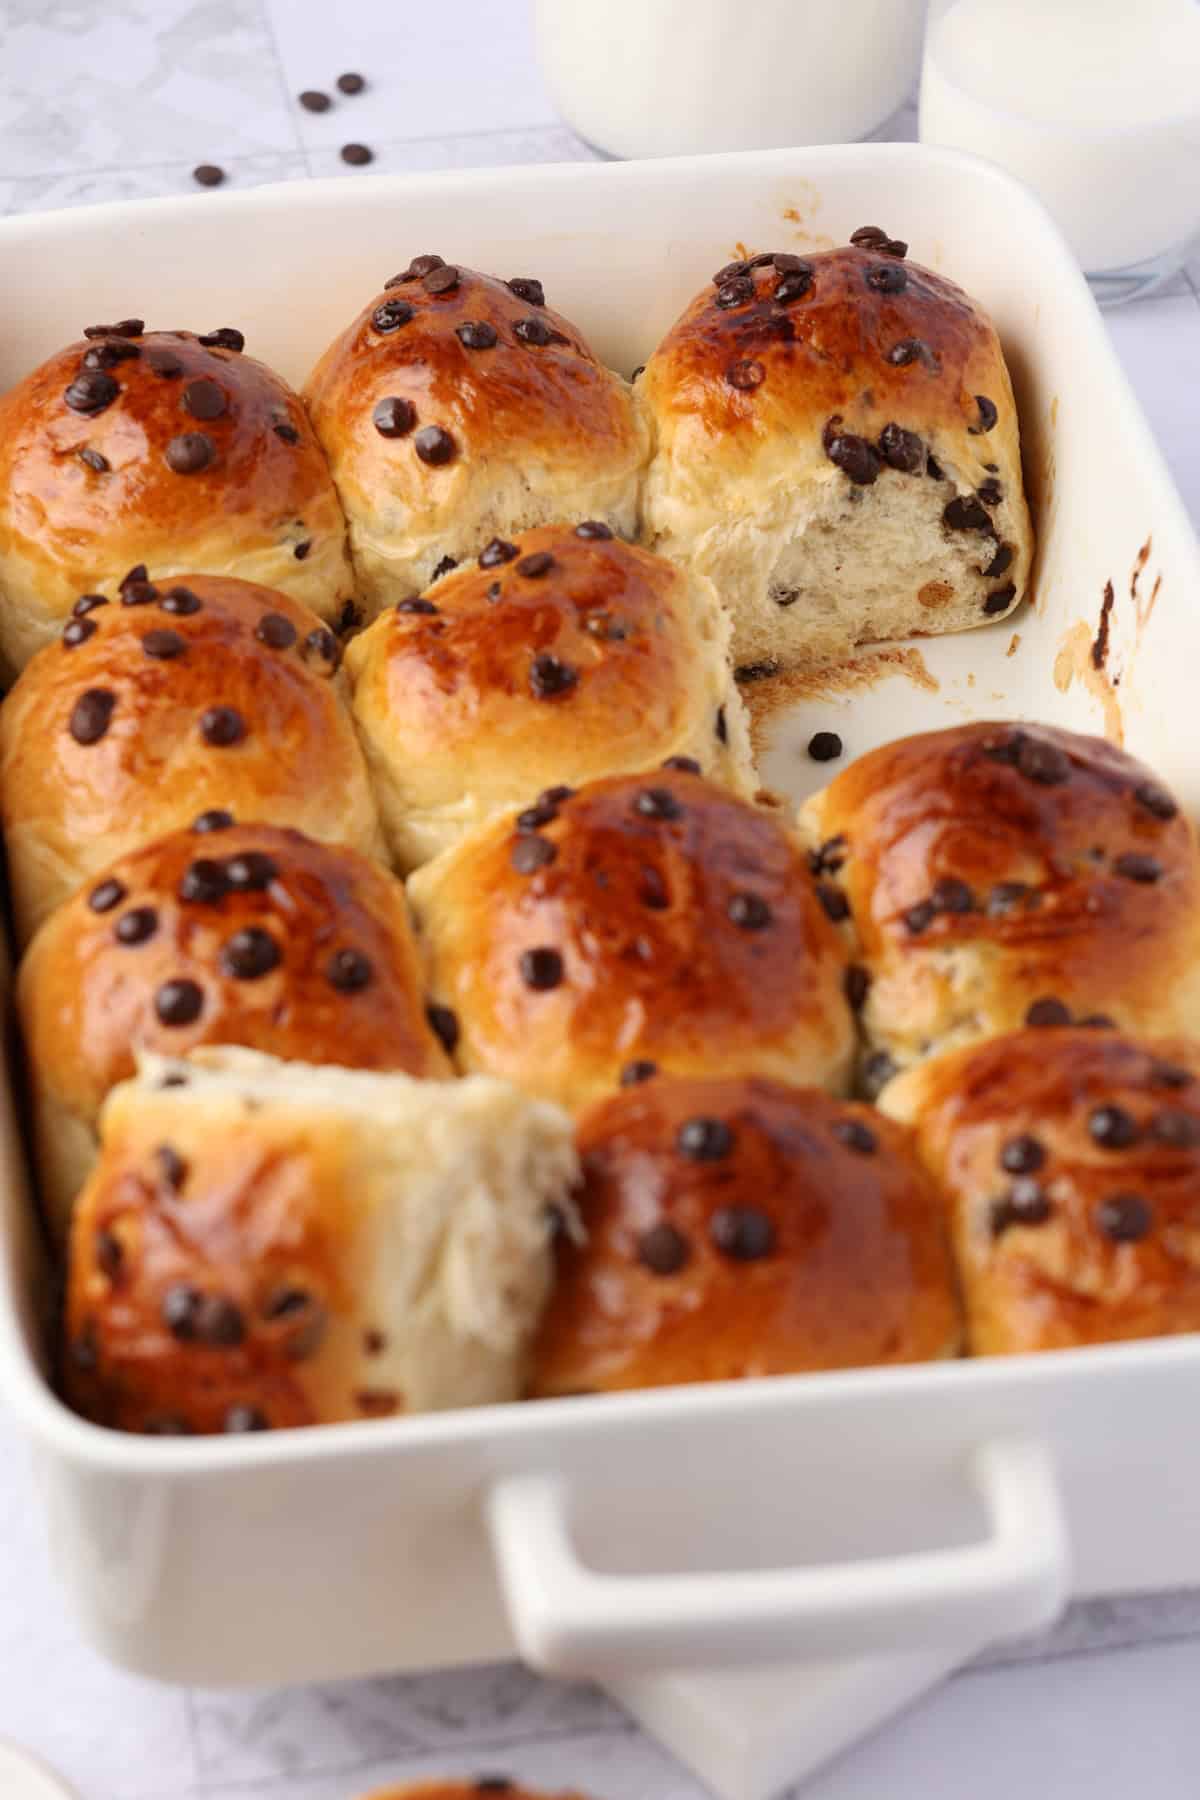
You’re going to love these sweet rolls because they are:
- Ultra-soft, pillowy, and fluffy
- Perfect for a cozy weekend breakfast or brunch
- A fantastic grab-and-go snack for busy days
- Super easy to knead thanks to your Thermomix®
- Packed with delicious chocolate chips in every bite
- So simple to freeze and warm up later
- A total crowd-pleaser for both kids and adults
- Made with basic, everyday pantry staples
My Top Baking Tips for Success
Lightly grease your mixing bowl and the plastic wrap with a bit of oil before covering the dough. This keeps it from sticking to the plastic as it rises and makes it super easy to transfer later.
Dough loves a cozy warm spot to rise! A sunny windowsill works great, or you can place it inside your turned-off oven with the oven light turned on—it works like a charm.
Avoid heavy kneading once you add the chocolate chips. Just gently fold the dough over itself from all sides—like folding an envelope—and you’re good to go!
Place the dough balls snug right next to each other in your greased baking dish. This helps them support each other as they bake, encouraging them to rise up nice and tall instead of spreading out.
My secret for ultra-soft rolls: drape a clean kitchen towel loosely over the baking dish right when it comes out of the oven. Let the rolls steam underneath for 5 to 10 minutes—it makes the crust deliciously soft and tender!
Can You Make These Ahead of Time and Store Them?
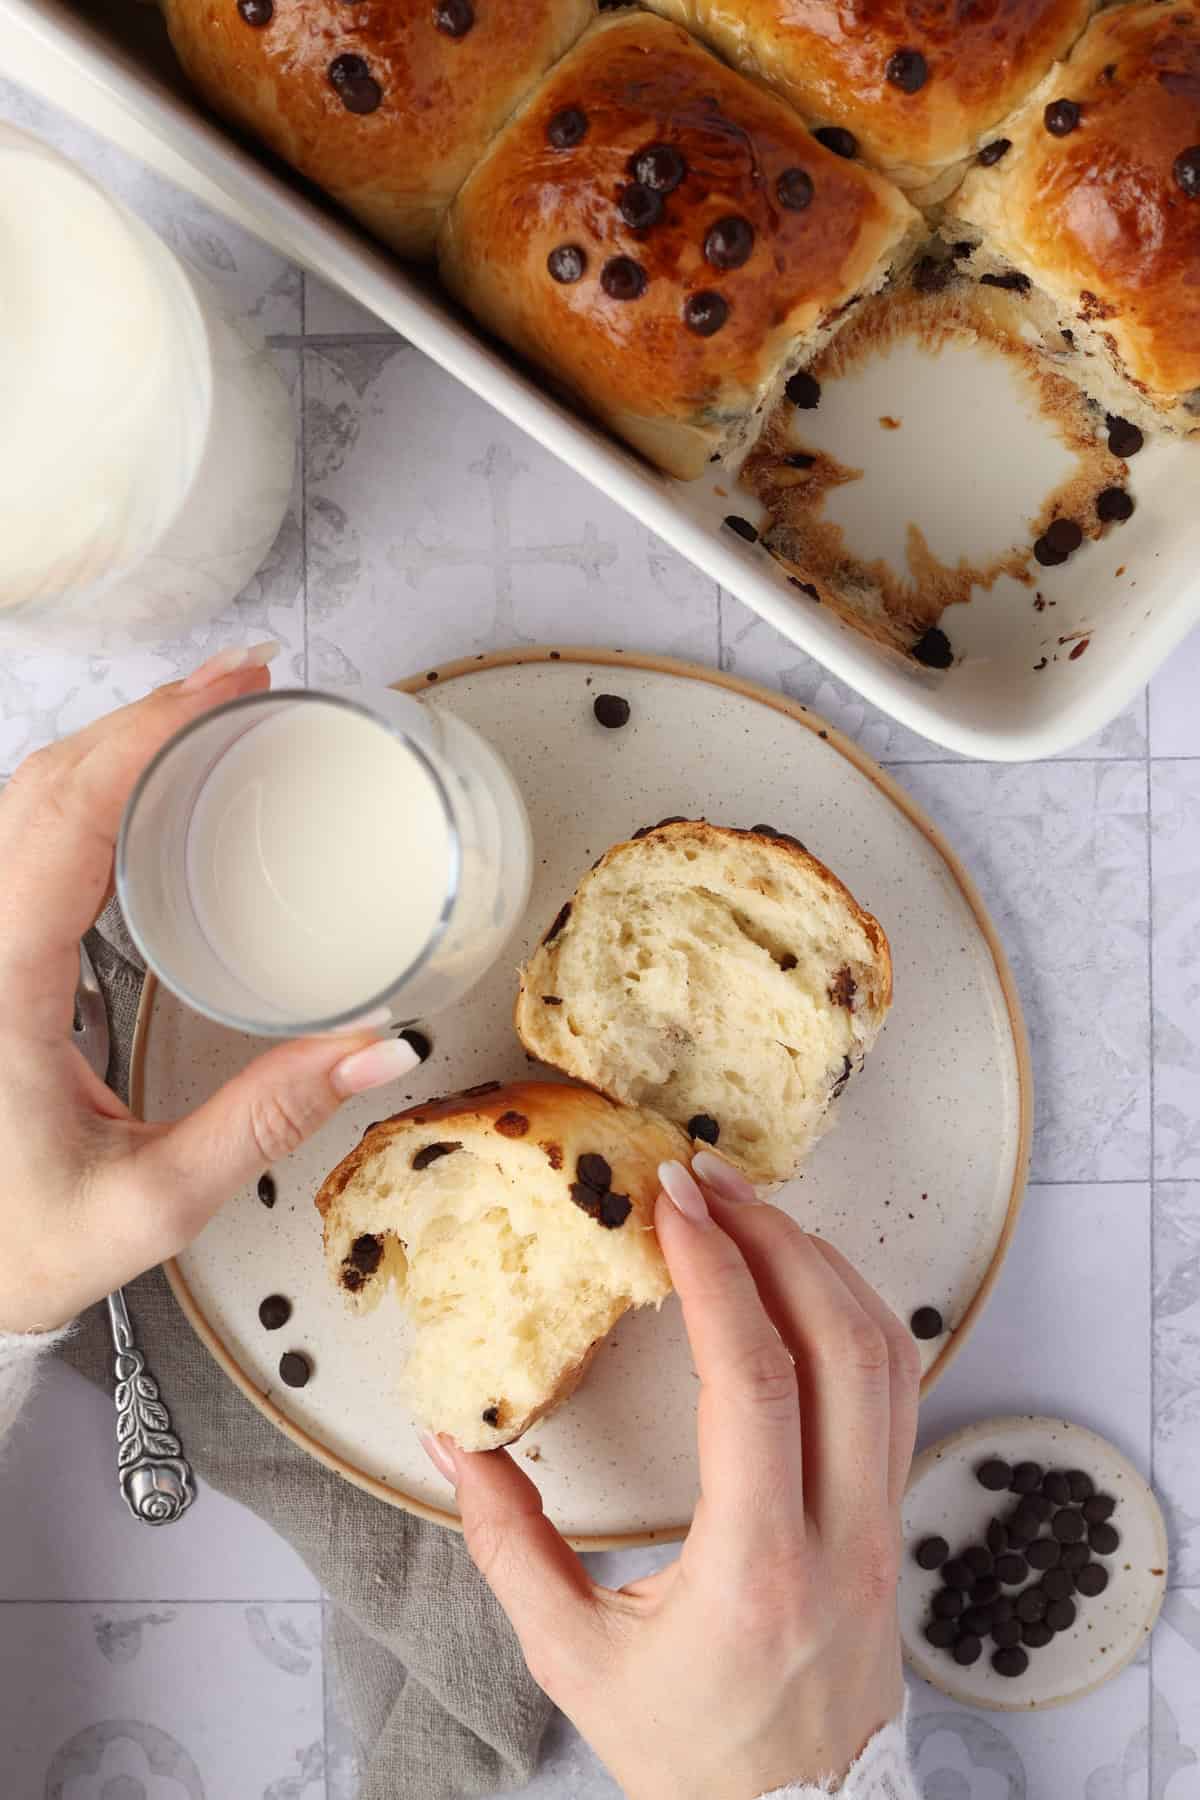
Fresh yeast dough always tastes best the day it’s made! Served warm straight out of the oven, these soft chocolate rolls are pure heaven.
If you end up with leftovers, simply pop them into an airtight container or a Ziploc bag to keep them fresh for the next day. Right before serving, microwave them for 15 to 20 seconds—it makes the dough super soft again and gets the chocolate chips nice and melty!
They also freeze like a charm! Just pack them into freezer bags in individual portions. Whenever a craving hits, let them thaw at room temperature or give them a quick warm-up in the microwave.
Tips & Recipe Variations
Using Active Dry Yeast: Don’t have fresh yeast on hand? No problem at all! A packet of active dry yeast works just as well. Simply warm the milk in your Thermomix® for 1 minute, then add the dry yeast straight into the mixing bowl along with the flour.
Prevent Too Much Browning: If the tops of the rolls start getting a bit dark after about 20 minutes in the oven, loosely tent a piece of aluminum foil or parchment paper over them. This keeps those top chocolate chips from scorching!
Ingredients You’ll Need
- 200 ml (approx. 7 fl oz) milk
- 100 g (approx. 3.5 oz) sugar
- ½ cake fresh yeast (21 g (approx. 0.5 oz)) or 1 packet active dry yeast
- 500 g (approx. 17.5 oz) all-purpose flour
- 1 pinch of salt
- 1 large egg
- 80 g (approx. 3 oz) softened butter
- 1 tsp vanilla bean paste
- 125 g (approx. 4.5 oz) dark chocolate chips
For brushing:
- 1 egg yolk
- 1 tbsp milk
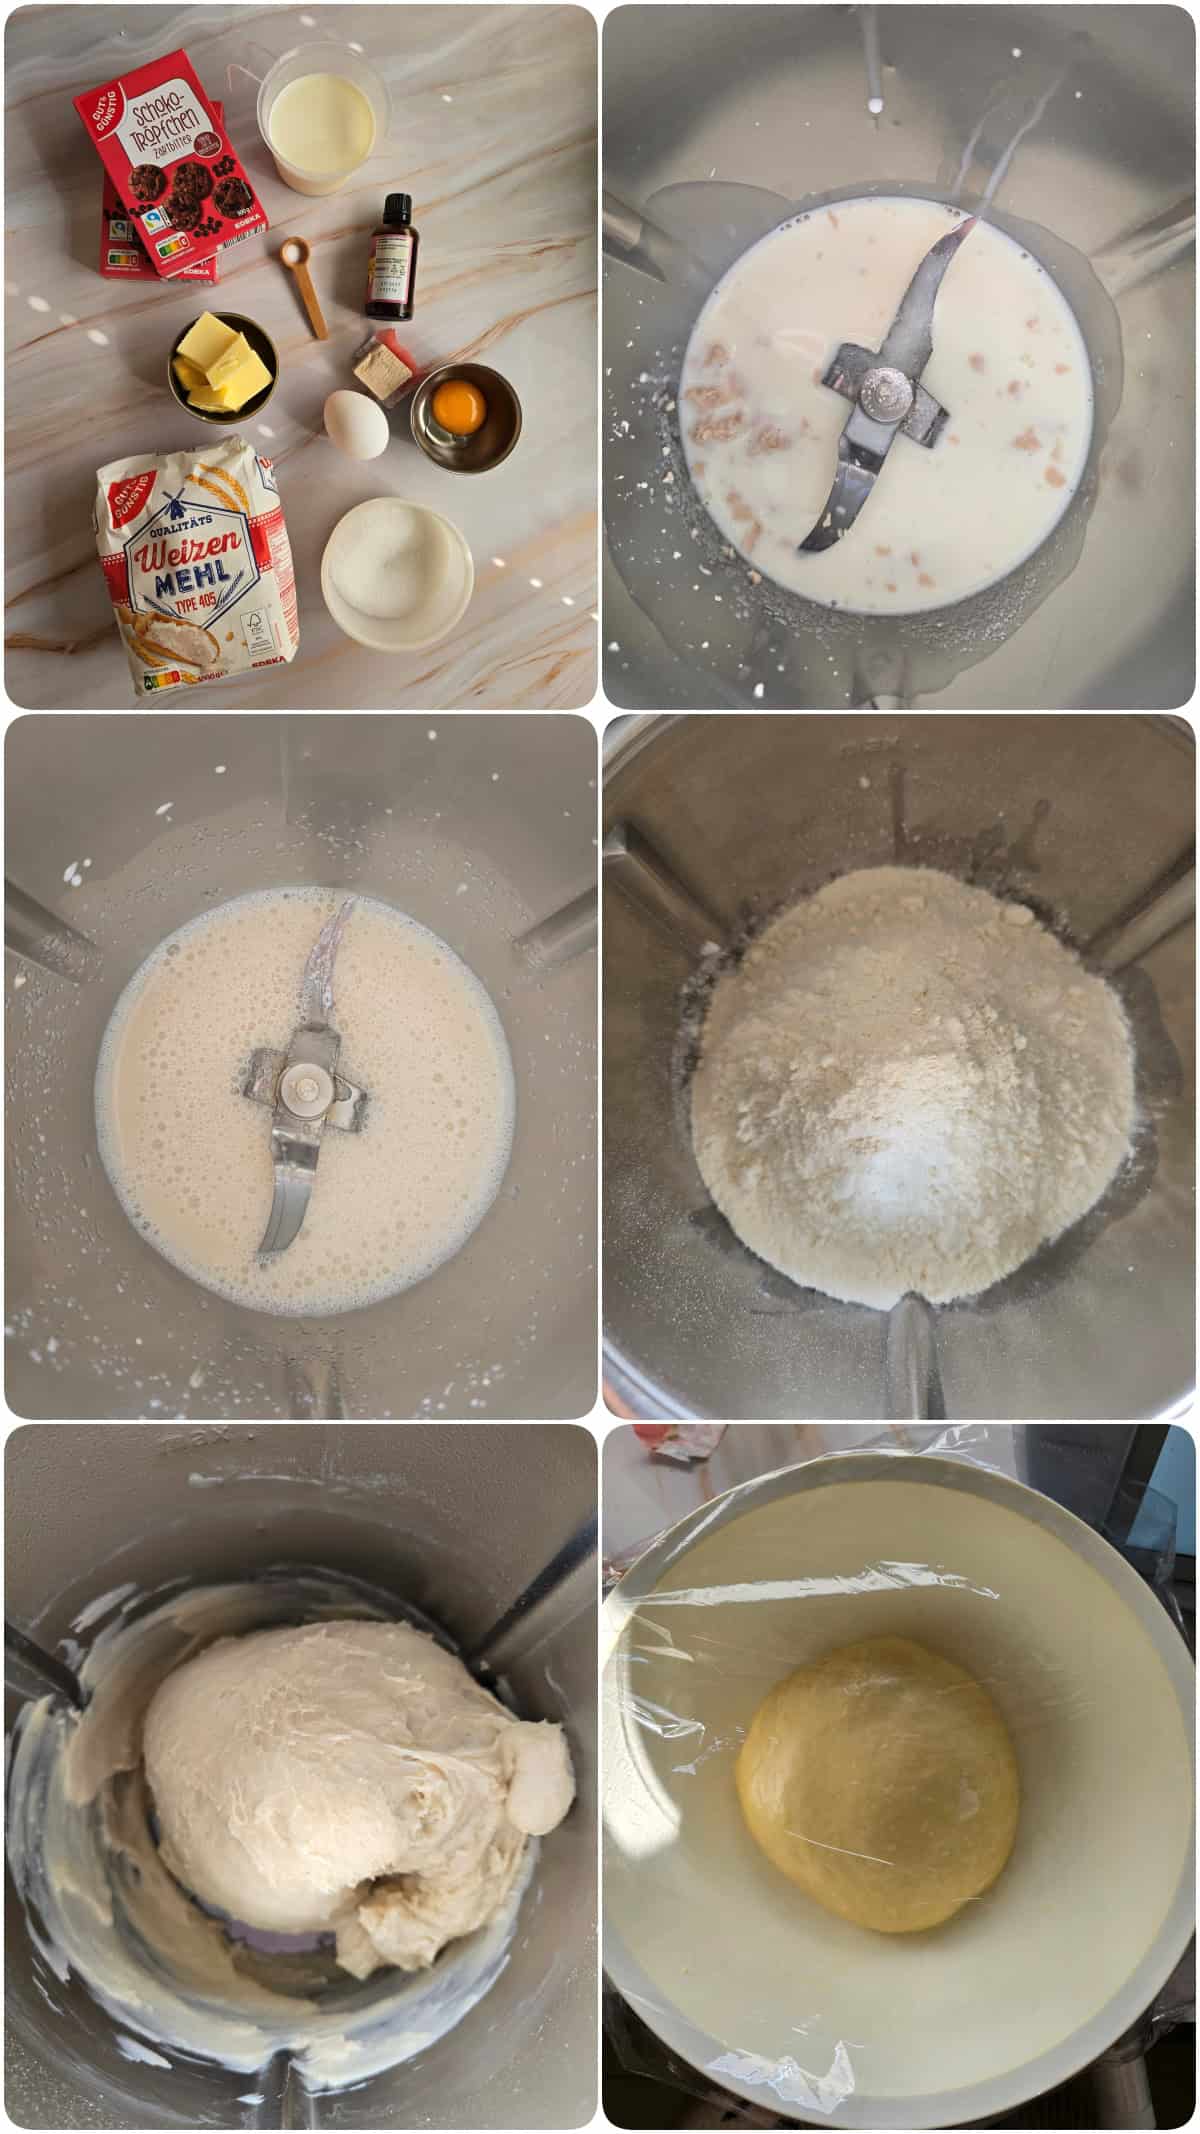
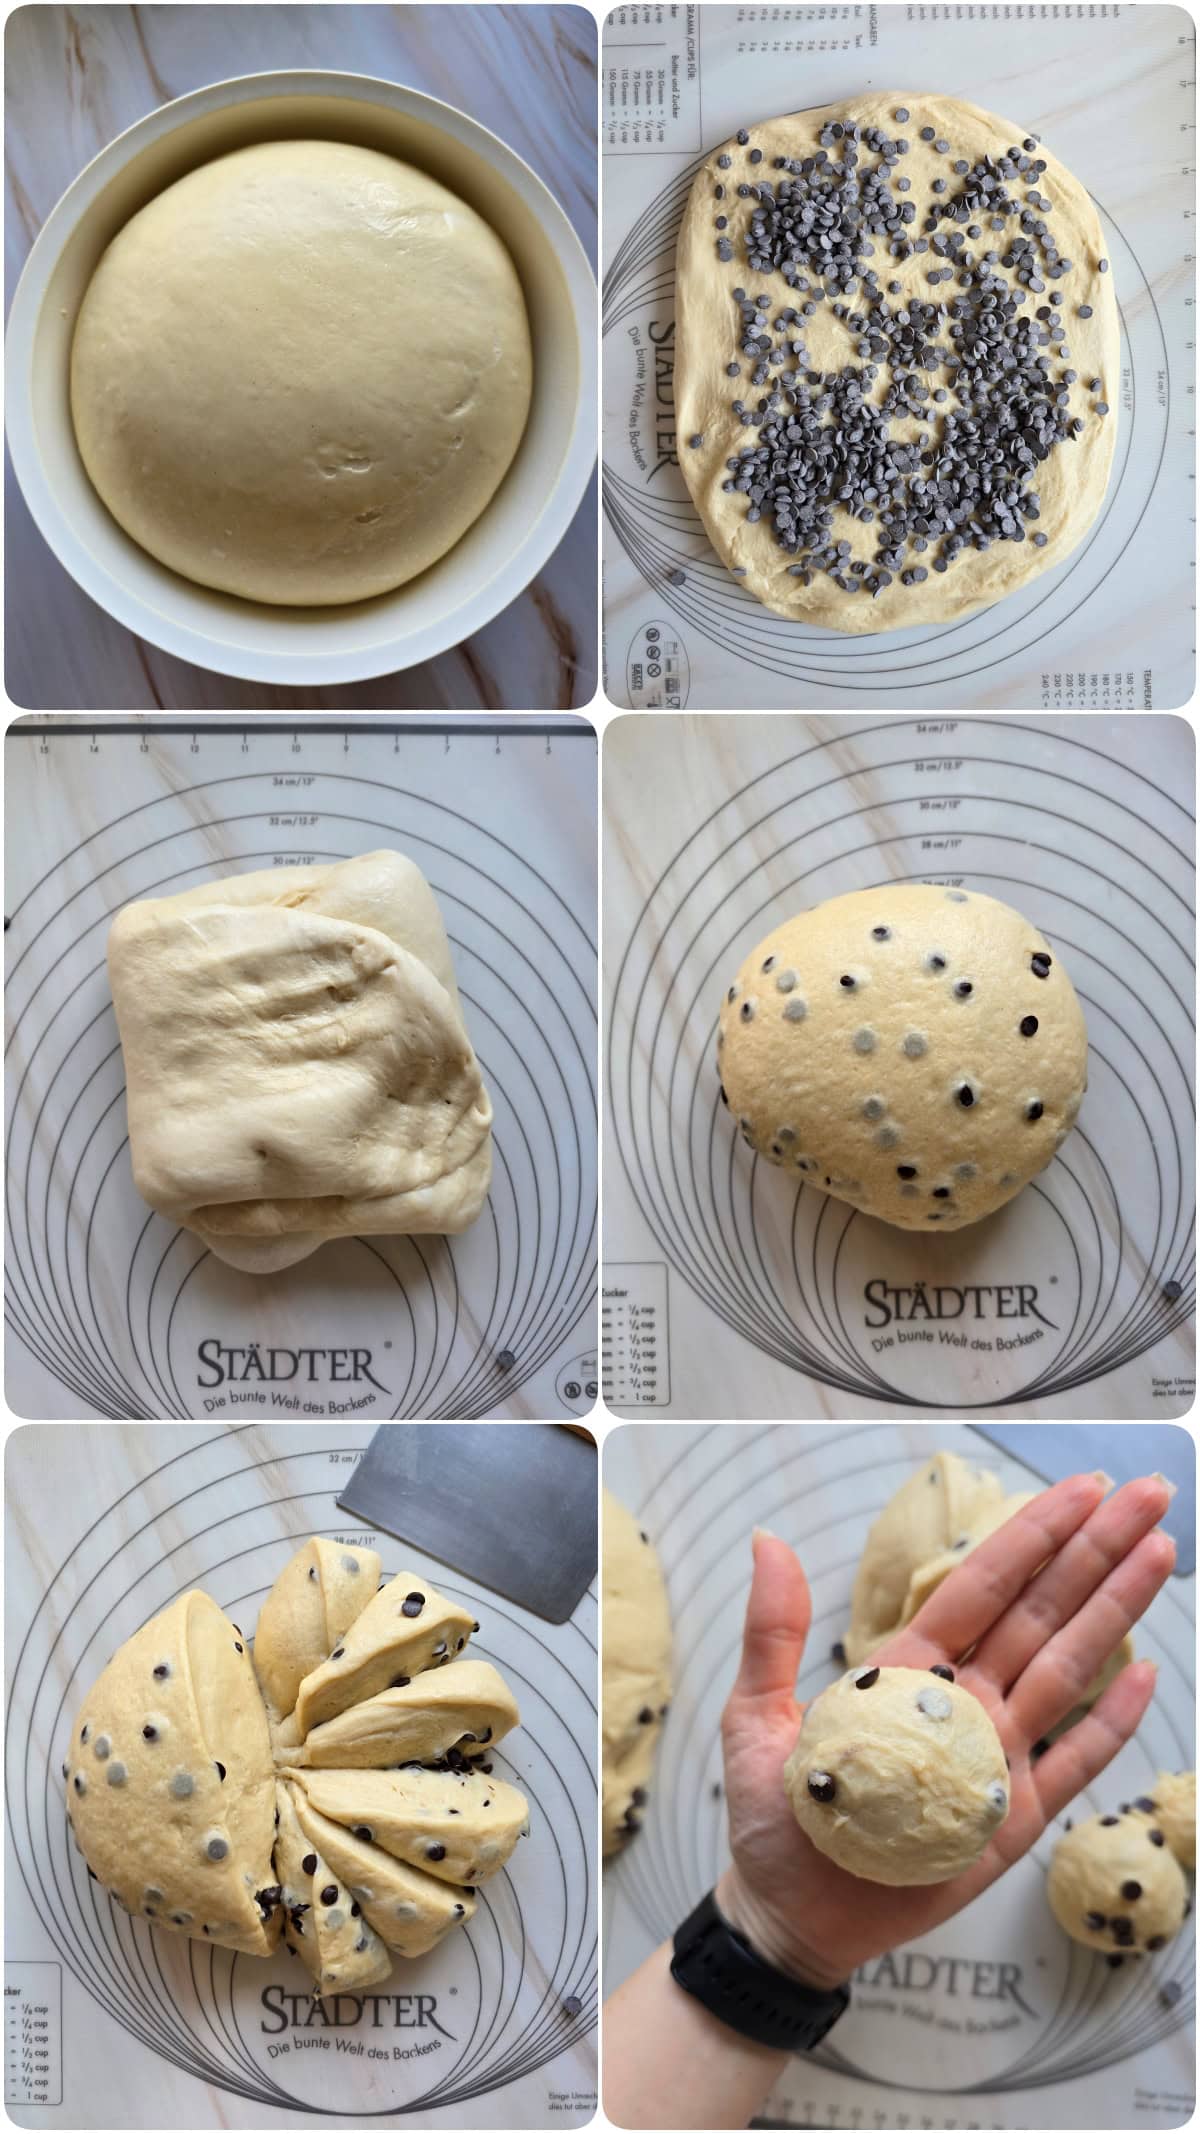
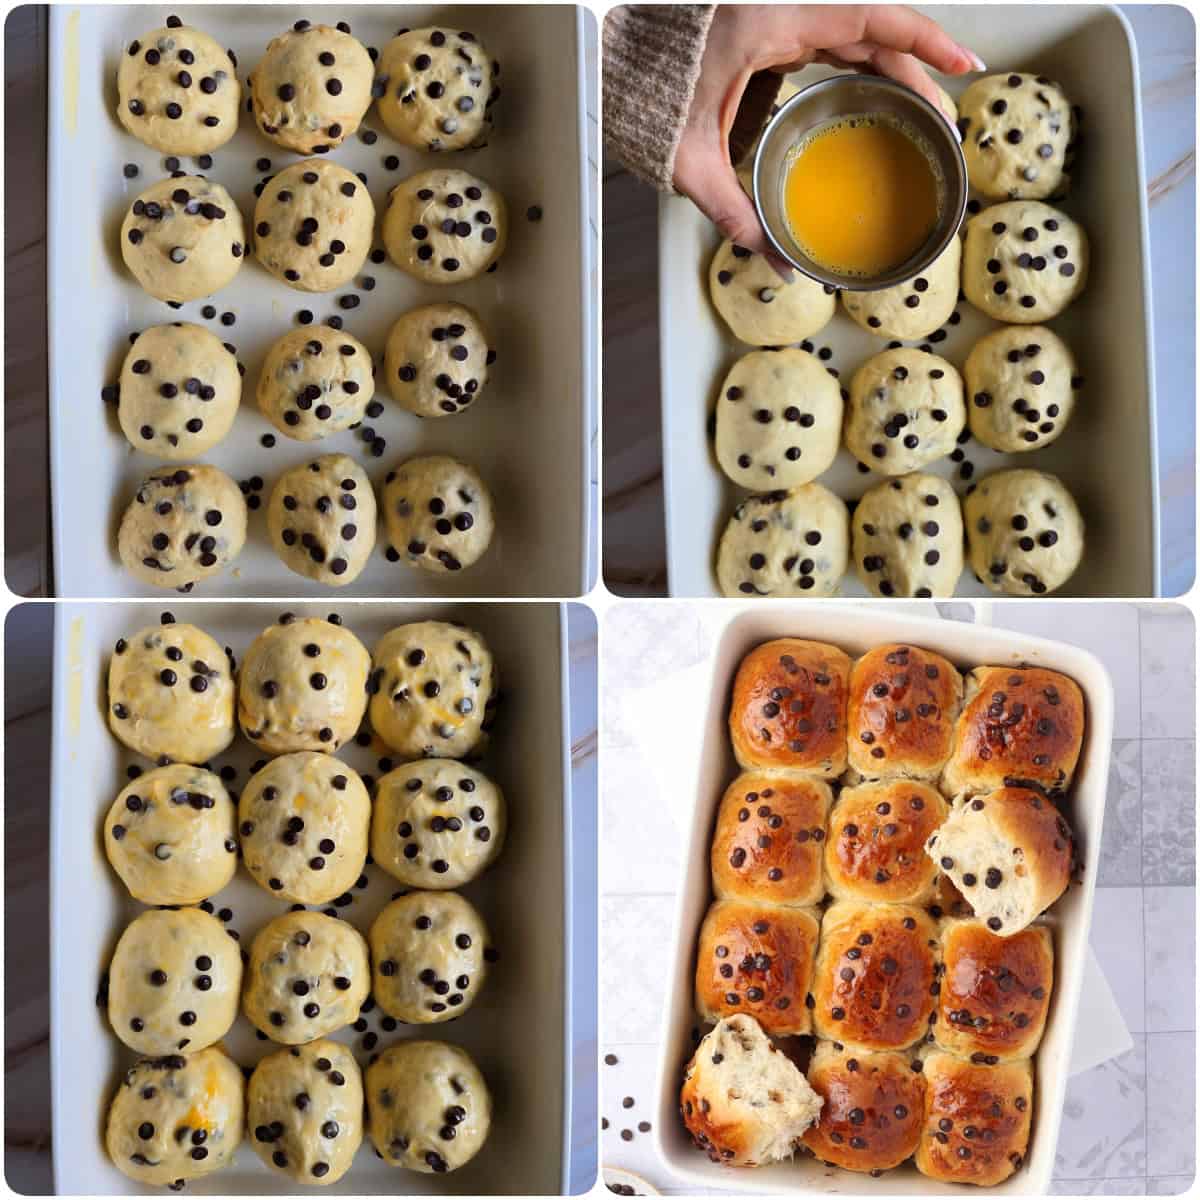
How to Make Chocolate Rolls
Instructions:
Add the lukewarm milk, sugar, and crumbled fresh yeast to the mixing bowl and warm for 2 min / 37°C (100°F) / Speed 2. The yeast will dissolve beautifully and start doing its magic. (Using dry yeast? Just warm the milk briefly for 1 min / 37°C (100°F) / Speed 2, then toss the dry yeast straight in with the flour.)
Next, add the flour, salt, egg, softened butter, and vanilla paste, then knead for 5 min / Dough mode. By the end, the dough should pull away cleanly from the sides of the bowl and feel nice and smooth. If it’s still a bit sticky, just pop in another 1–2 tablespoons of flour.
Remove the dough from the mixing bowl, shape it into a ball, and place it in a lightly oiled bowl.
Cover the bowl with plastic wrap that you’ve rubbed with a little bit of oil. I like to lay a clean kitchen towel right over the top to help trap the heat. Let the dough rise in a warm spot for about 1.5 hours, or until it has doubled in size.
Once risen, gently press the dough down slightly on your work surface. Scatter the chocolate chips generously over the top, reserving a small handful to press onto the tops later.
Now fold the dough like an envelope: fold the bottom up, bring in one side, and then fold over the other side. Don’t knead or press hard—just gently fold it together and shape it briefly.
Divide the dough into 12 equal pieces. Roll each piece on the counter using a cupped hand in circular motions to shape them into smooth, round balls.
Arrange the dough balls snugly side-by-side in a greased baking dish. Now take those reserved chocolate chips and press them right into the tops of the rolls.
Cover the dish loosely again and let the rolls rest for another 30 minutes. Meanwhile, preheat your oven to 180°C (350°F).
Whisk the egg yolk with 1 tablespoon of milk and brush it generously and evenly over the rolls right before popping them into the oven.
Bake for 25–30 minutes until golden brown. (Take a quick peek around the 20-minute mark—if the tops are getting a bit too dark, just tent a piece of aluminum foil or parchment paper loosely over the top).
You’ll know the rolls are fully baked through when the sides where they touch are a nice, golden color too.
As soon as they come out of the oven, drape a clean kitchen towel loosely over the hot baking dish and let the rolls steam for 5 to 10 minutes—this keeps them extra soft!
Enjoy!
Alright, now go have fun baking these up!
I hope you love them! And if you’re looking for more sweet treats, definitely check out this delicious recipe for Chocolate Chip Cookies, too.
If you enjoyed my recipe for Chocolate Chip Buns, be sure to check out my Chocolate Chip Banana Bread too!
Best, Christoph

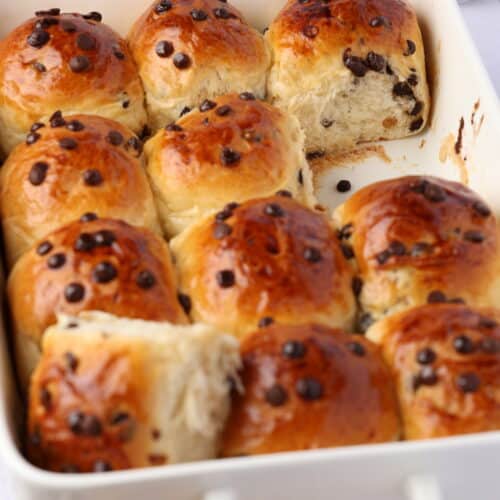
Chocolate Chip Buns
Click the stars to leave a rating & comment
Print Pin recipe Start cookingIngredients
Ingredients
- 200 ml milk (approx. 7 fl oz)
- 100 g sugar (approx. 3.5 oz)
- 0.5 cube fresh yeast (21 g (approx. 0.5 oz)) or 1 packet dry yeast
- 500 g flour (approx. 17.5 oz)
- 1 pinch salt
- 1 egg
- 80 g softened butter (approx. 3 oz)
- 1 tsp vanilla bean paste
- 125 g dark chocolate chips (approx. 4.5 oz)
For the egg wash
- 1 egg yolk
- 1 tbsp milk
Instructions
- 200 ml (approx. 7 fl oz) milk, 100 g (approx. 3.5 oz) sugar, 0.5 cube fresh yeastAdd the lukewarm milk, sugar, and crumbled fresh yeast to the mixing bowl and heat everything for 2 min. / 37°C (100°F) / speed 2. The yeast will dissolve and start doing its magic. If using dry yeast: Only heat the milk briefly (1 min. / 37°C (100°F) / speed 2). You'll just add the dry yeast right in with the flour later.
- 500 g (approx. 17.5 oz) flour, 1 pinch salt, 1 egg, 80 g (approx. 3 oz) softened butter, 1 tsp vanilla bean pasteNow add the flour, salt, egg, softened butter, and vanilla bean paste, and knead everything for 5 min. / Dough mode. By the end, the dough should pull away cleanly from the sides of the bowl and be beautifully smooth. If it's still a little sticky, just add 1–2 tbsp of flour.
- Take the dough out of the mixing bowl, shape it into a ball, and place it in a lightly oiled bowl. Now it needs some rest and warmth.To cover: Cover the bowl with plastic wrap that you've lightly rubbed with a little oil—this keeps the wrap from sticking to the dough as it rises. Tossing a kitchen towel over the top helps trap the heat, too.Warm spot: The perfect spot is a sunny windowsill (not direct sunlight, just a bright, cozy spot), an off oven with the light turned on, or simply a warm corner of your kitchen. Let the dough rest for 1.5 hours—it will double in size during this time.
- 125 g (approx. 4.5 oz) dark chocolate chipsAfter the rise, gently press the dough out a bit flat on your work surface. Generously scatter the chocolate chips over the top (save a few to press into the tops later!) and fold the dough like a letter: bottom to top, then one side in, then the other. Don't knead or press hard—just fold it gently. Working it through just once is plenty.
- Divide the dough into 12 equal pieces. Shape each piece into a round ball by rolling it on the counter with a cupped hand in a circular motion, then place all the balls close together in a greased baking dish. By close, I mean they should be almost touching! This way, they support each other and rise up instead of spreading out—giving you those beautifully tall, fluffy chocolate chip buns.
- 125 g (approx. 4.5 oz) dark chocolate chipsNow press those reserved chocolate chips into the tops of the buns.Cover the dish loosely again and let the buns rest for another 30 minutes. While they're resting, preheat your oven to 180°C (350°F) (conventional bake).
- 1 egg yolk, 1 tbsp milkWhisk together the egg yolk and milk, and brush the buns evenly right before popping them into the oven. The egg yolk gives them a gorgeous shine, so don't be afraid to be generous with it!
- Slide the baking dish into the preheated oven and bake the buns for 25–30 minutes until they're golden brown. Take a peek after 20 minutes—if the tops are getting too dark, just tent them loosely with a piece of aluminum foil or parchment paper. This protects the chocolate chips from burning.How do you know they're done? Check the sides of the buns, right where they touch each other. Once the sides are a nice golden yellow, they're baked all the way through.
- The secret to extra-soft buns:Right after baking, drape a clean kitchen towel loosely over the hot baking dish and let the buns steam underneath for 5–10 minutes. The steam softens the crust and ensures the buns get that incredibly fluffy, tender texture on the outside, too. It makes a huge difference!
Notes
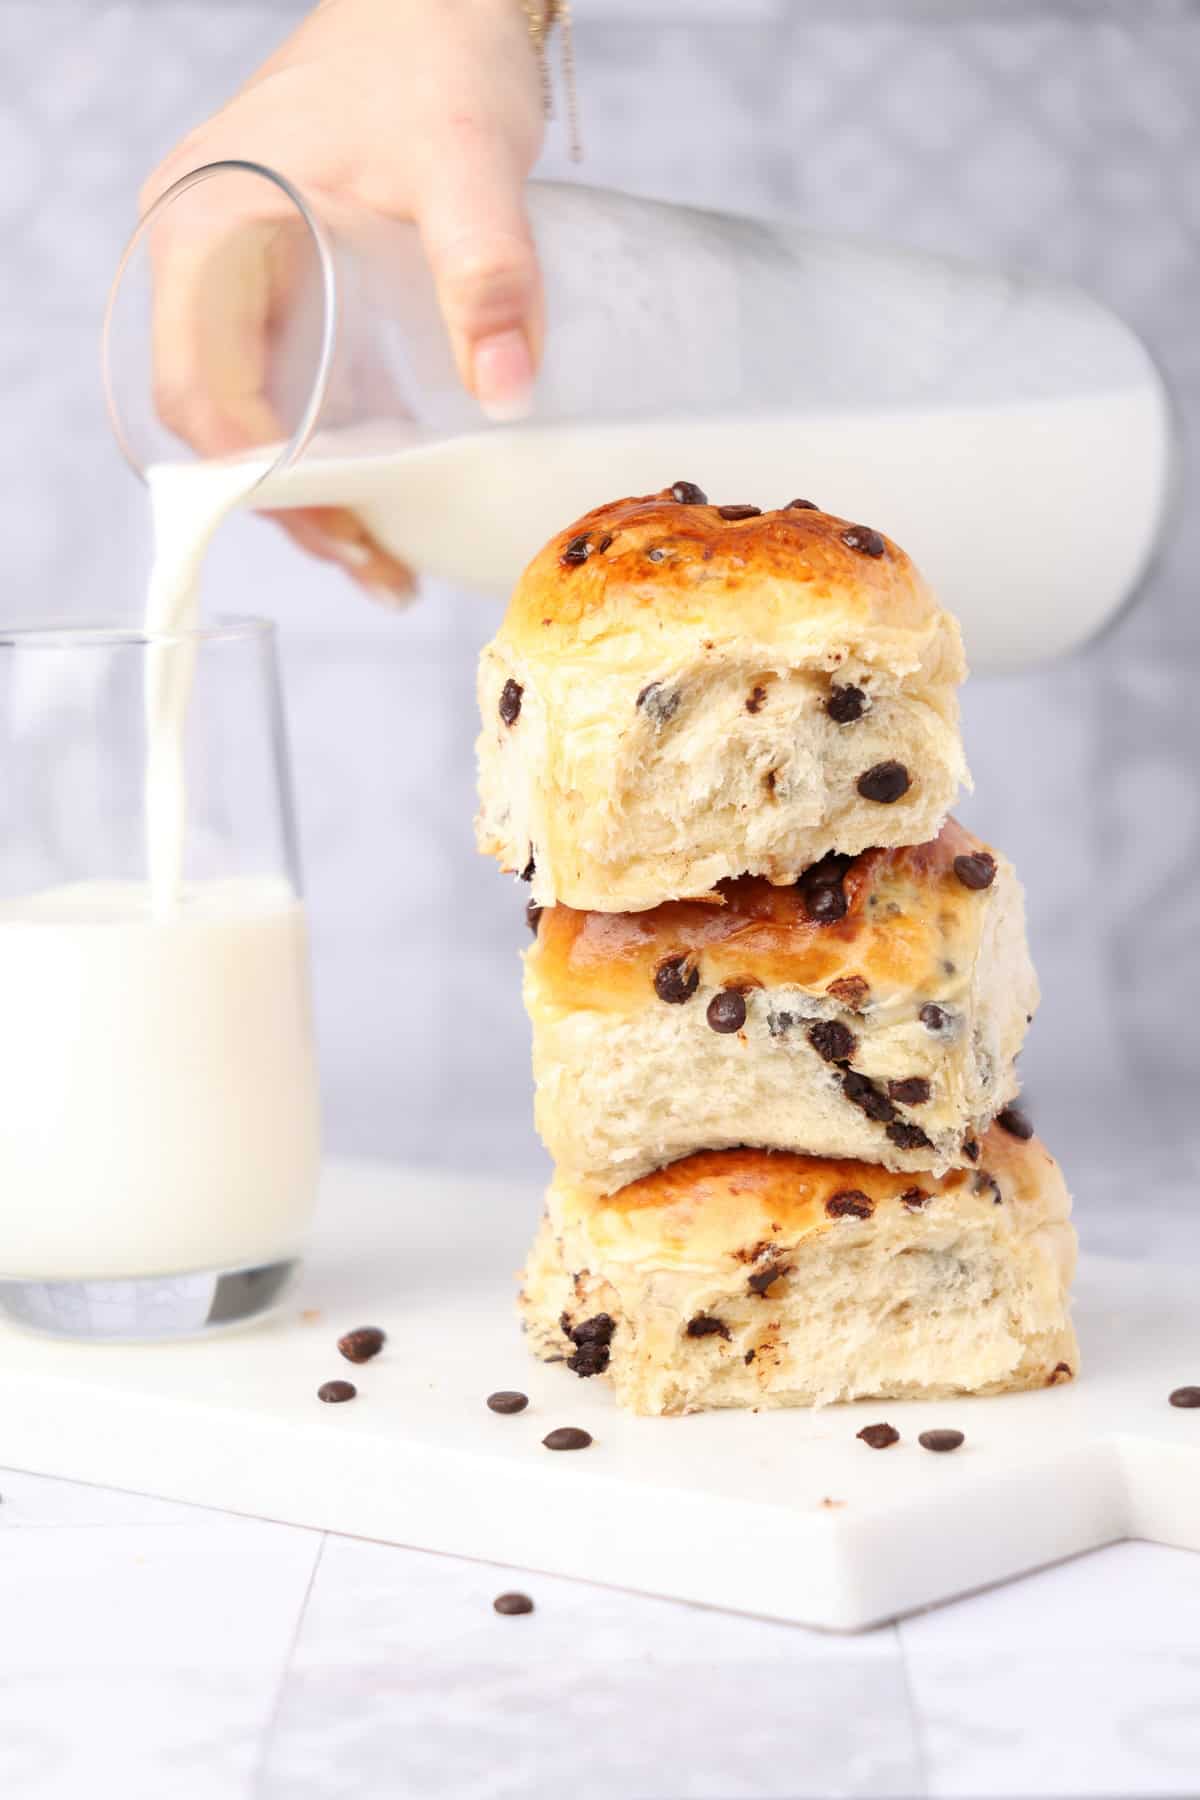
- Fresh: Yeast dough is always best on the very same day—warm, fresh out of the oven, and ideally served with a big glass of milk.
- For the next day: Store them in an airtight container or ziplock bag. Before eating, pop them in the microwave for 15–20 seconds. They'll taste like they were just baked—the dough gets super soft again and the chocolate chips get perfectly melty.
- Freezing: No problem at all! Just pack them individually or in portions into freezer bags and freeze. To thaw, leave them out at room temperature or give them a quick zap in the microwave.